Geez, I’ve been putting this off. Why? I wanted to provide finished stuff, not updates! Too bad, nothing’s finished. Where am I? Wellll….
Just after my last post, I fixed up the track going from the Boundary sub to the Rossland sub main, which is the straight through track of the wye. Things kept decoupling on it because the transition was too steep, so I pulled it up and sanded it the hell down – dumb me also forgot to feed it! All is now well.
A few tracks over, however, more problems arose. The track buckled and an earlier attempt was made to secure it, but alas, it only made it worse. I had to pull it up and sand out all the caulking from underneath it. Remember, when securing track to a surface that isn’t perfectly level, make sure to secure it VERY securely.
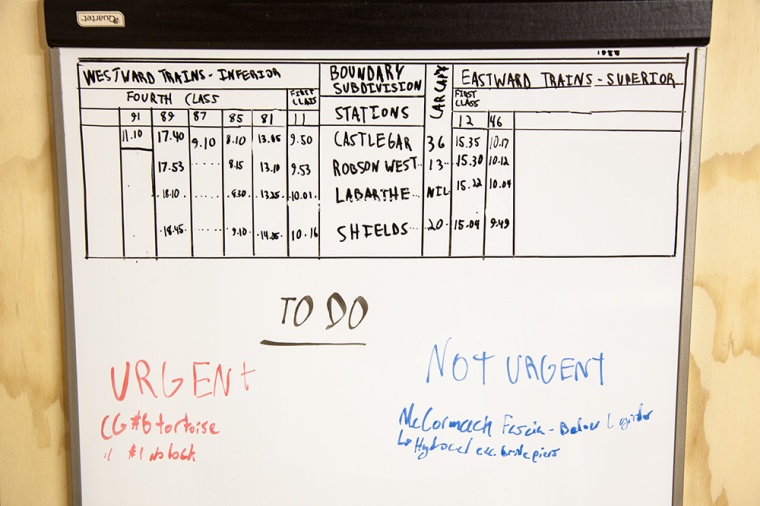
I bought a whiteboard and whipped up a timetable for it. I’ll do an actual printed timetable eventually, but I need to learn how to use design programs first.
So that’s it for January…Awaiting resources, I made no posts and no progress. A week in, I realized something I could do – Though I had yet to calculate where to put the backdrop and scenery behind McCormack Creek bridge, I could totally divide it into two sections, doing the front first, leaving room to put the bridge in! First I put in a good solid support for the fascia, which is extremely tall to accommodate the bridge. This is comprised of 1×4 salvaged from the 10 year old scrap pile, some 1x3s for vertical support, and a failed cut for the helix to perfectly match the curve above.
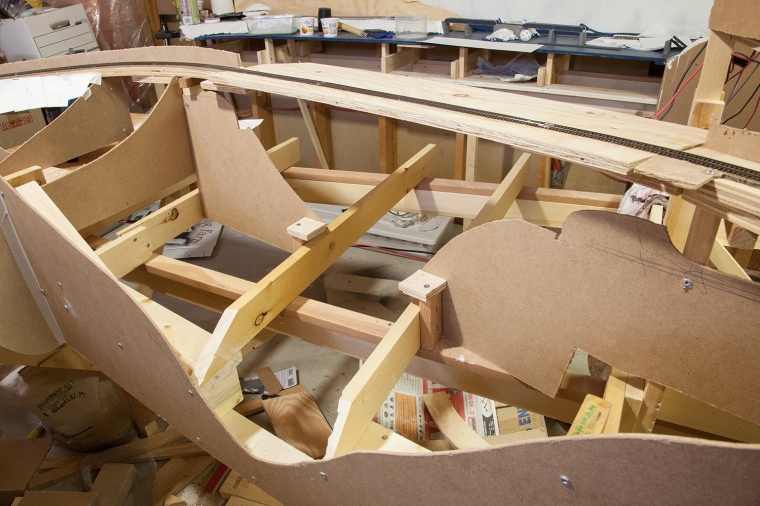
Next up were the scenery supports. Working from my CPR plans, printed to 1:160 scale, I positioned pads for the piers at the right points, and cut out the exact profile of the valley. How ridiculous is that?! I also put profiles in a few other places for good measure.
At the same time, I set up a new cut for Castlegar, one that shall have smooth sides. It’s all glued, supported in obvious ways.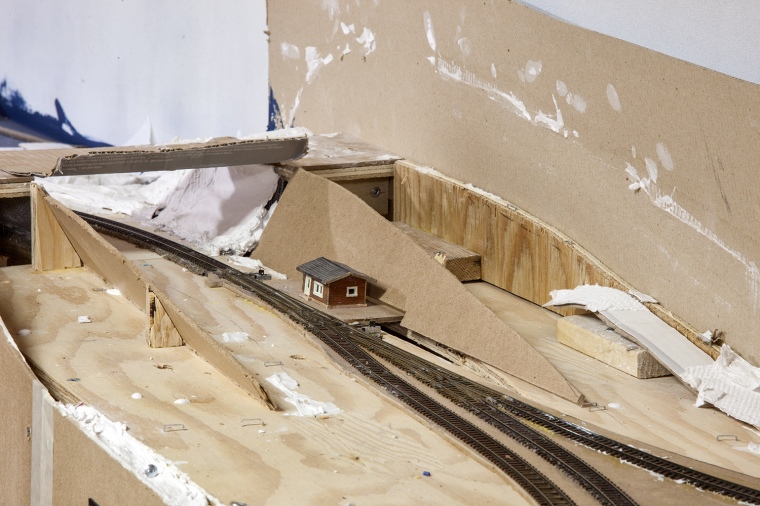
After that I didn’t get much done for a while. I ended up soaking those 6 deluxe innovations chip hoppers in brake fluid (prestone dot 3) which worked very well, if apparently toxically. I filtered out most of the large bits of paint floating in it by running it back into the bottles through a coffee filter. This clogged up pretty badly, and though the first bottle filtered through in about half an hour, the second half of the second bottle took four days. FOUR FREAKING DAYS.
Oh yeah, then something pretty cool happened.
I GOT A JOB.
After over a hundred applications, perhaps closer to 200, I finally found SOMEONE who was hiring. That’s awesome. I won’t have a big budget, though, since I did my fiscal planning and my budget is much the same as before. Oh well!
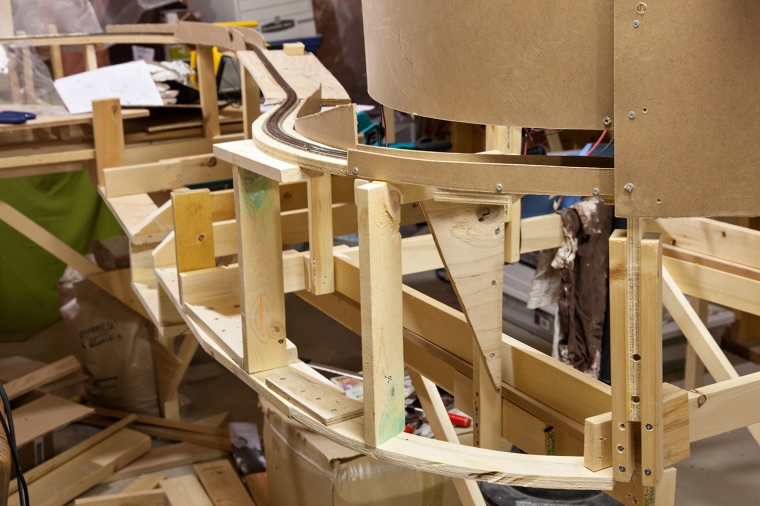
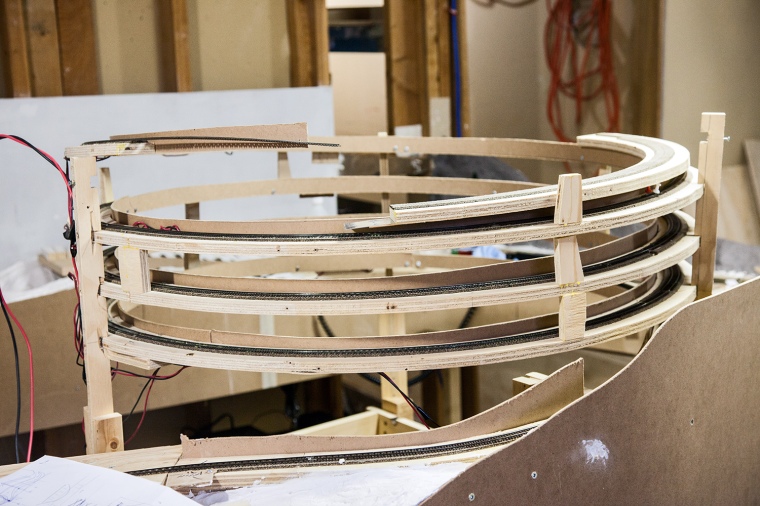
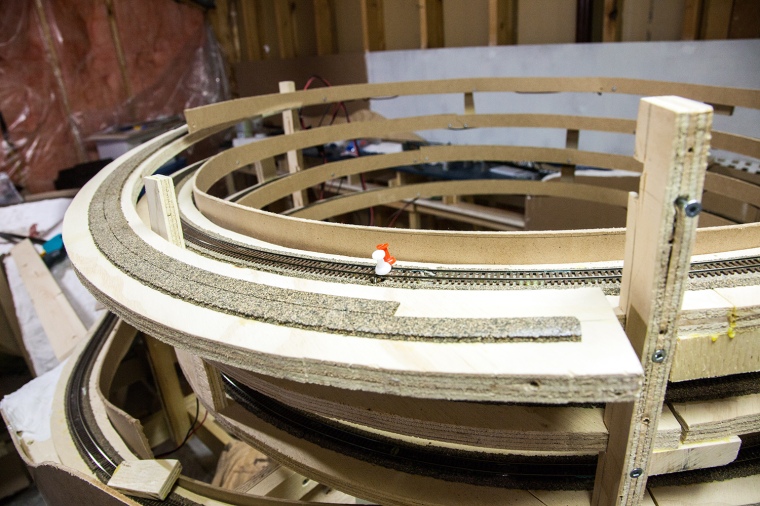
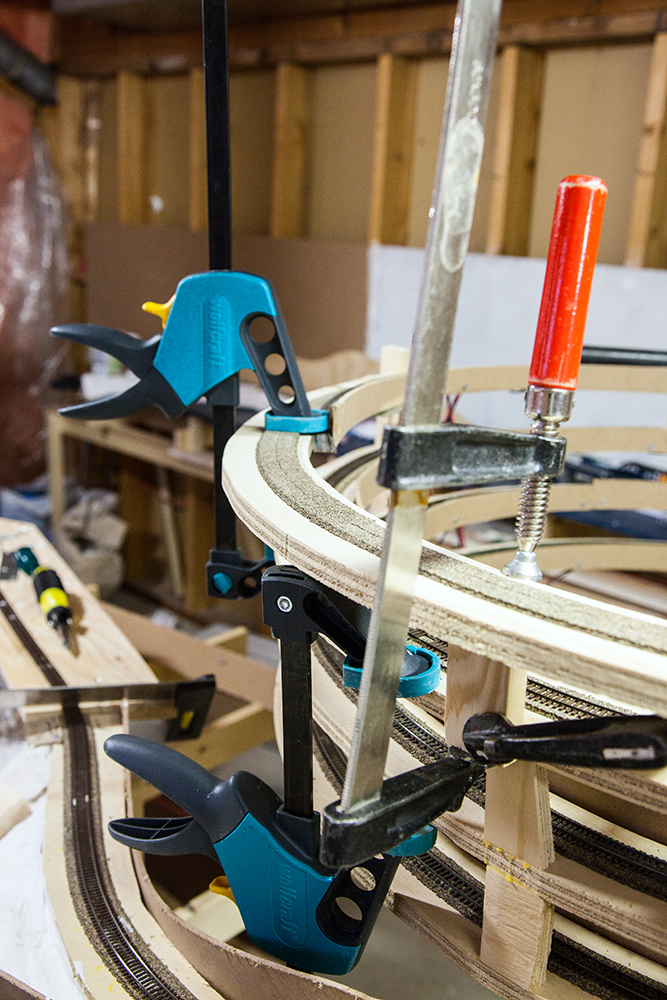
My current project, besides the planning for the upper deck (which is finally gaining traction) is working on the helix. I’m offsetting the top by 2.5″ to allow some room for scenery as it curves around the top, so I’m planning the tie-in for the upper deck. This is very exciting. I removed the last section of the helix, leaving cool hanging track while I added in the spacer section.
Having taken off the masonite I had previously wrapped it in allowed me to become acquainted yet again with how terribly skewed my supports are.
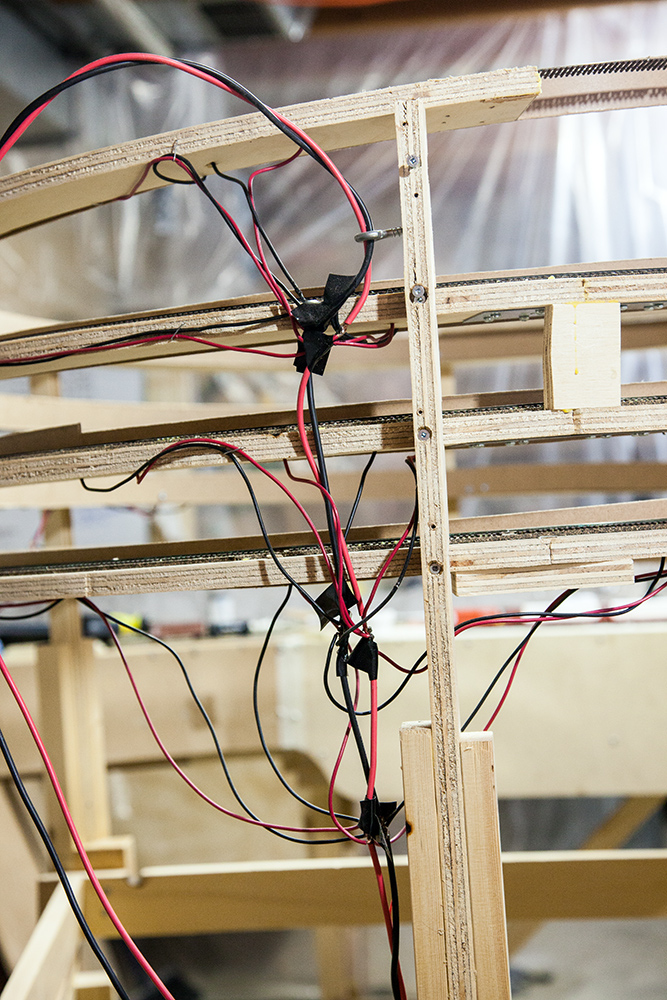
Also, I don’t believe I’ve posted a photo of all the feeders going into the bus, so here it is:
Maybe someday I’ll get some ty-raps and tidy it up.
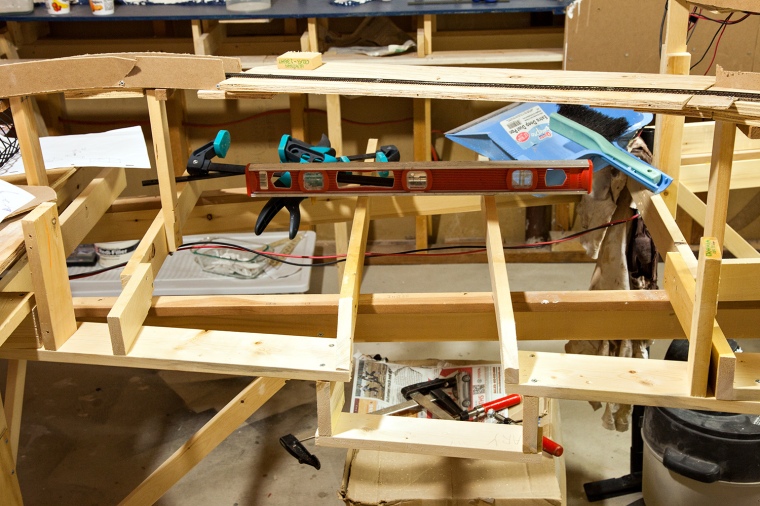
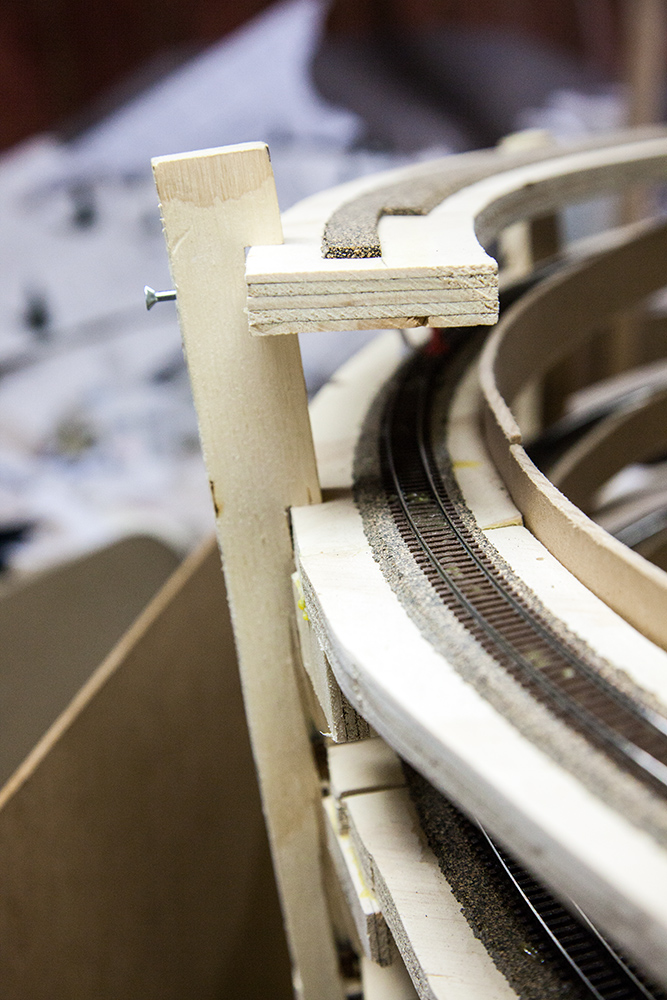
Next up, I positioned the section and found out that GUESS WHAT there are problems. First off, it doesn’t make it to the next support. Not a huge deal, I’ll deal with it. The best way to deal with it, unfortunately, is to add another inter-deck support like I’ve done in many places. That doesn’t work because the inside of this subroadbed strip is outside of the outside of the next one down.
In the end I figured out that the inside of the top should line up quite well with the outside of the next one down, so I screwed and glued a 1×2 to the outside of the second to top level and the underside of the top level. It’s now fairly solid, but I’ve got more tweaks and a cool idea to put into practice.
Well, back to work! Someone’s gotta make a bunch of cash for flextrack – oops, I mean, a house. I’ll try to come back quickly!

Great post and progress. Congratulations on the job. The layout looks like you’re having a lot of fun and I’m looking forward to see the next rounds of updates. I’d be happy to format the timetable for you if you’d like. I have a bunch of CP ones to use as templates.
Hey Chris! Glad to see someone’s paying attention. I’ll see if I can get stuff done! Right now it’s a lot of CAD/pencil and paper planning.
I don’t suppose you have any digital templates?