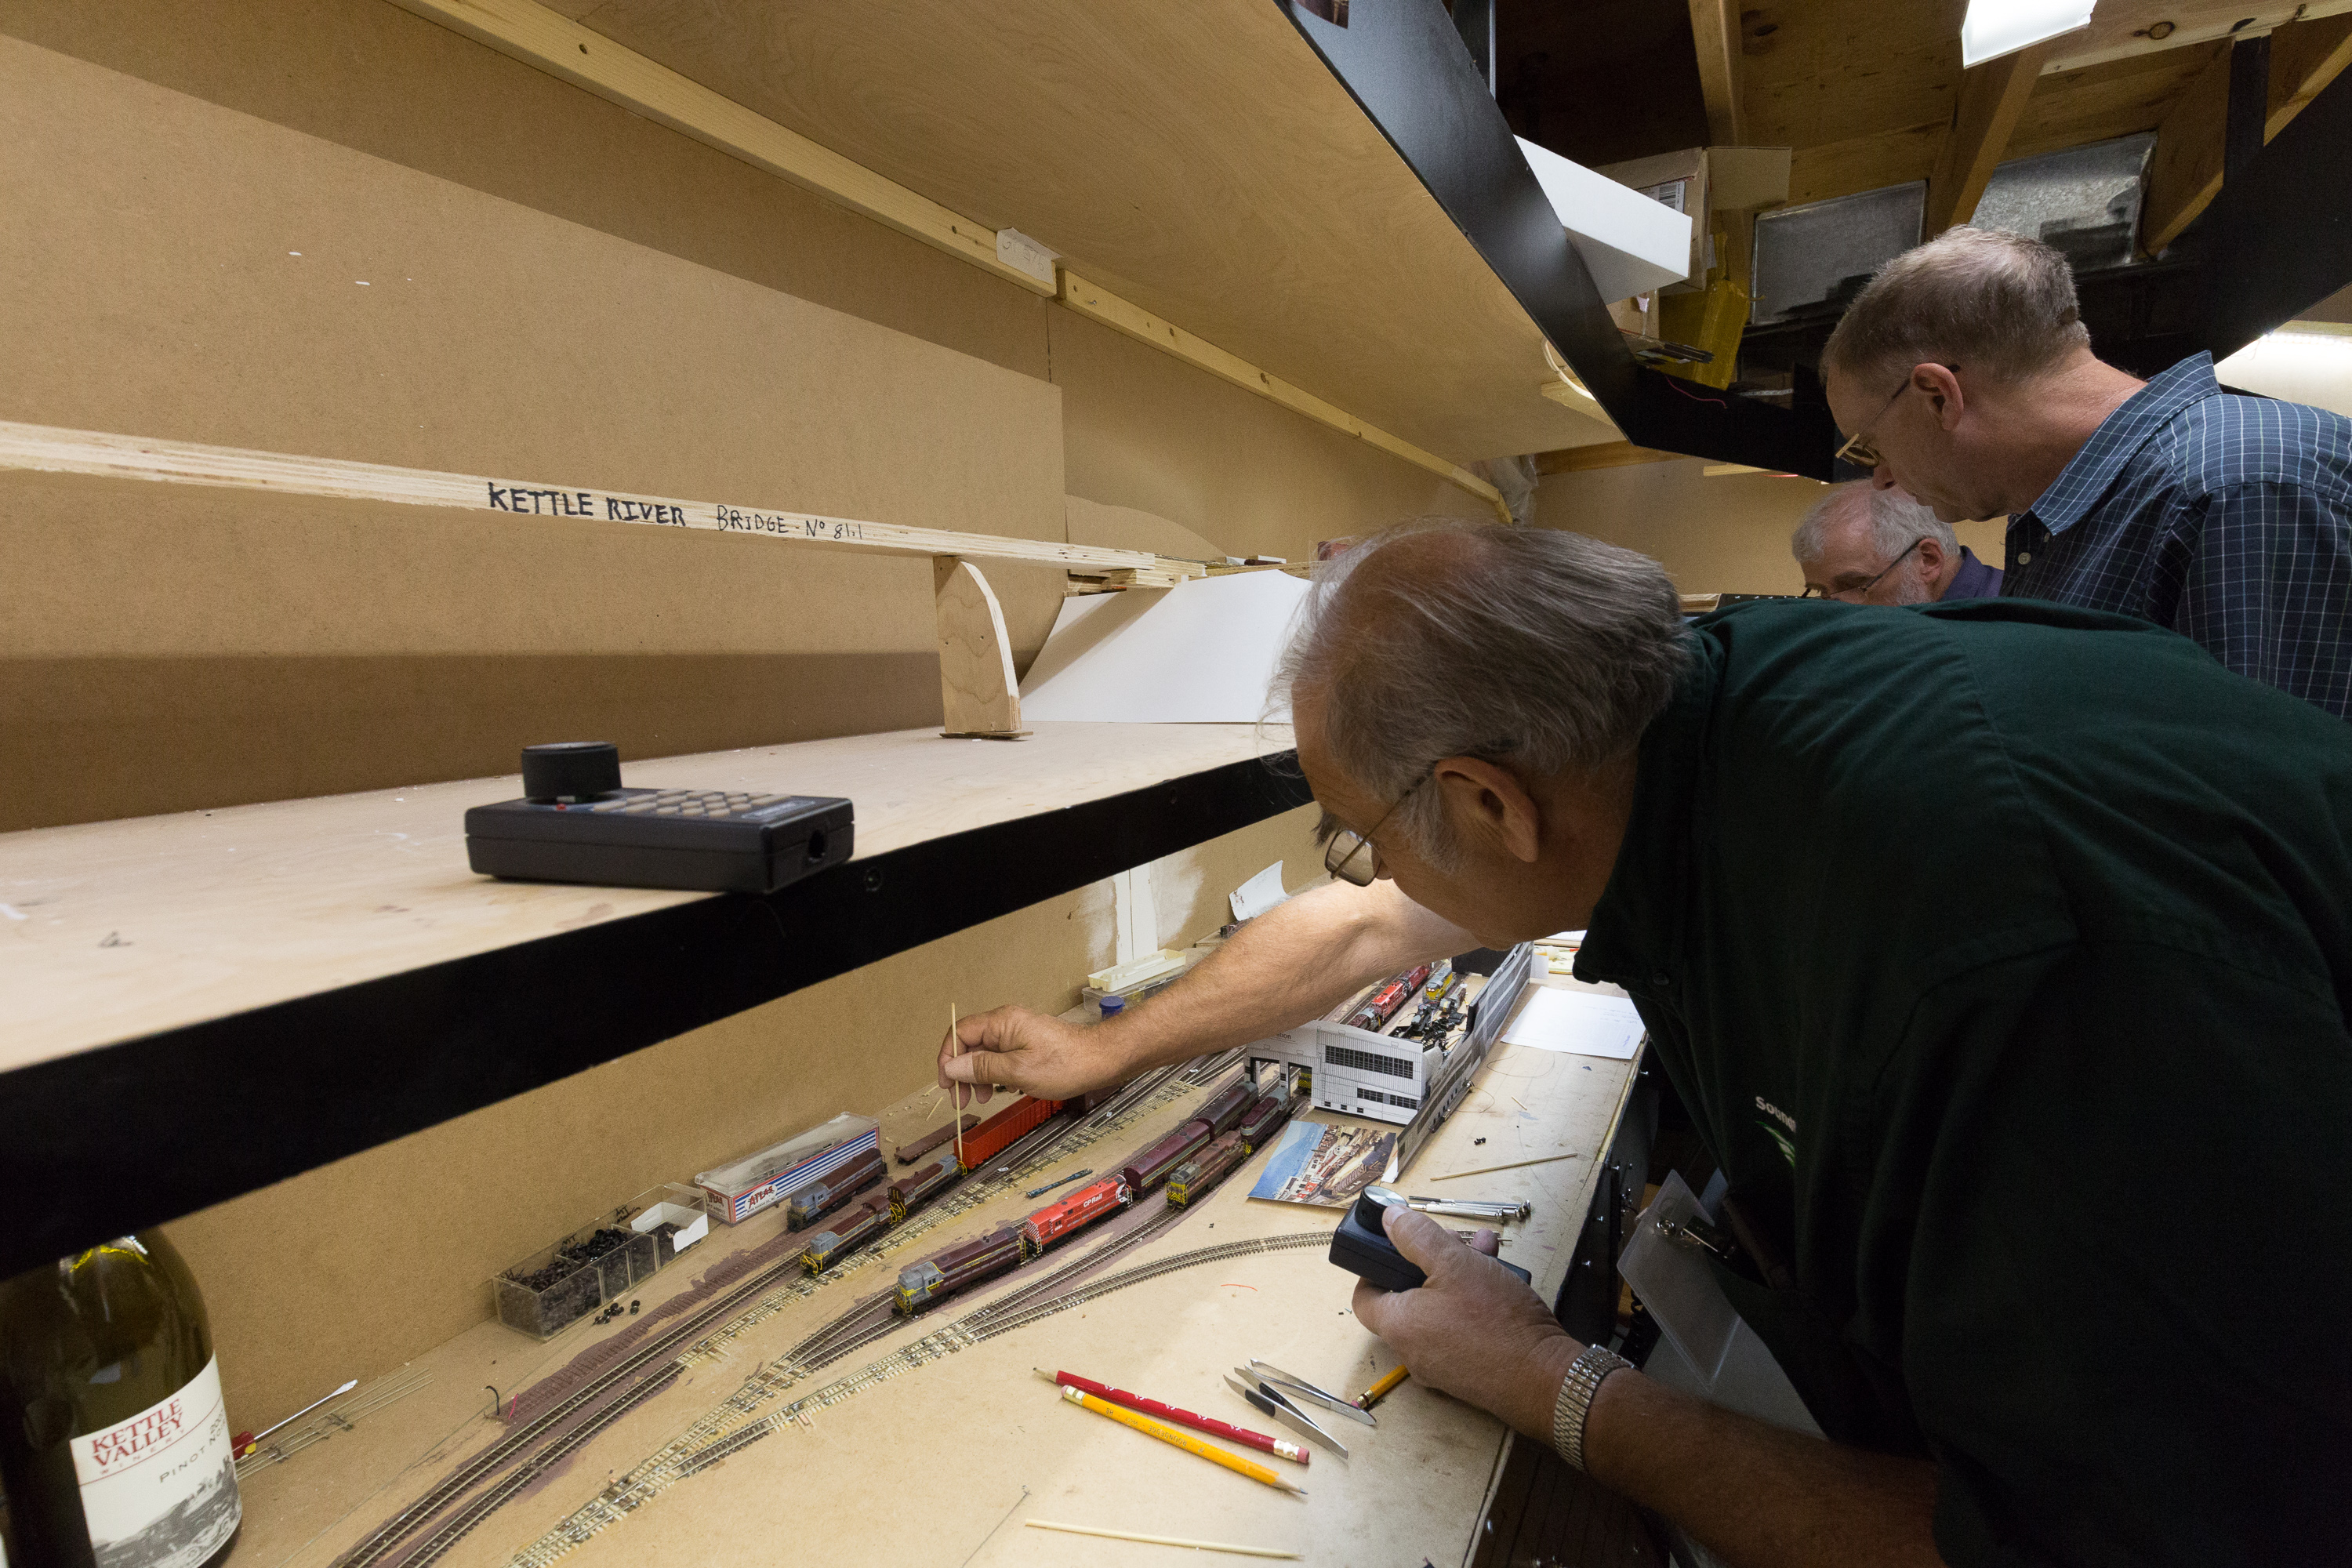
One of my big problems is that I don’t like doing updates until the things are done. In the case of what I’m working on now, that is still a ways away. This post will be covering a portion of the changes I’m making, to be more bite sized.
The last update I did was in January 2023. 2023 turned out to be one of the roughest years of my life. Grief, turmoil, loss, injury, insecurity. Not the best time to be doing a huge alteration. I was hoping to have the layout running again by Jan 2024, but that didn’t even come close to happening. Fortunately, a slow month at work was expected, and I used it to my advantage. With any luck, I’ll be able to host an open house for Supertrain, and an operating session around then too.
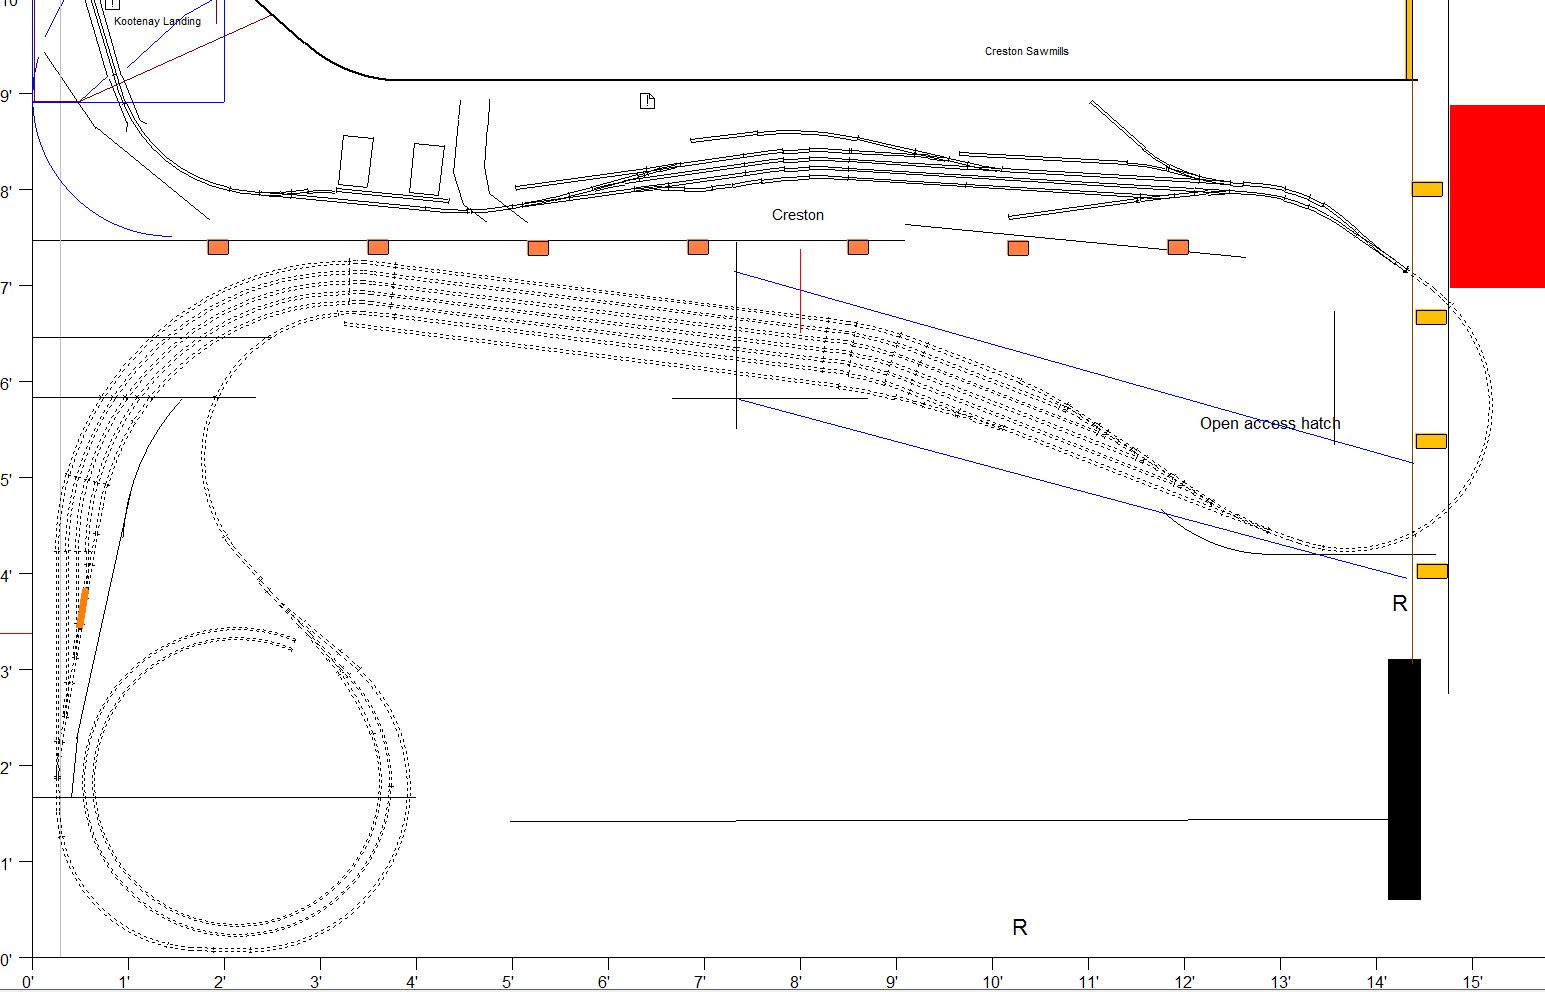
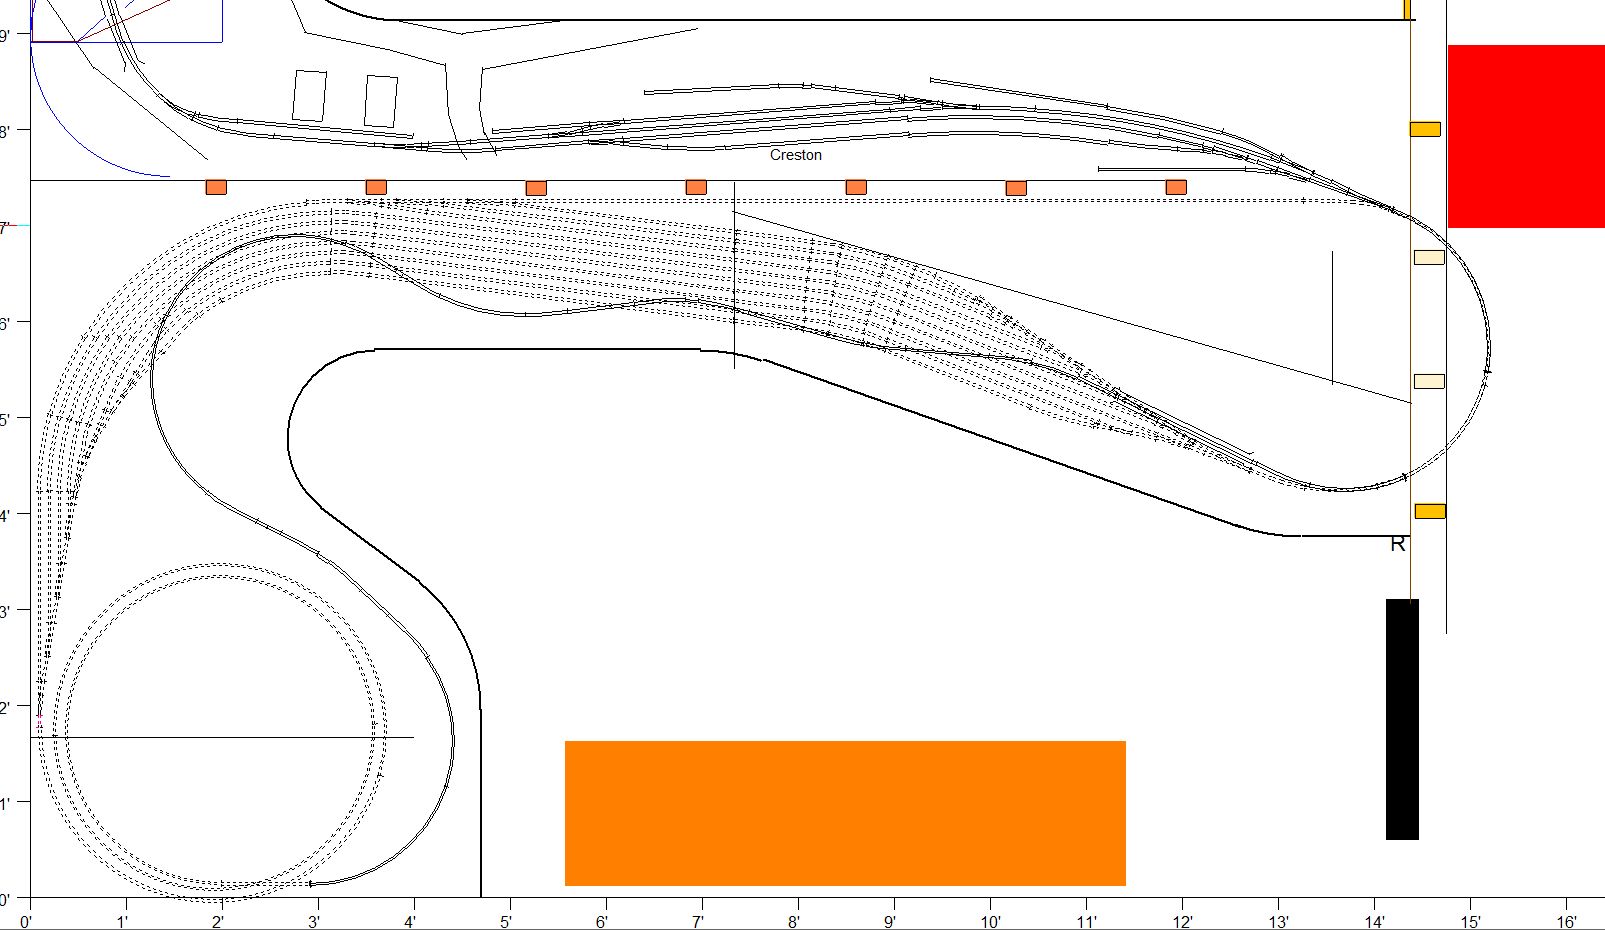
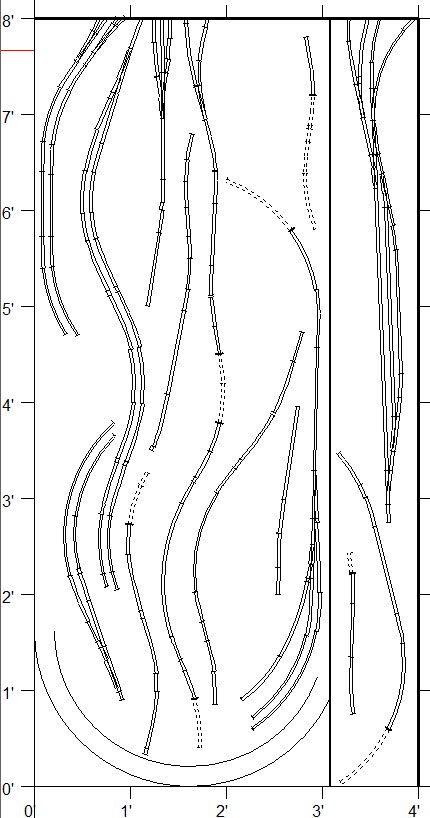
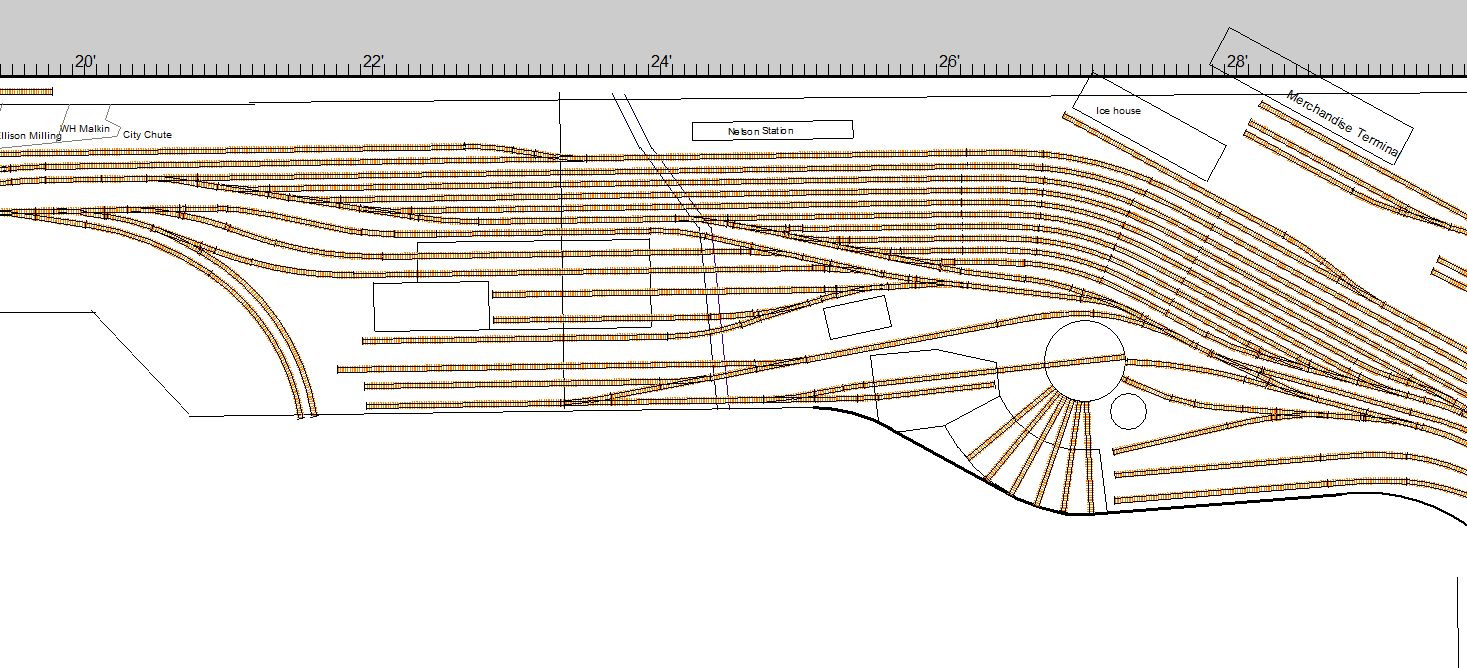
To start, this is the original plan I had for Nelson. I’ve greyed out the track that I didn’t get around to laying, prioritizing other things.
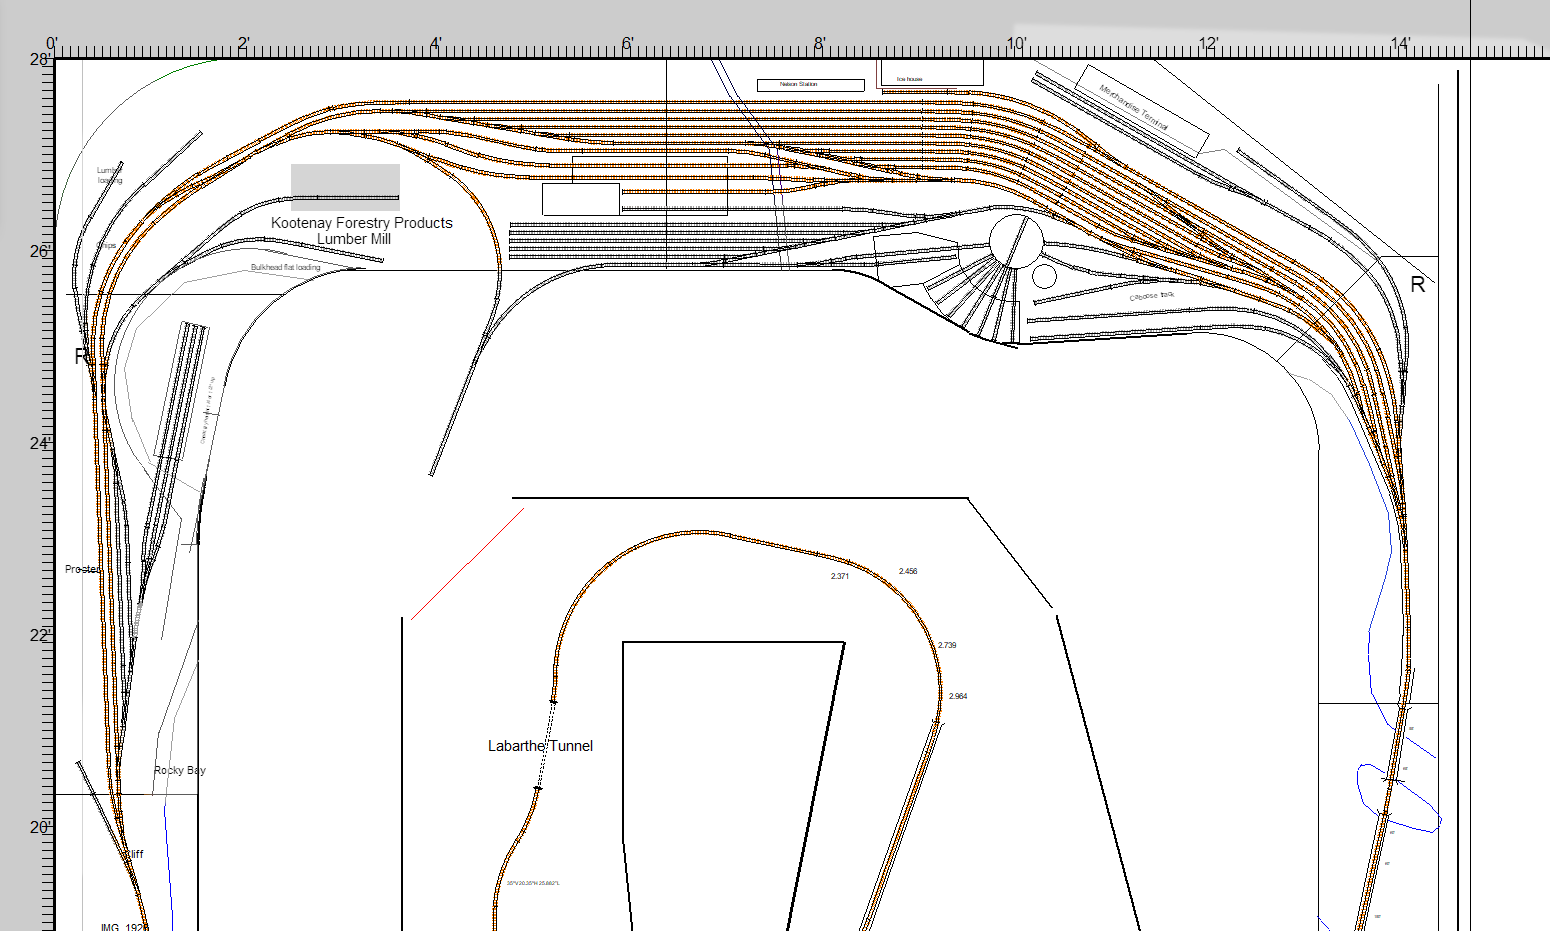
While this plan worked well, there were some drawbacks that I hadn’t considered when I first created it. I remained faithful to the original idea of the yard, with most elements where they belonged. It operated smoothly and reliably.
The main problems that were identified:
- Arrival/Departure tracks
- Aisle space
- Proximity to Procter and Castlegar
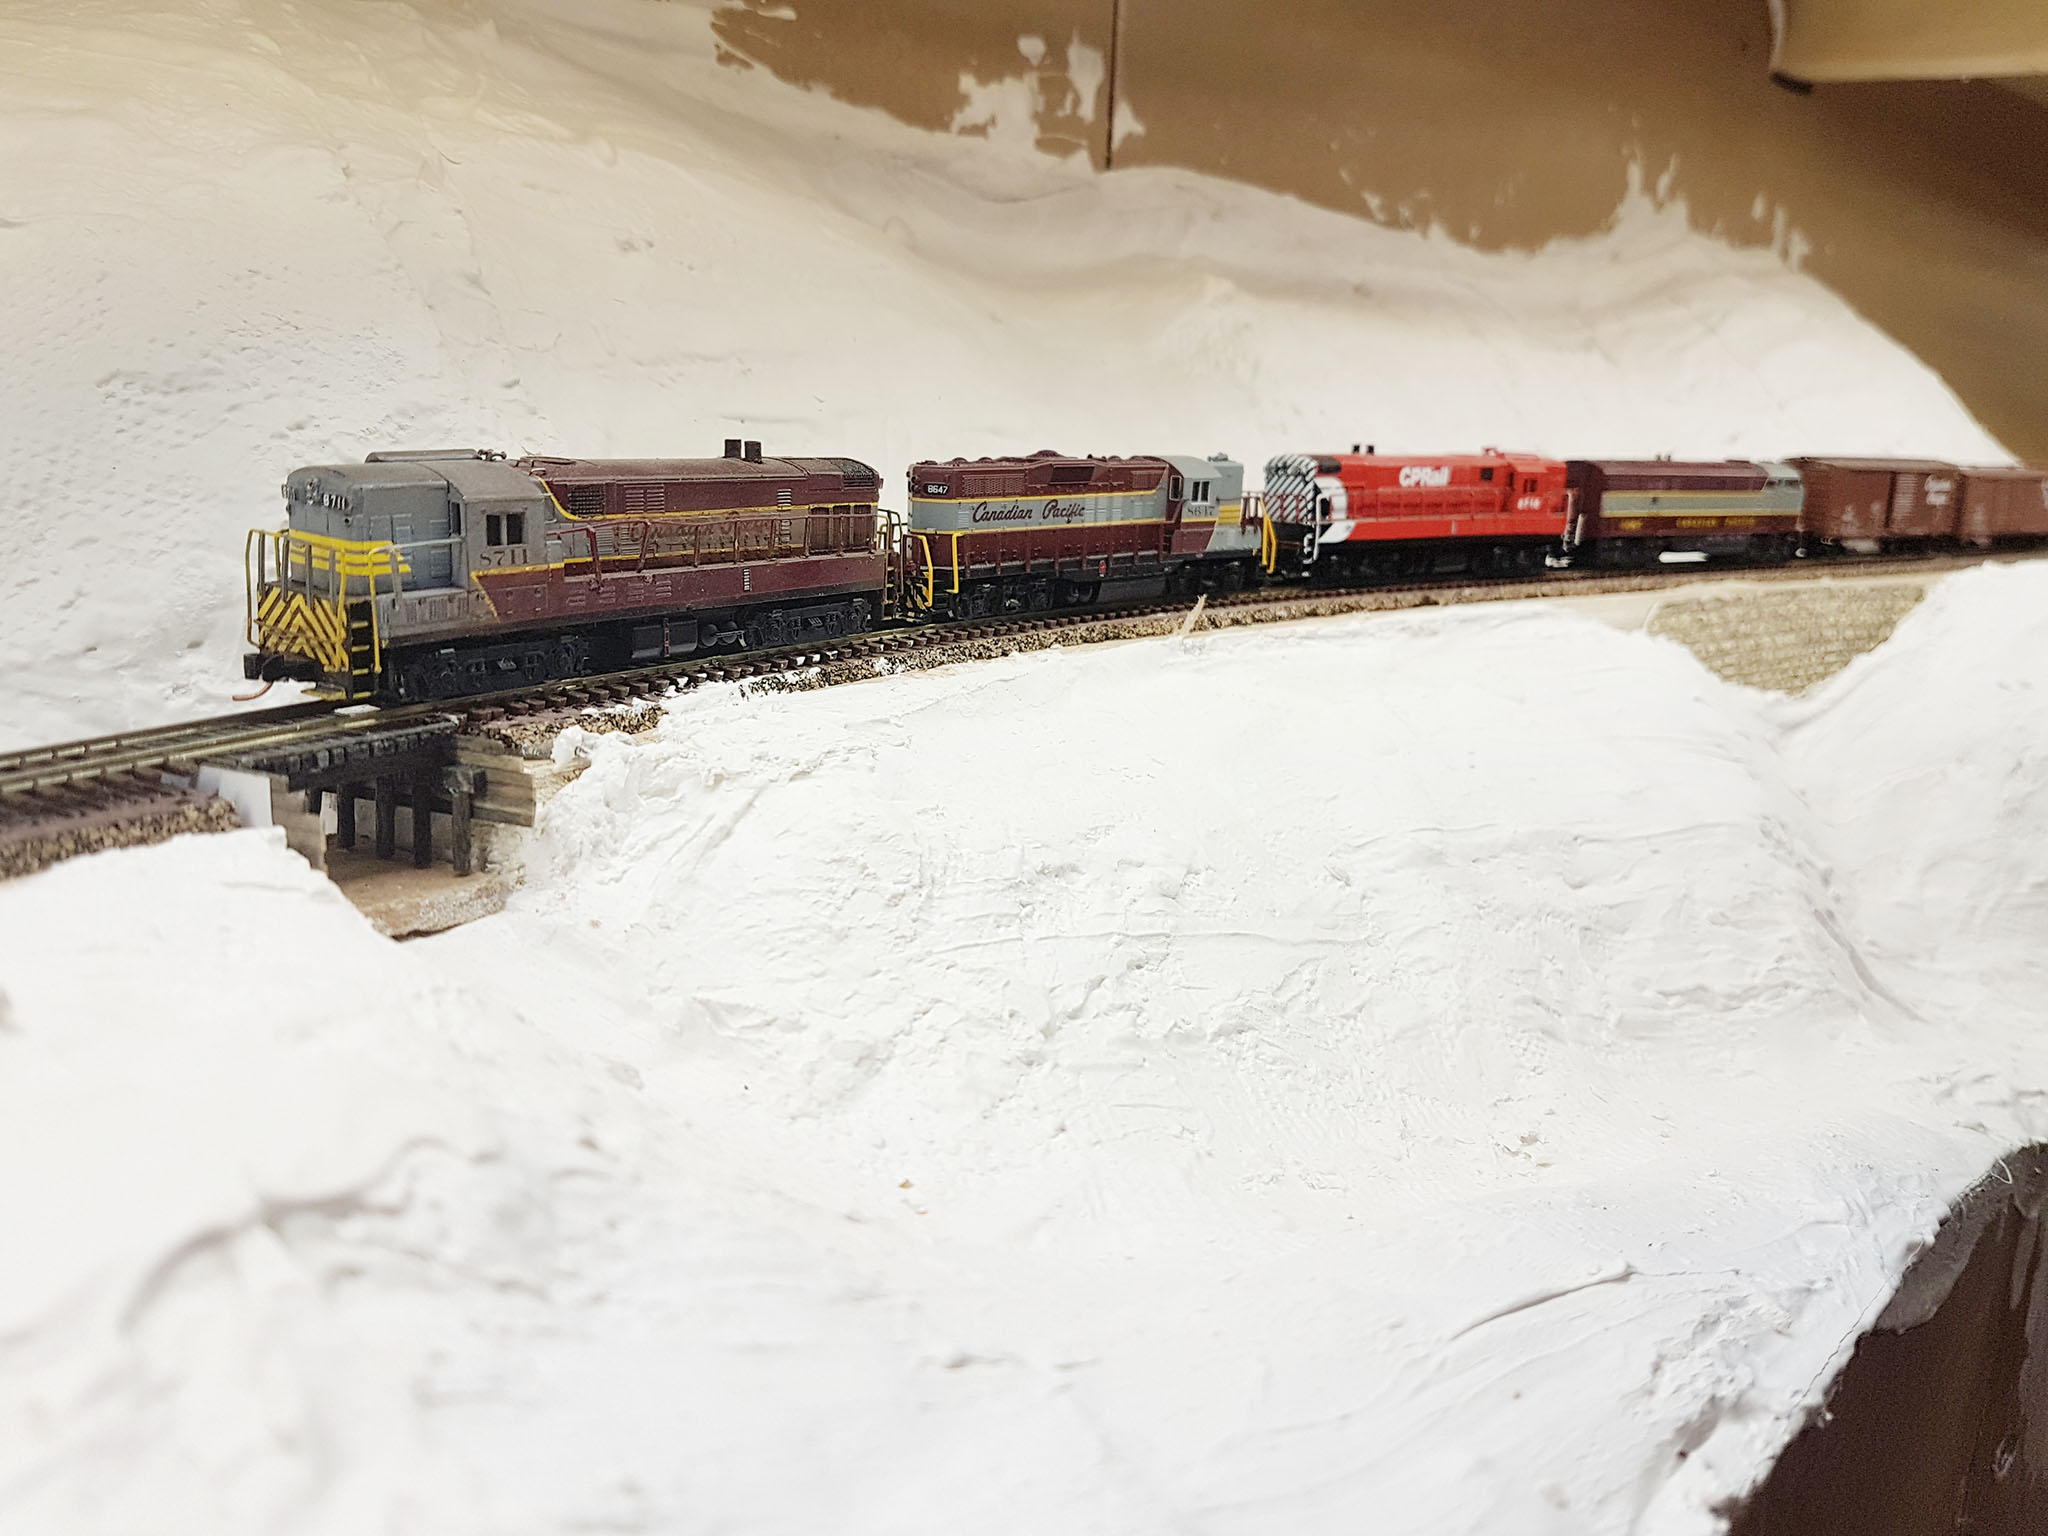
1 is the biggest issue. I took my design cues from the real Nelson, which has 3 full length tracks in the yard (not counting 4, which has the ladder to the shorter tracks come off midway, as above) however my west end design was reduced slightly due to lack of space, with only 3 tracks making it all the way to the west ladder.
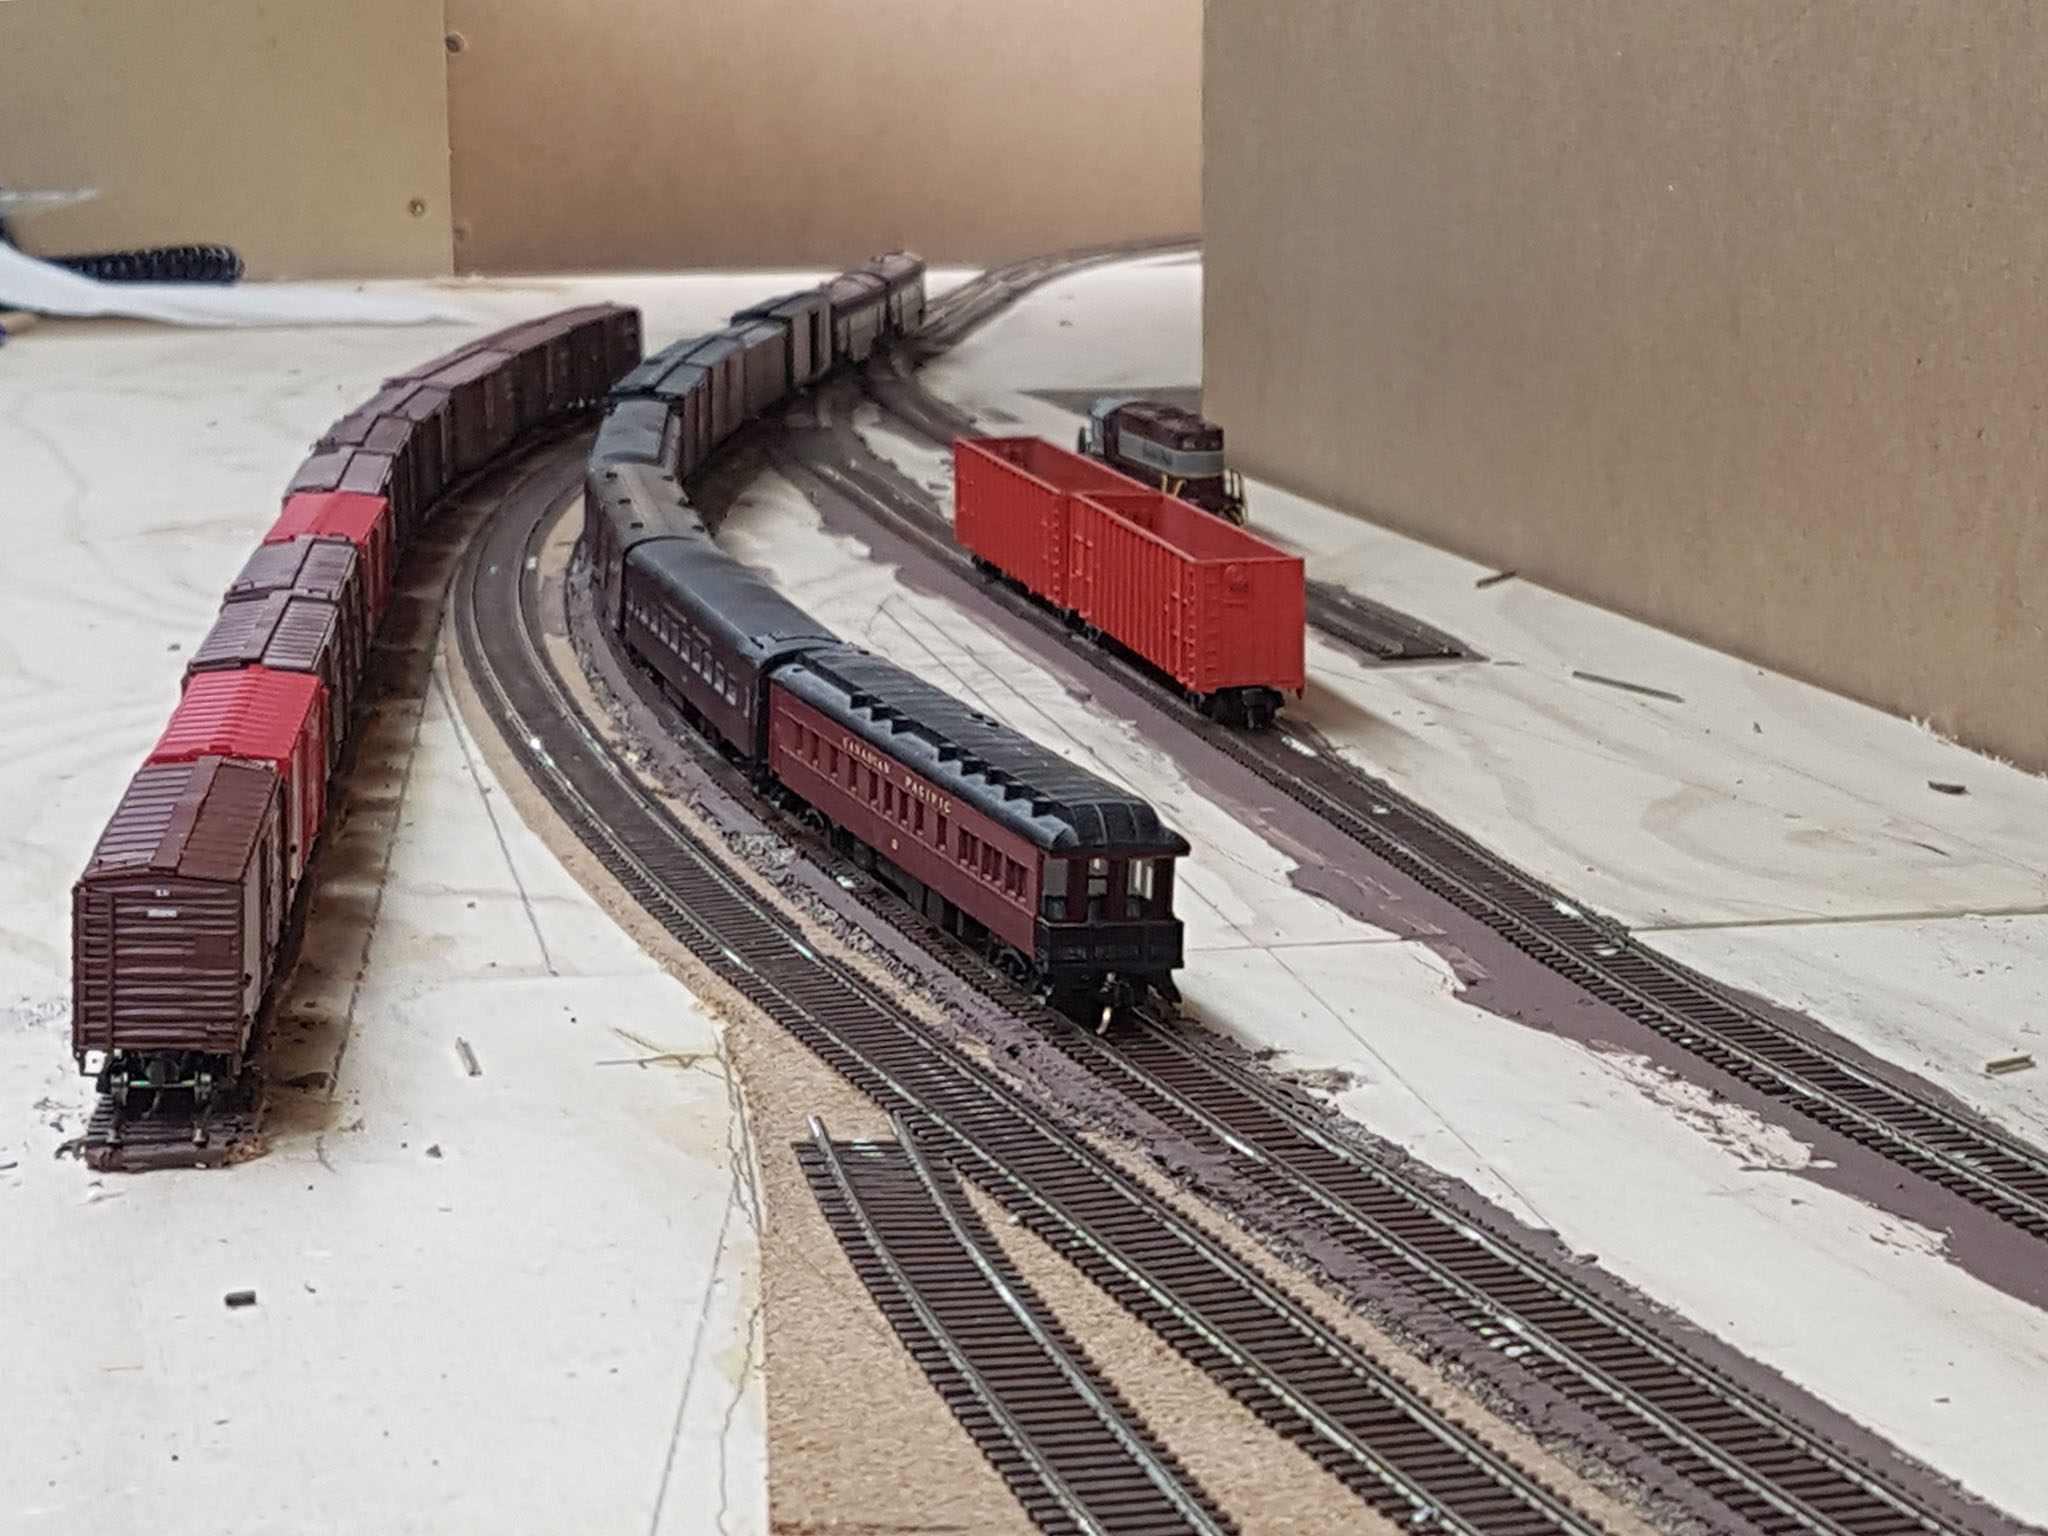
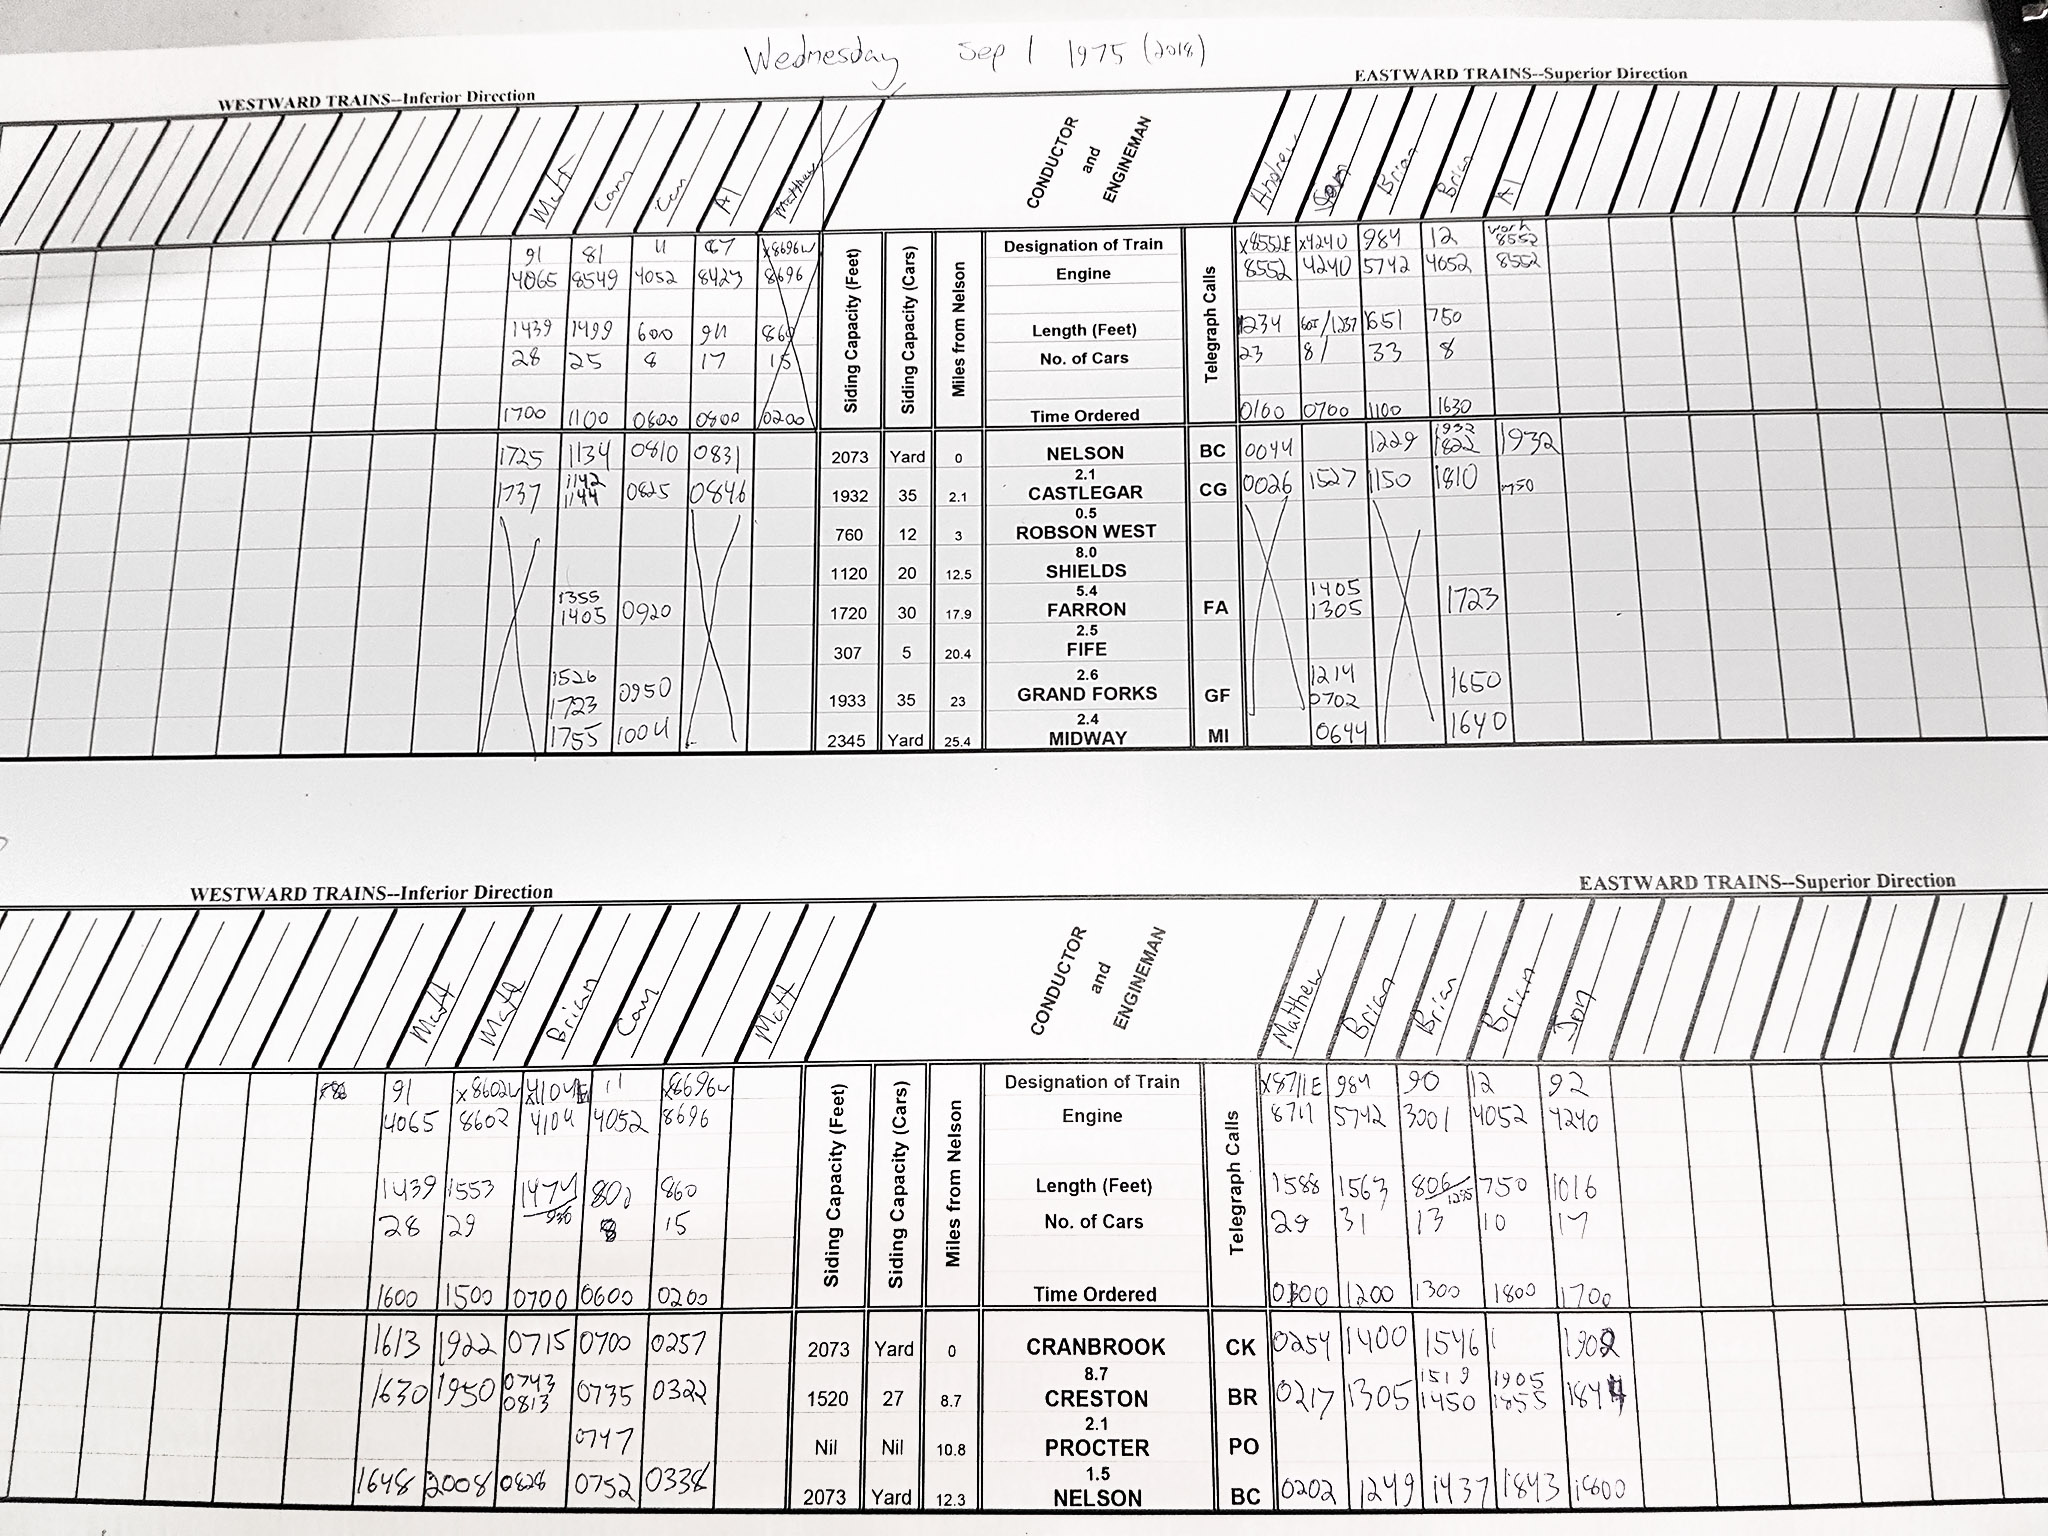
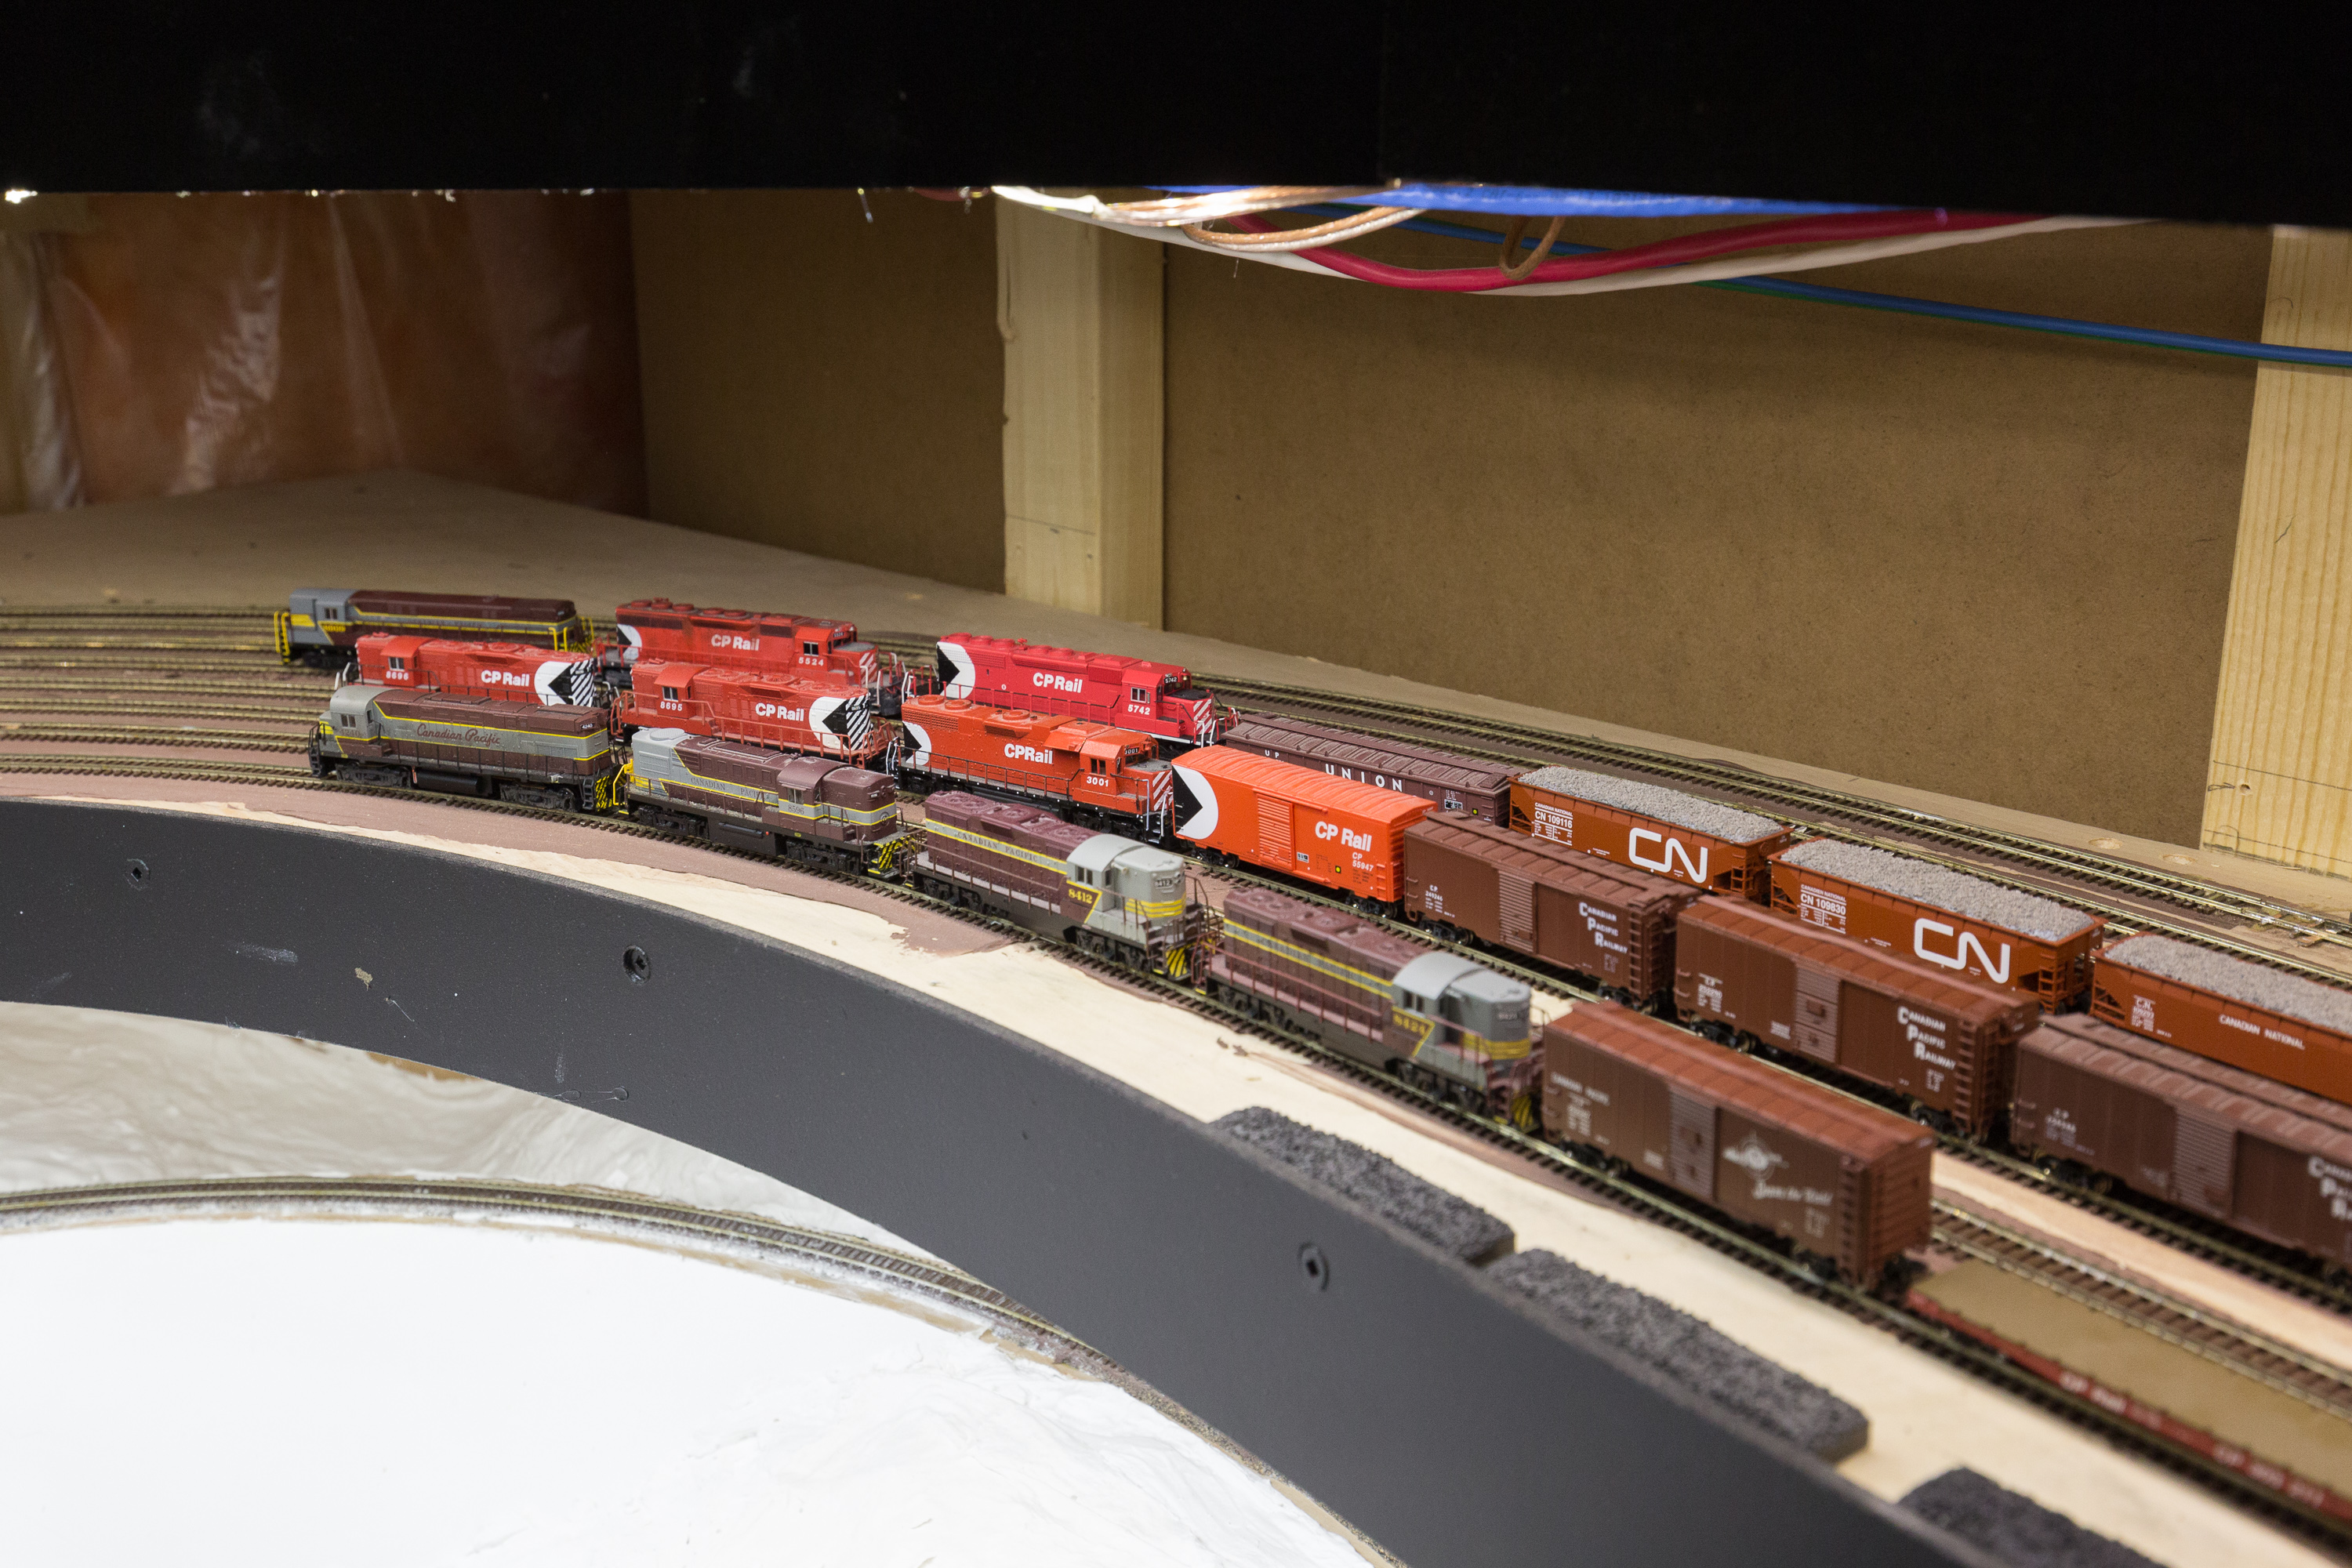
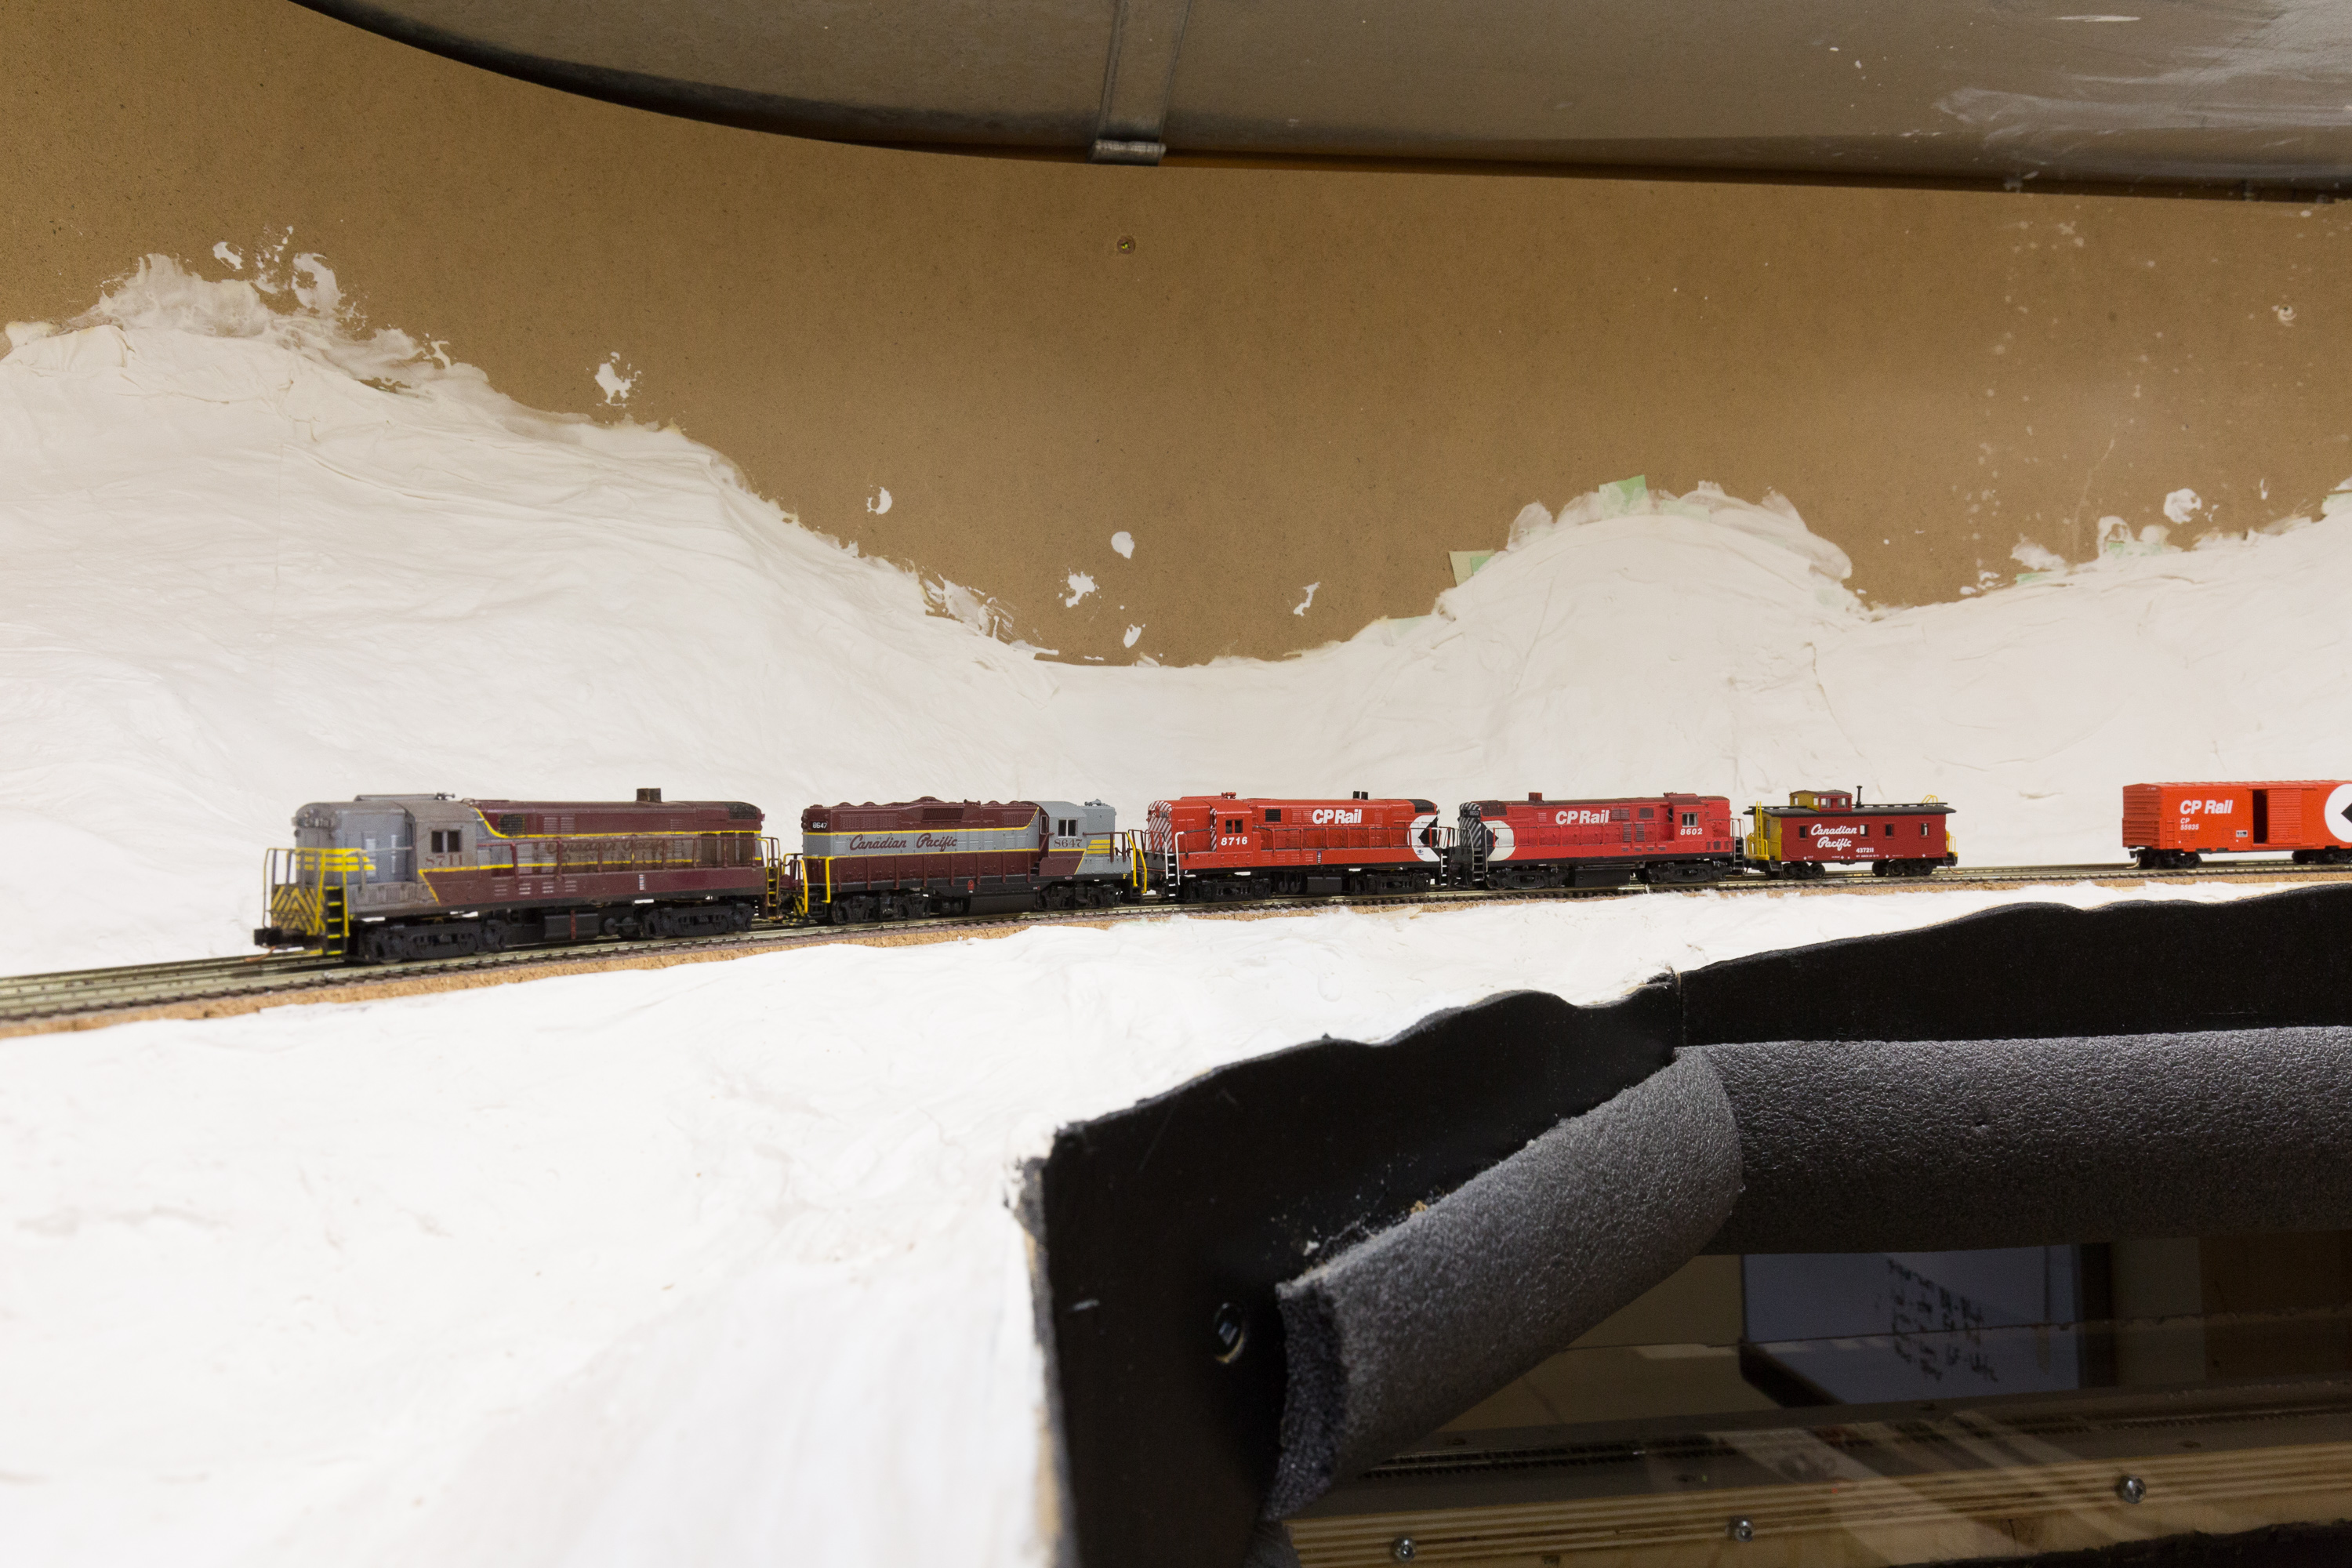
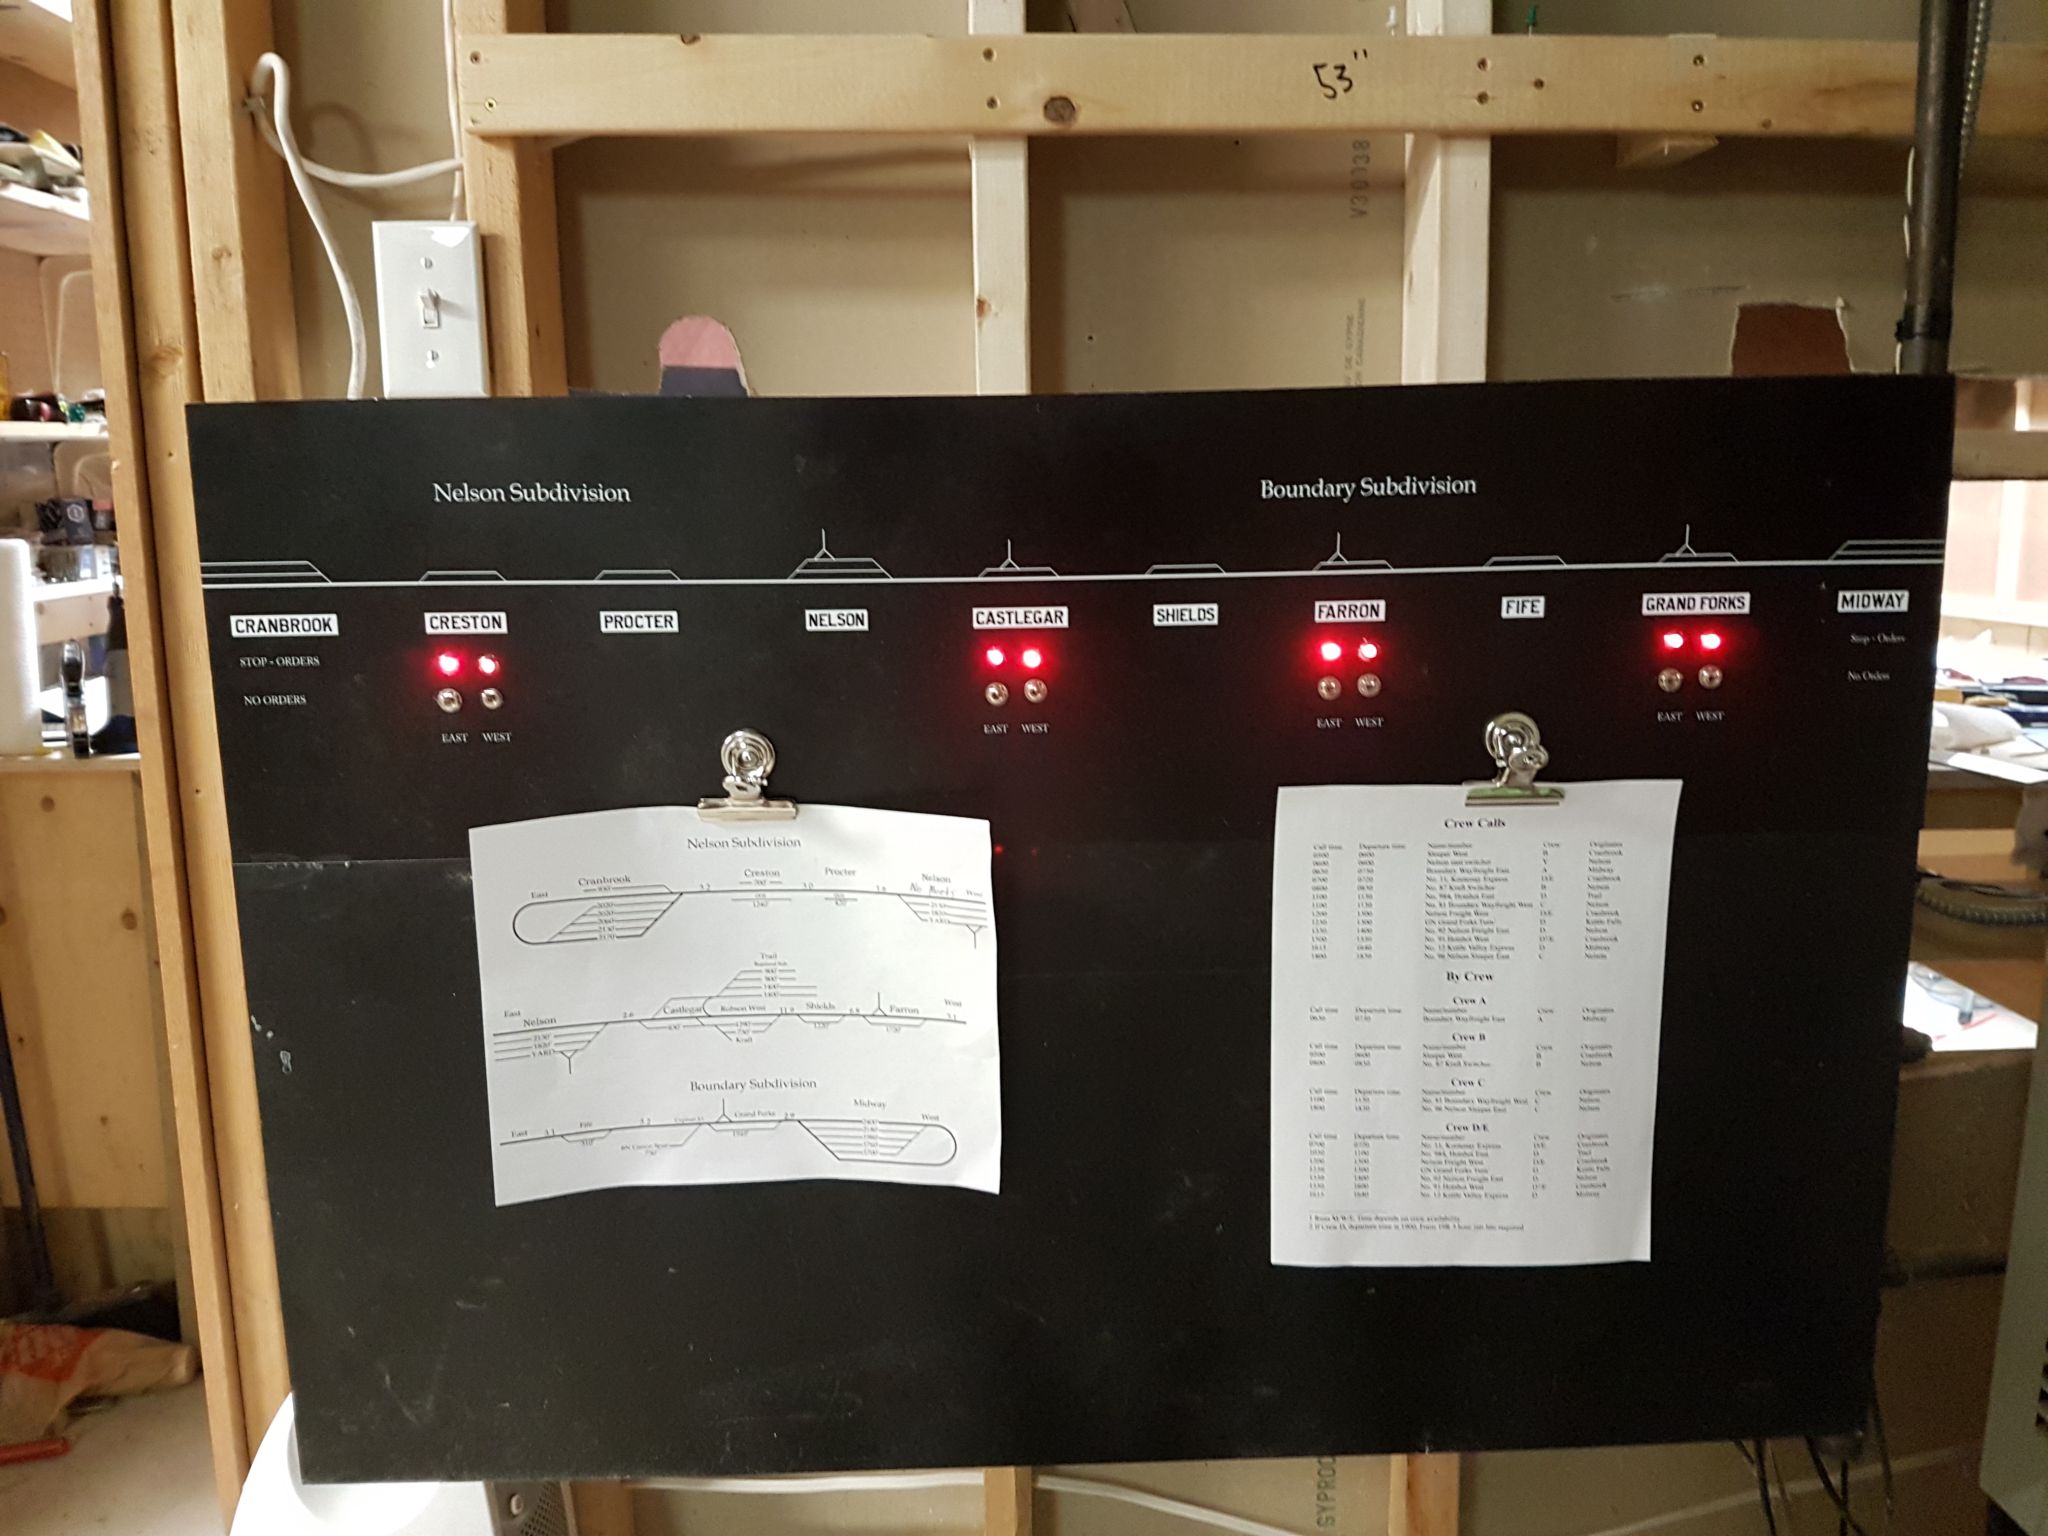
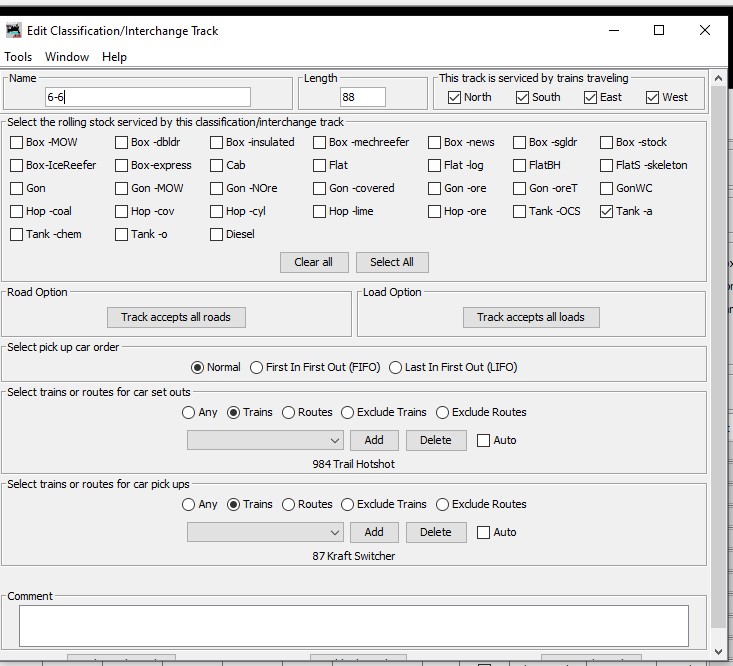
Operations on my layout in general are defined by 2 characteristics. Firstly, many cars appear identical at first glance – either being red or brown 40′ boxcars – and N scale numbers are hard to read, especially when you’re under time pressure to get a train out of the yard and have 30 of them to find. Second, cars are routed via JMRI and, as many people have been frustrated with, it is very inflexible. I have considered (and still am considering) many different ways of making the yards work. Of course, in real life, the yard crews would be able to do whatever they wanted, slamming cars away wherever they fit and made sense. Trains would be assembled and they’d take whatever tonnage they could handle that was going in their direction. Where that falls apart is using JMRI. One thing I wanted was to make it easier to find cars. What I ended up doing was assigning tracks very purposefully. This isn’t something operators will notice, but most trains will need cars from a maximum of 3 tracks, because I’ve assigned each track to a specific train each for lifts and drops. Multiple trains may work a single track, but in JMRI they’re set up as pool tracks with multiple ghost tracks making up the single physical track! (These ghost tracks appear as regular tracks, anything past the “-” doesn’t show up on manifests, so 6, 6-2, 6-3, and 6-6 all show up as “6” on switch lists)
This also shows how my tracks are divided into arrival/departure tracks (1-4) and the classification yard (5-8) which is primarily for blocks that stay on the layout being swapped between trains, rather than the larger cuts which will go to and from east staging. Remember, by this point there was no through service west of Midway, so almost all tonnage is coming from/going to the east.

Track 6 is a great example of this. It actually has 3 ghost tracks in it, one of which is extremely very specific – the Celgar kraft mill at Castlegar received sulphuric acid from the Trail smelter. IRL these would have been dropped off at Castlegar by one of the Trail freights, but I figured I’d reduce the switching on that in an already busy Castlegar and only have them stop at Nelson.
- Kraft switcher (No. 87)
- Boundary sub Wayfreight (No. 81)
- Nelson sub freight (No. 92)
- Nelson sub wayfreight (No. 90)
While I would love the eastbounds to be more fluid leaving town with whatever tonnage is available at their call time, as long as I’m running all these trains every session, I have to have each of these tracks available to dump cars in from arriving trains. The incoming freights from the east dump cars into the appropriate tracks (1,2, class yard) and then based on the way ops have worked so far, the eastbound Boundary sub wayfreight dumps into 3 and the Kraft dumps into 4, in order that No. 90 can leave the next morning (Kraft is frequently the last job running) and 92 can leave that same day. Currently, 90 gets doubled over between 4 and 5, which is why they’re visible as one track on the manifest.
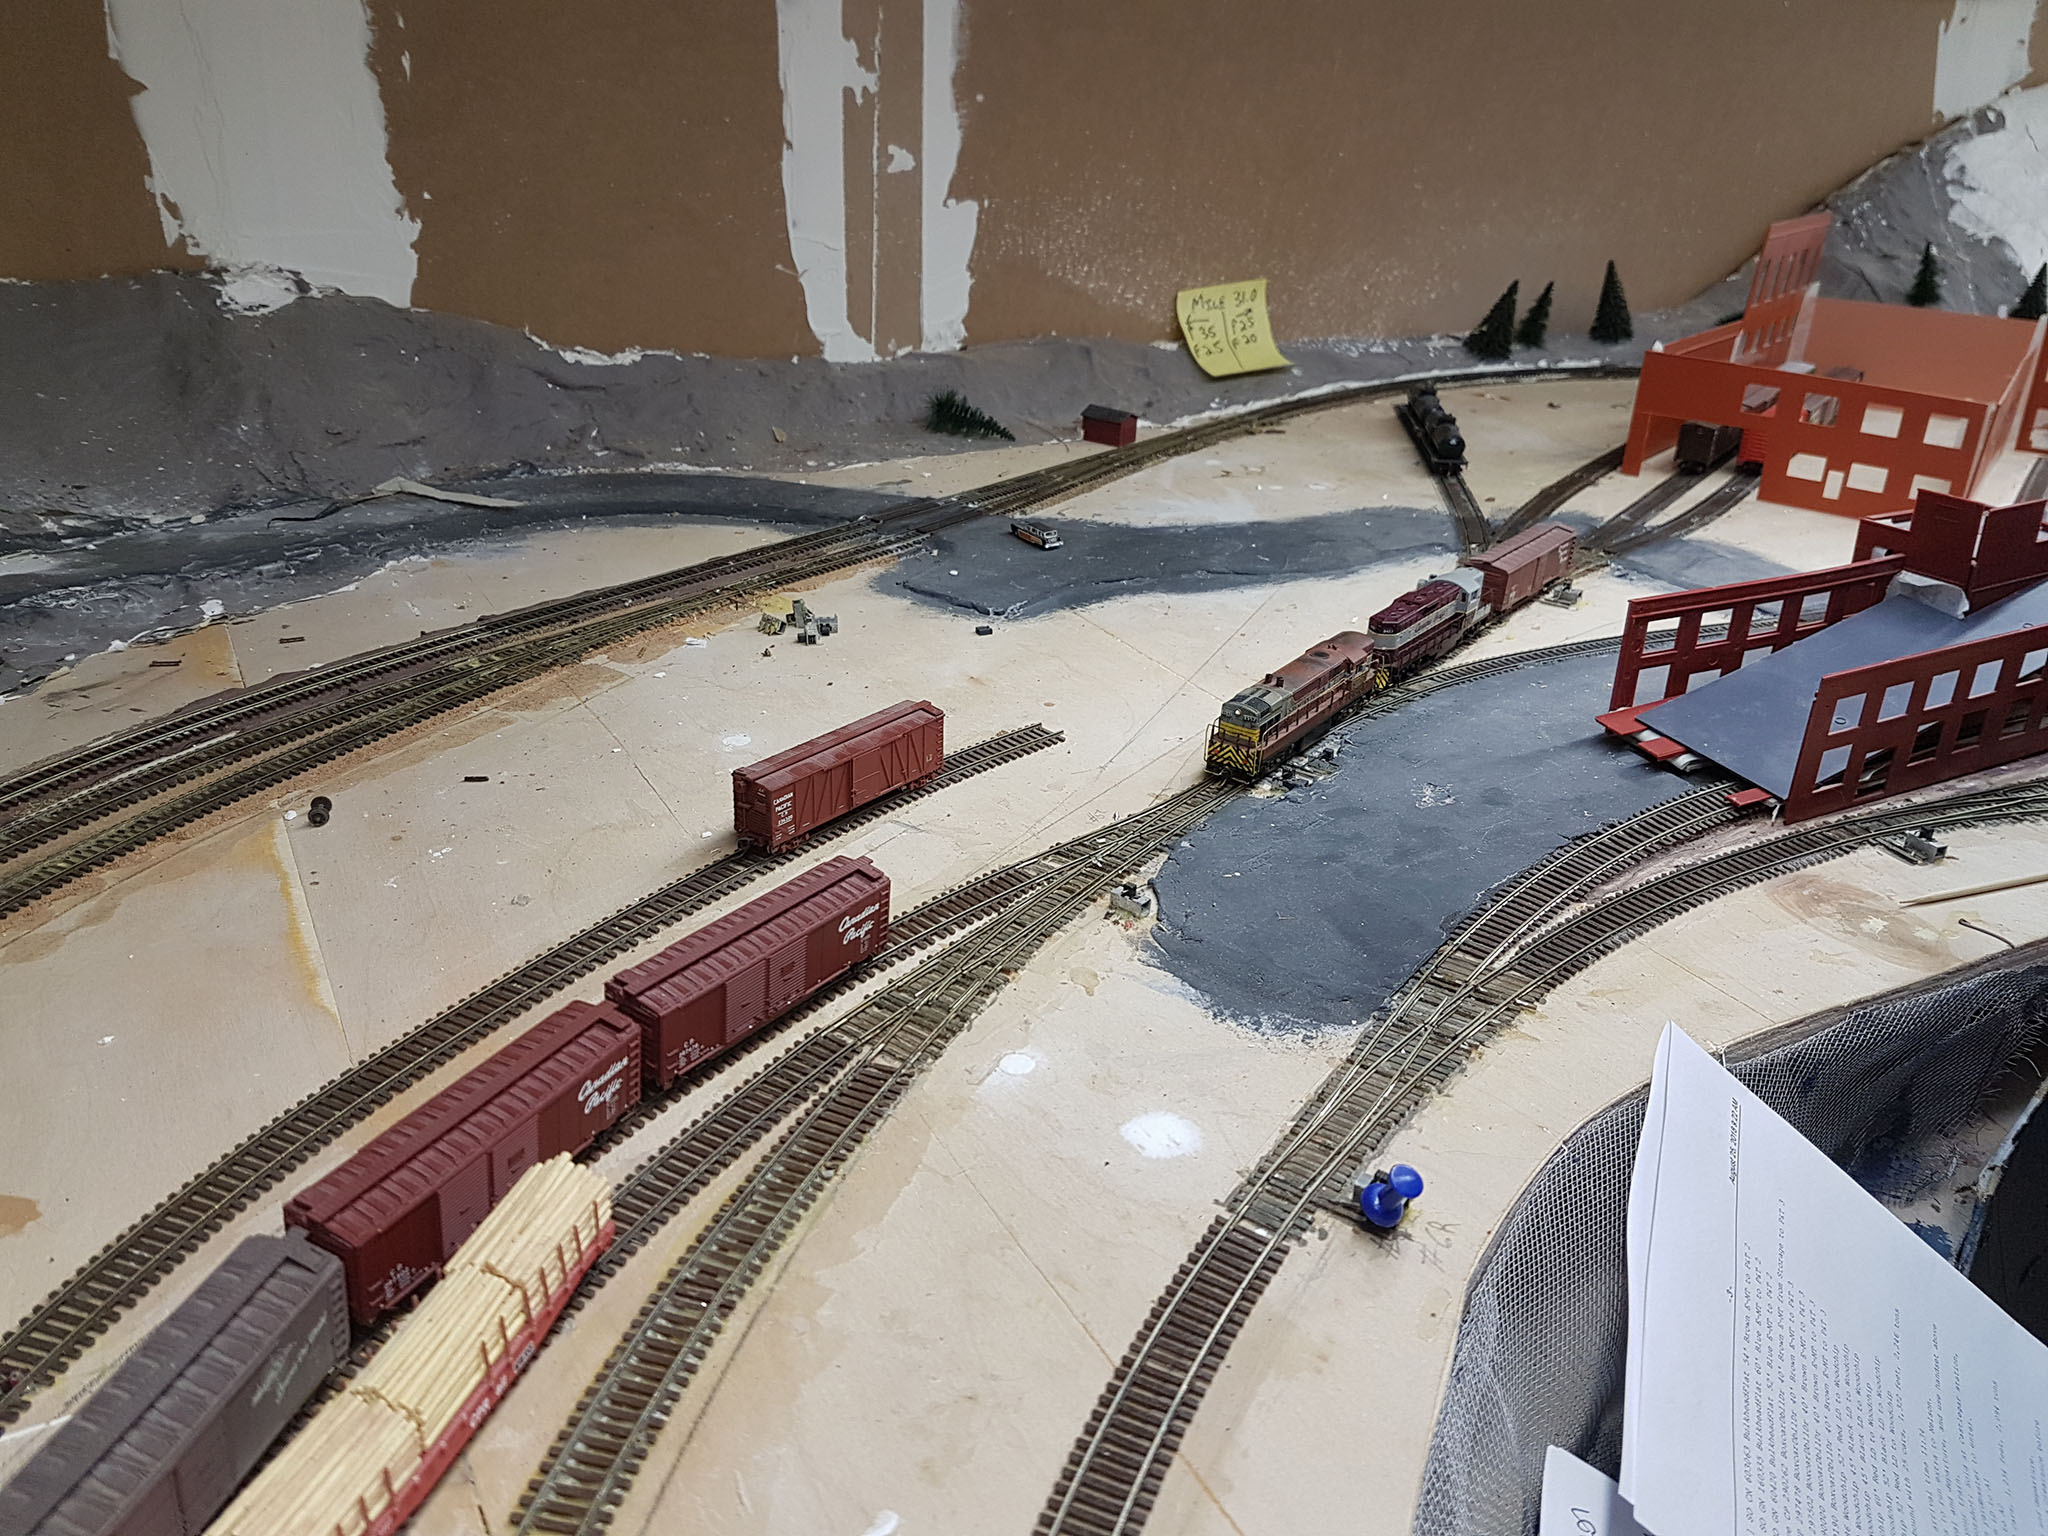
Long story short, 4 full length tracks was the goal, but how was I to manage that? I didn’t want to tear out and re-lay the entire class yard ladder. Mucking around in the west end felt inevitable.
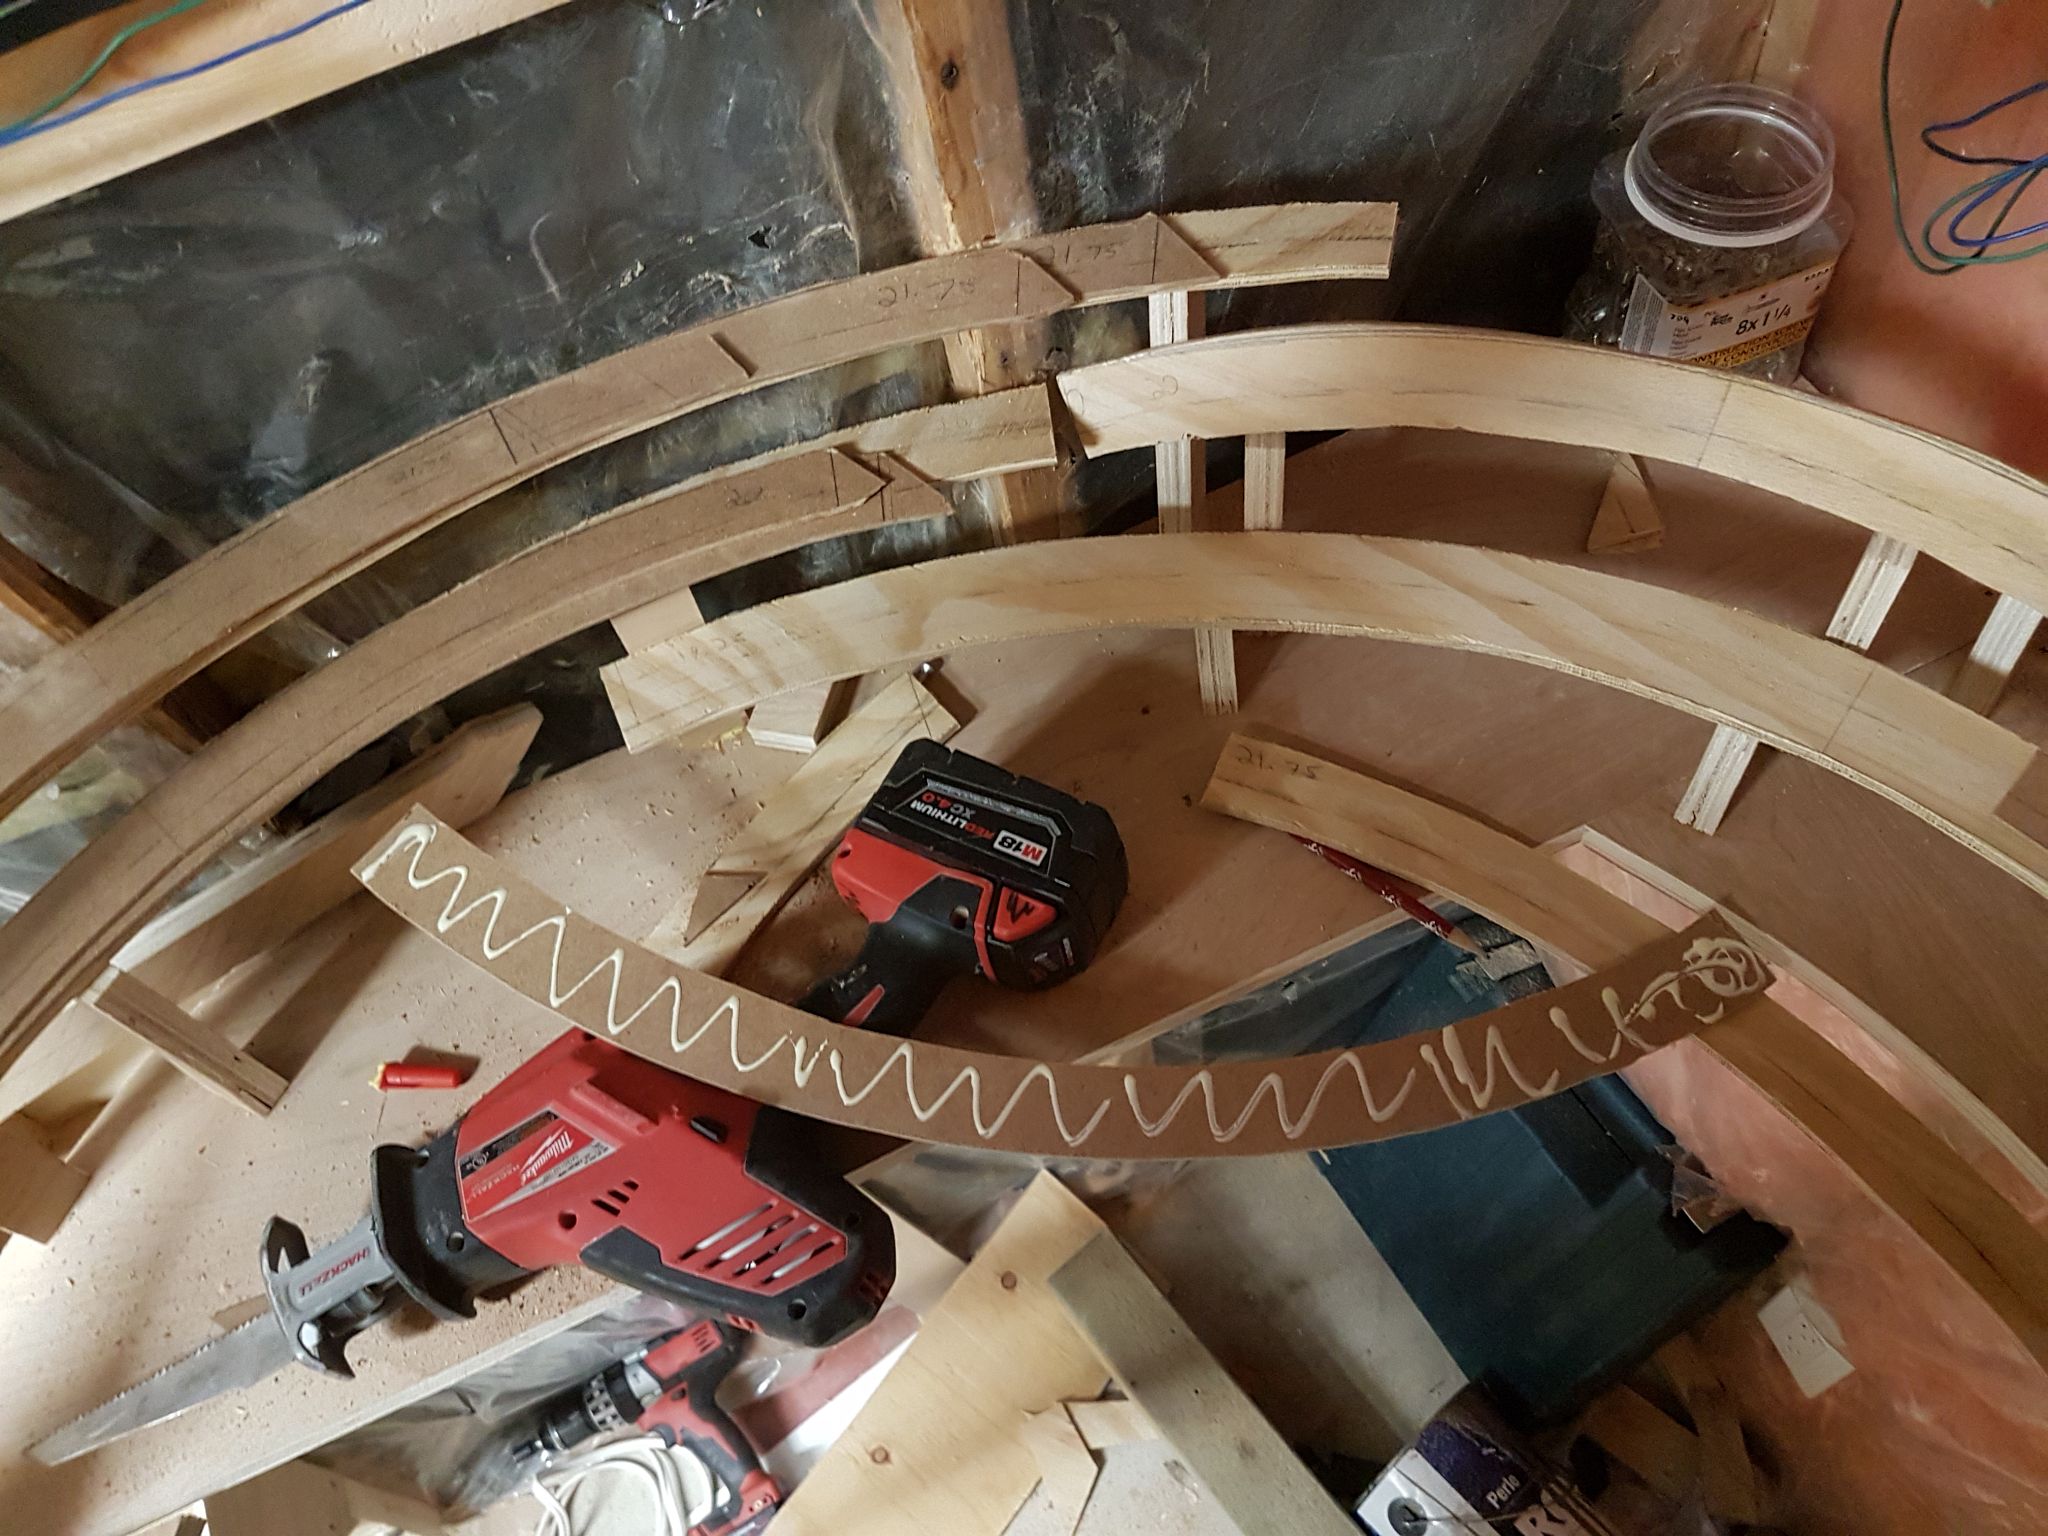
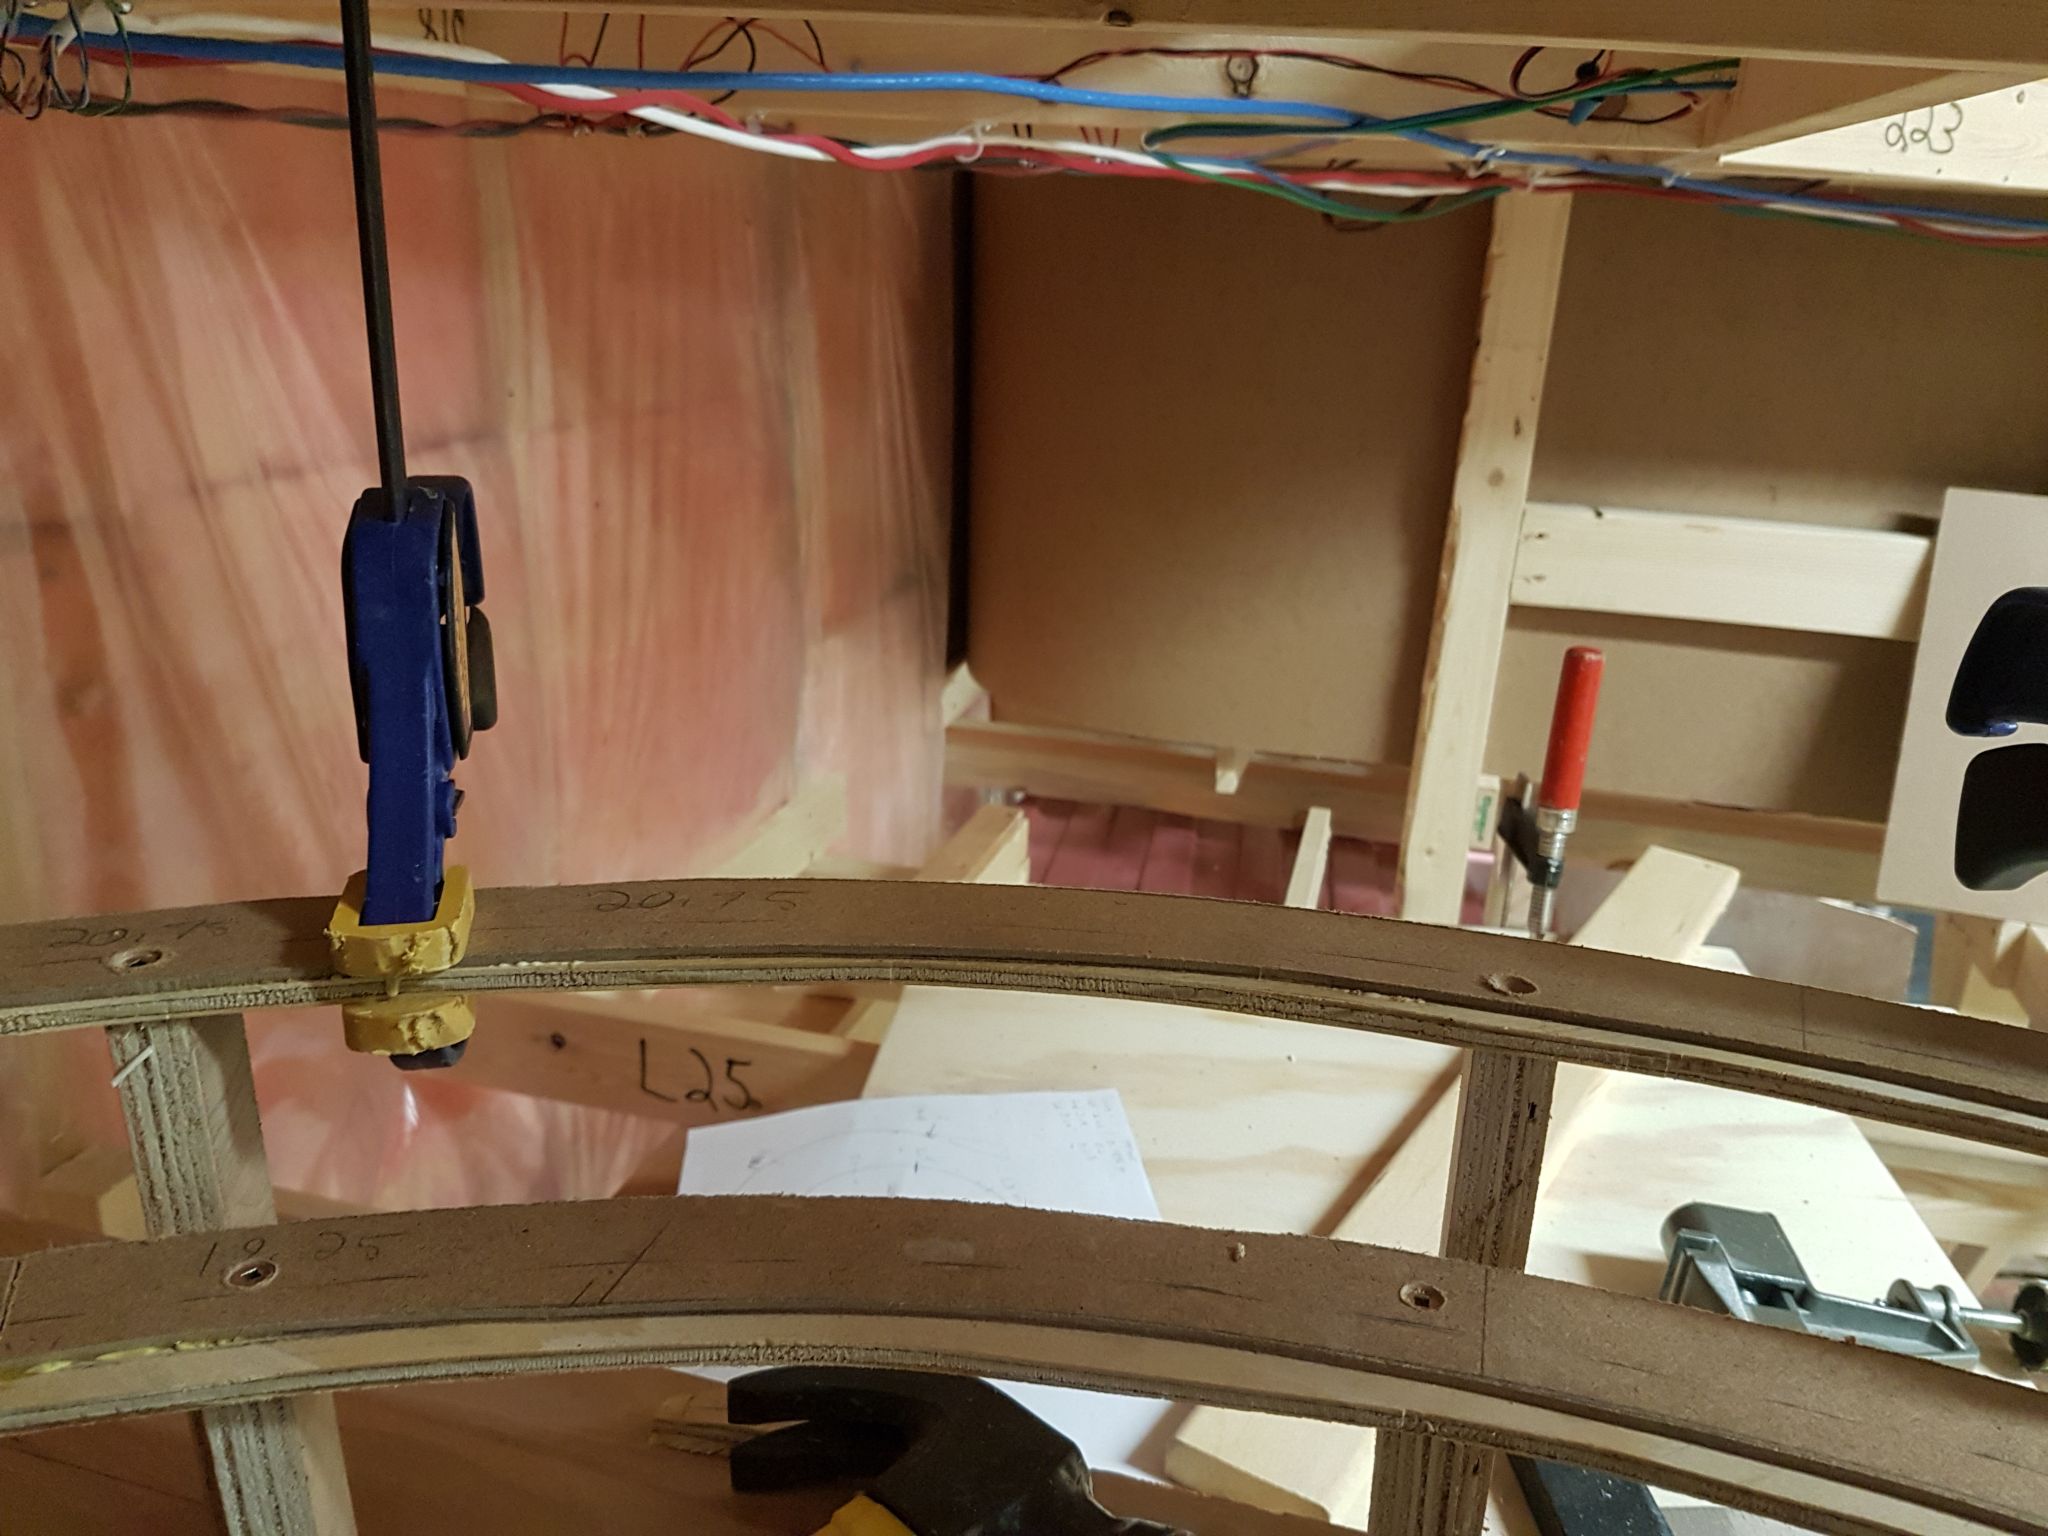
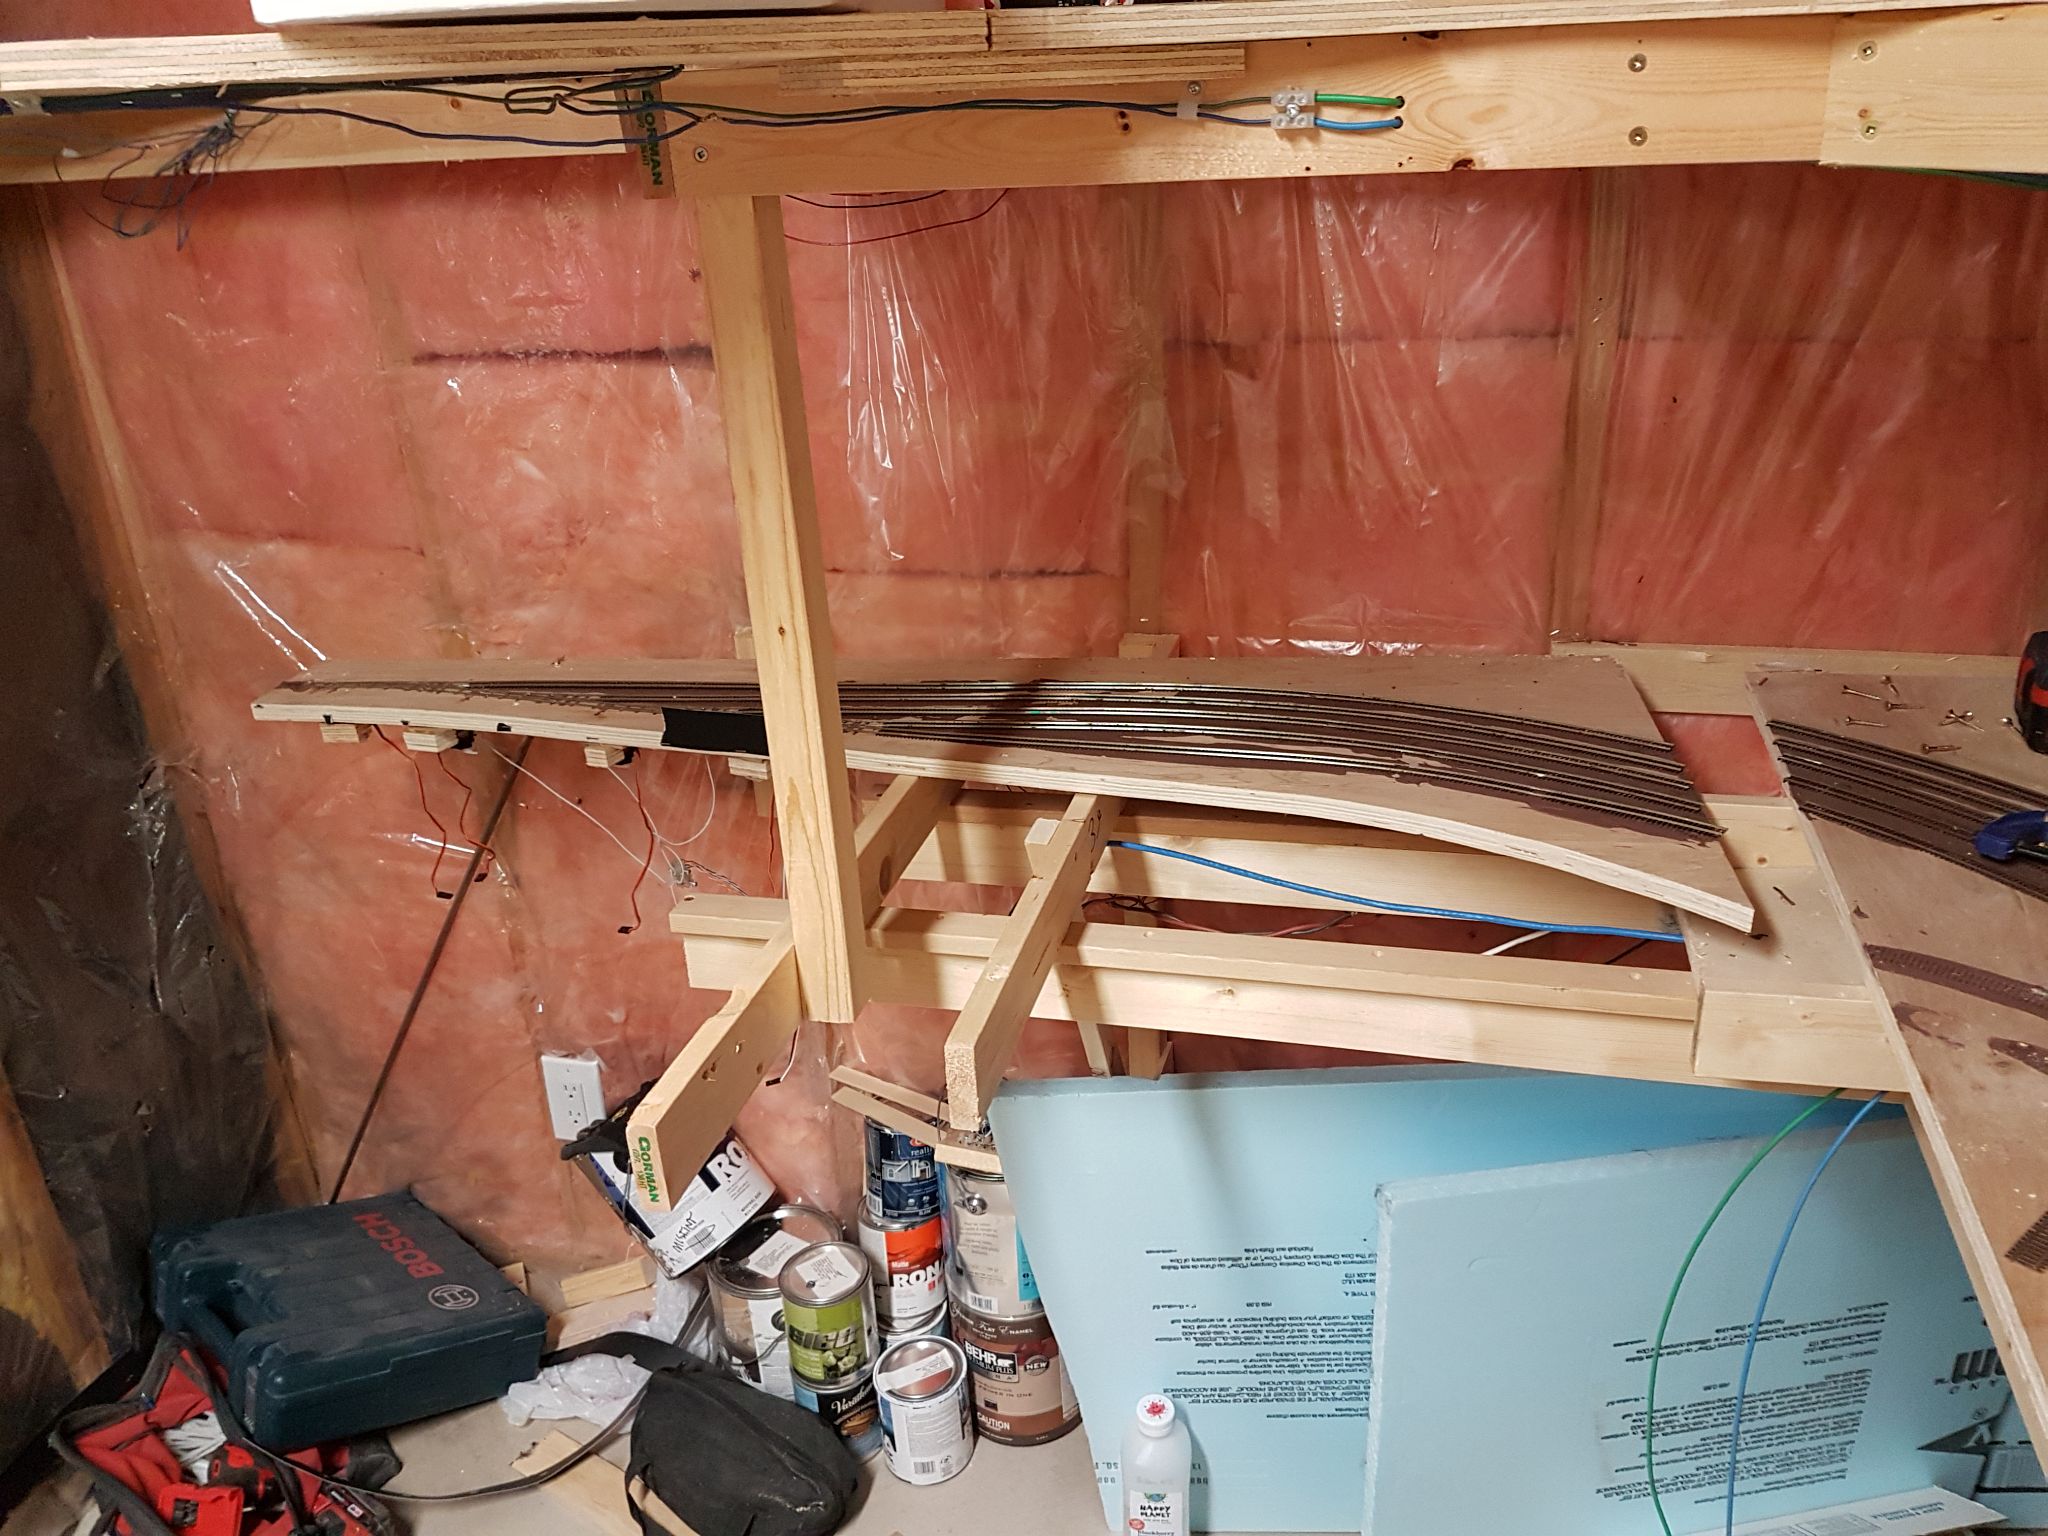
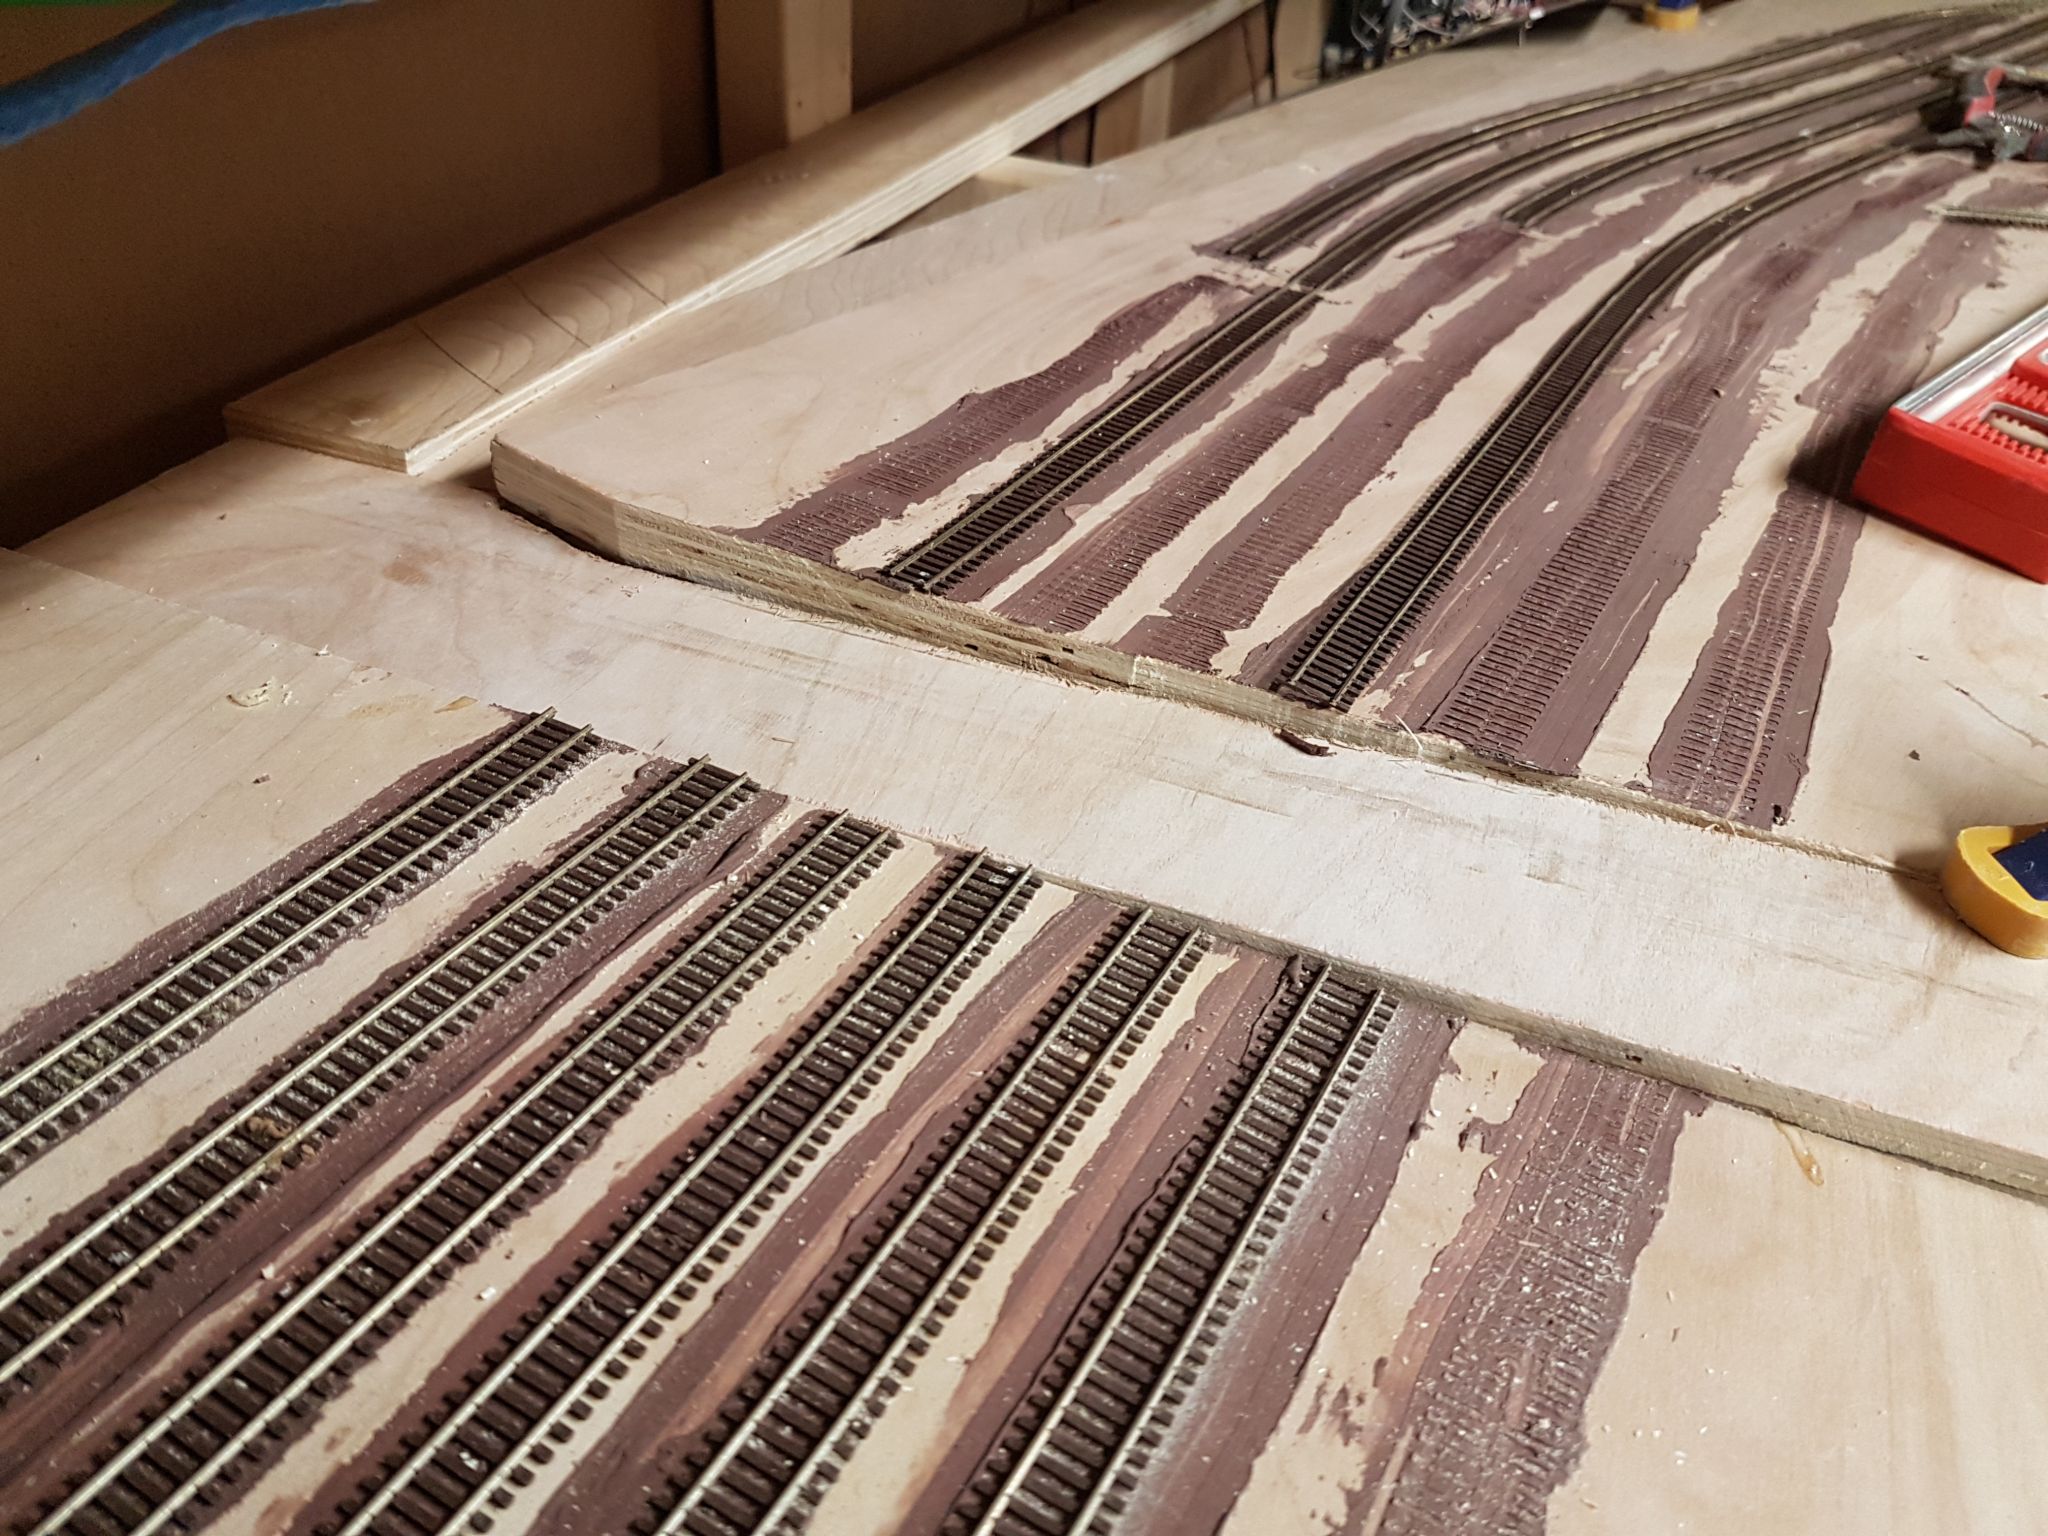
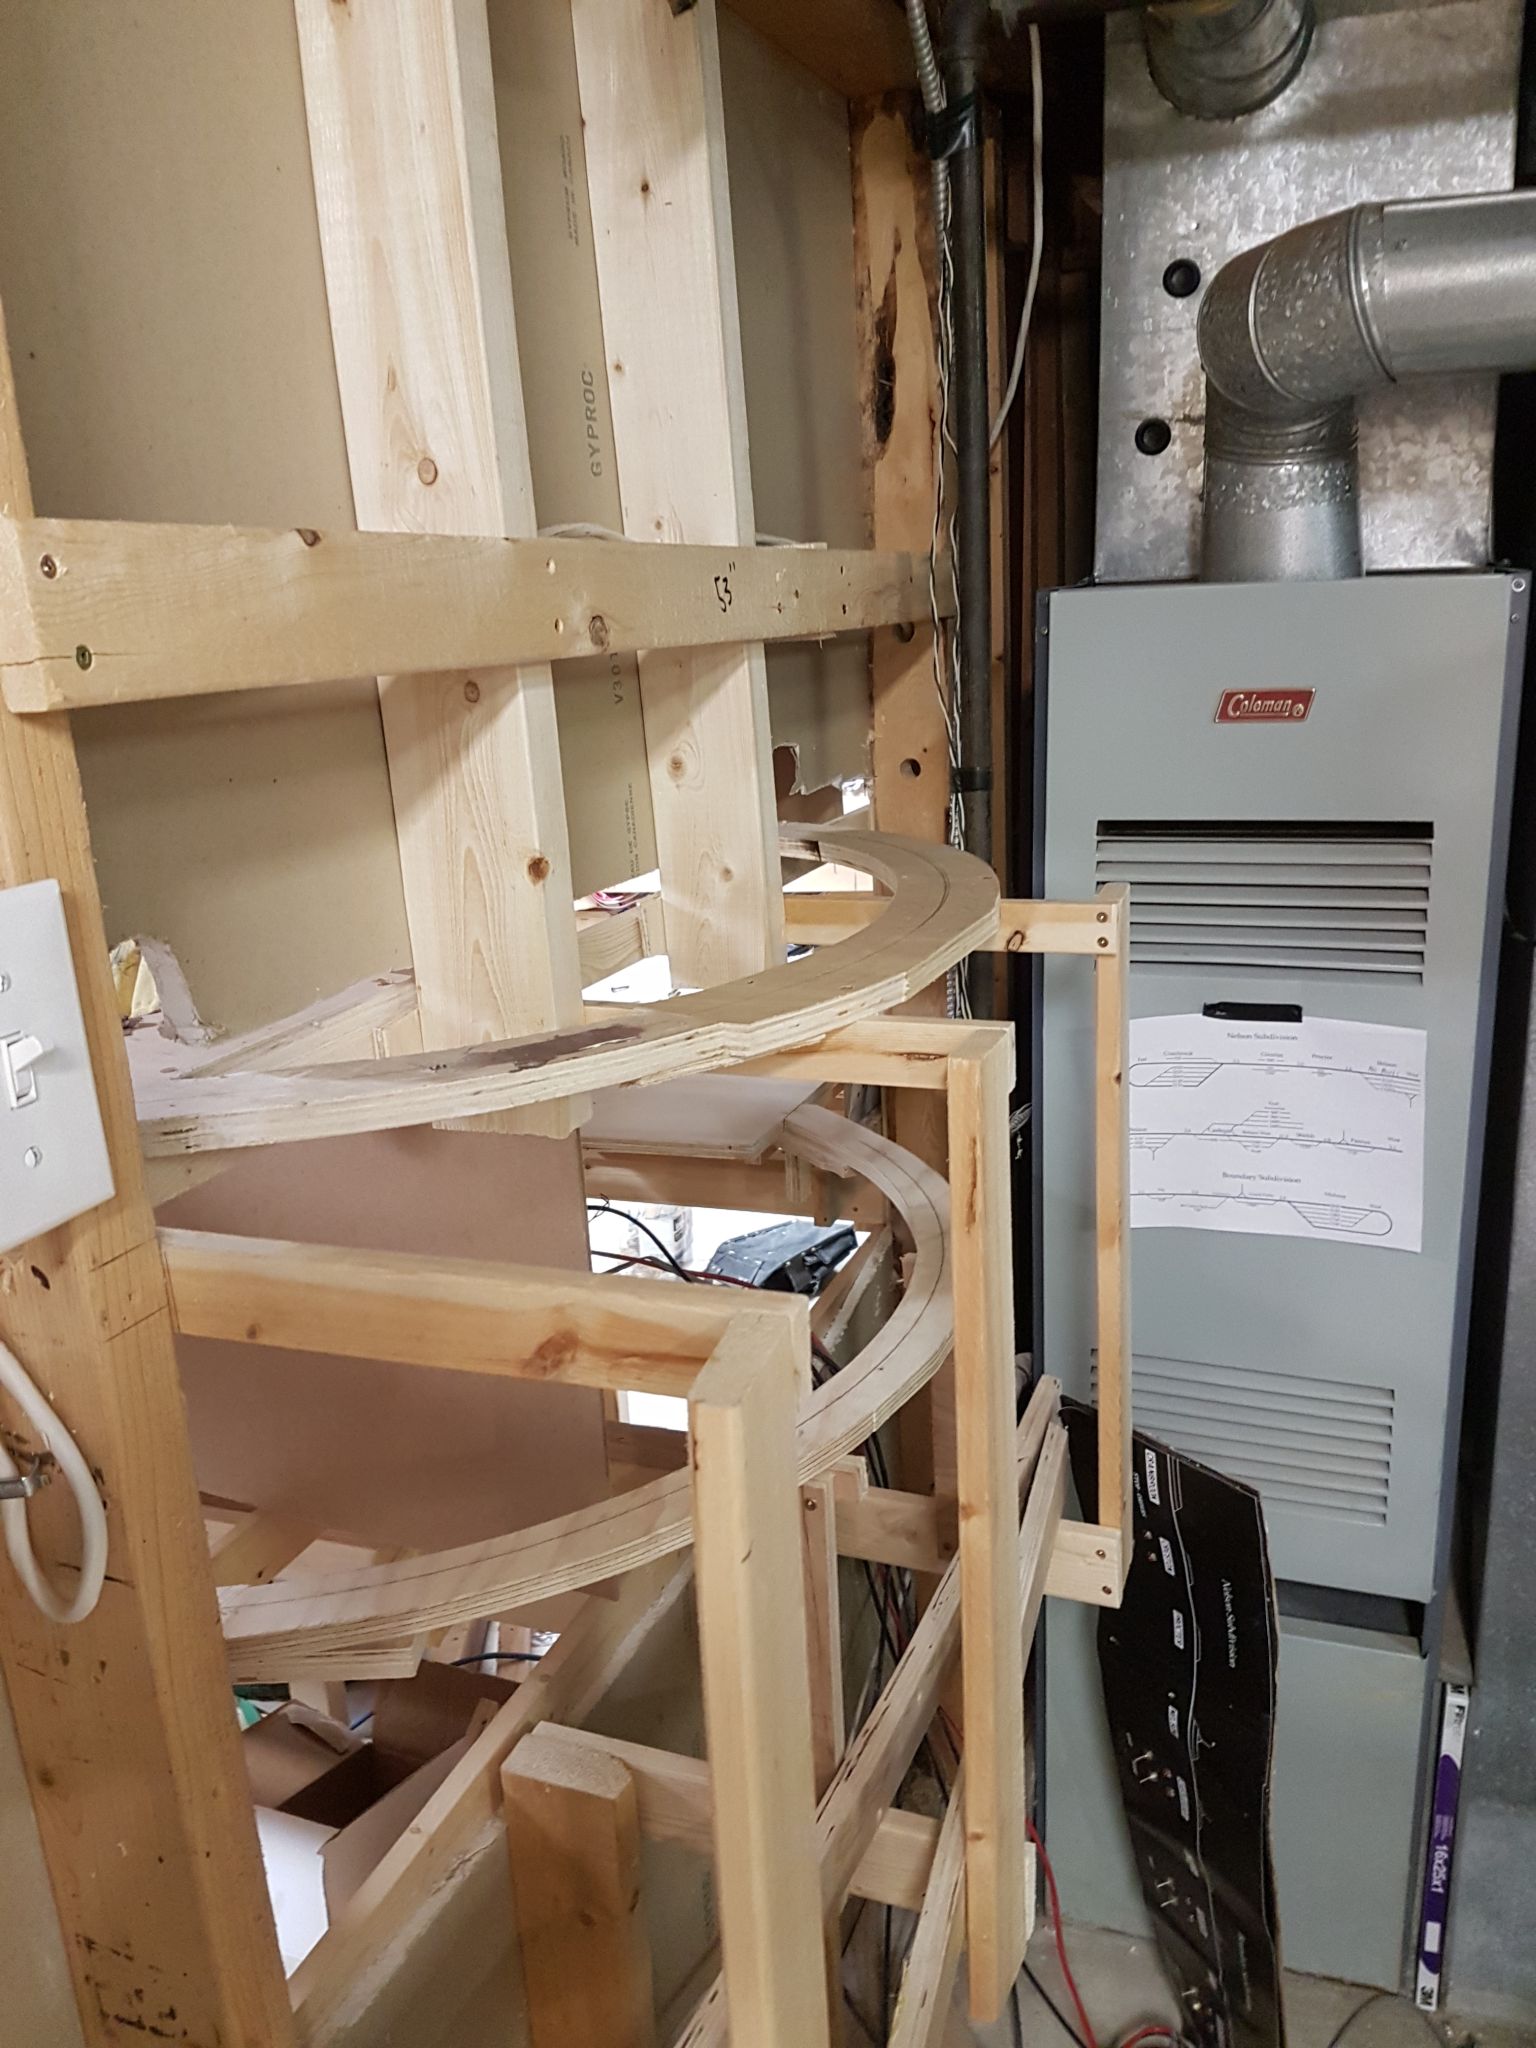
Enter the move. Great excuse. I decided that what I’d do would be to treat the yard a bit like a switchboard and, leaving both class yard ladders and the east ladder intact, slide every single track to connect to the next one over at the west end, so the mainline would be on a new track, 1 would connect to the old main, 2 would connect to old 1, etc, and then build a new west ladder for the A/D tracks to smooth it all out. I also removed the crossovers that go from 1-3 because in all the op sessions I’ve had, I think they’ve been used exactly once.
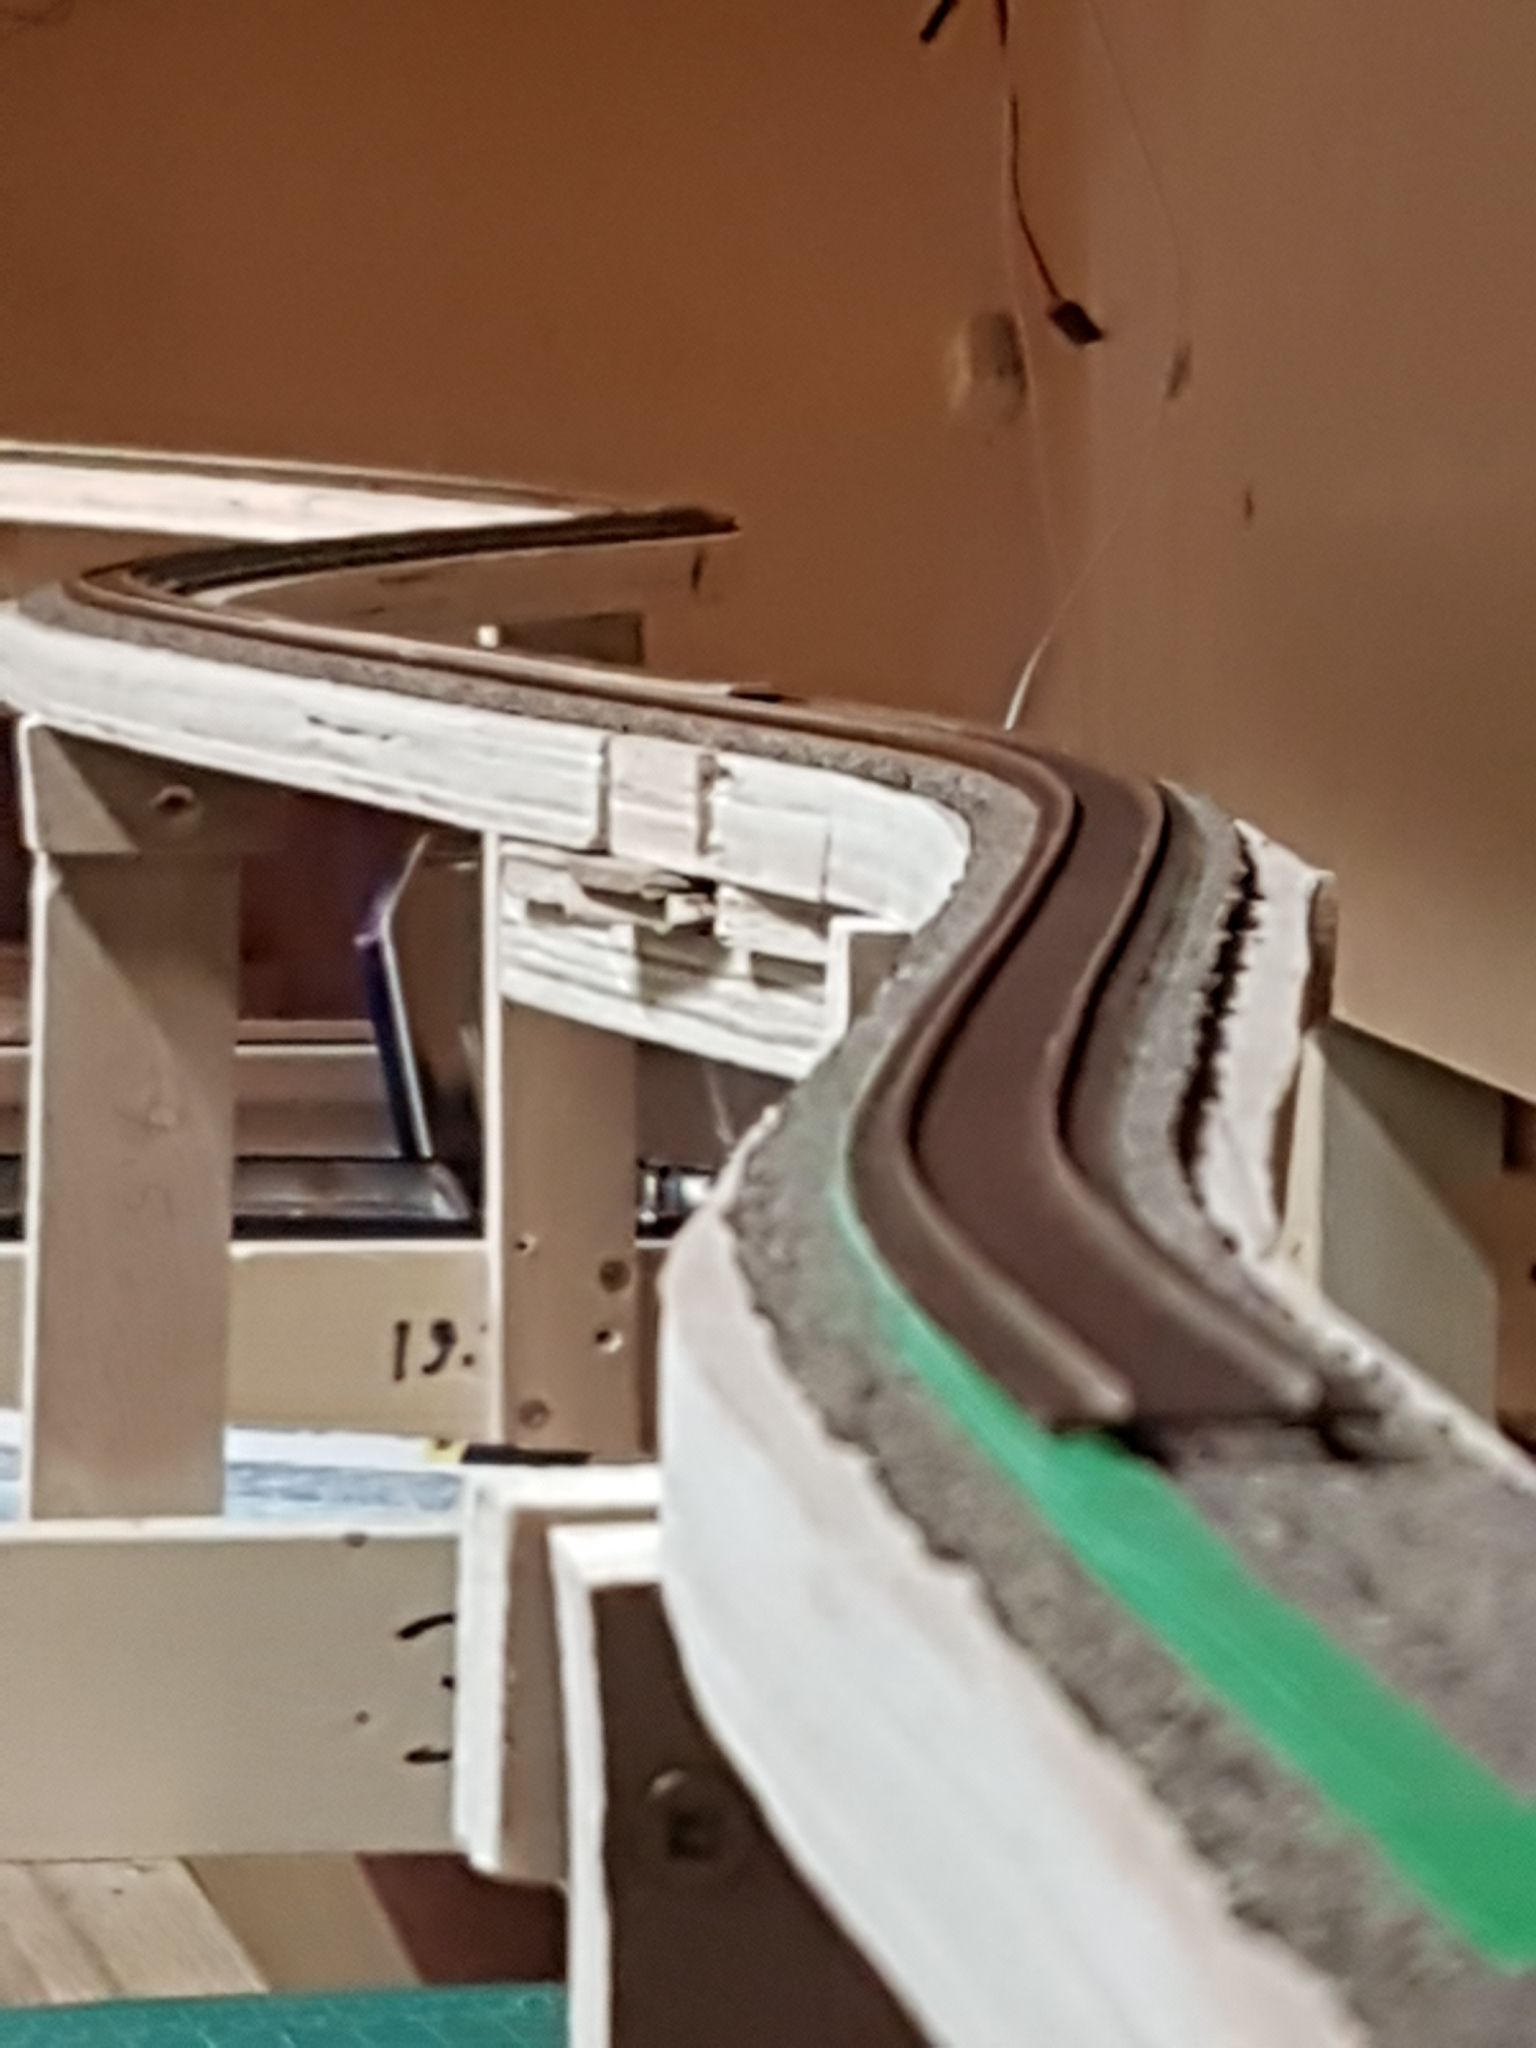
Closeup of before/after:

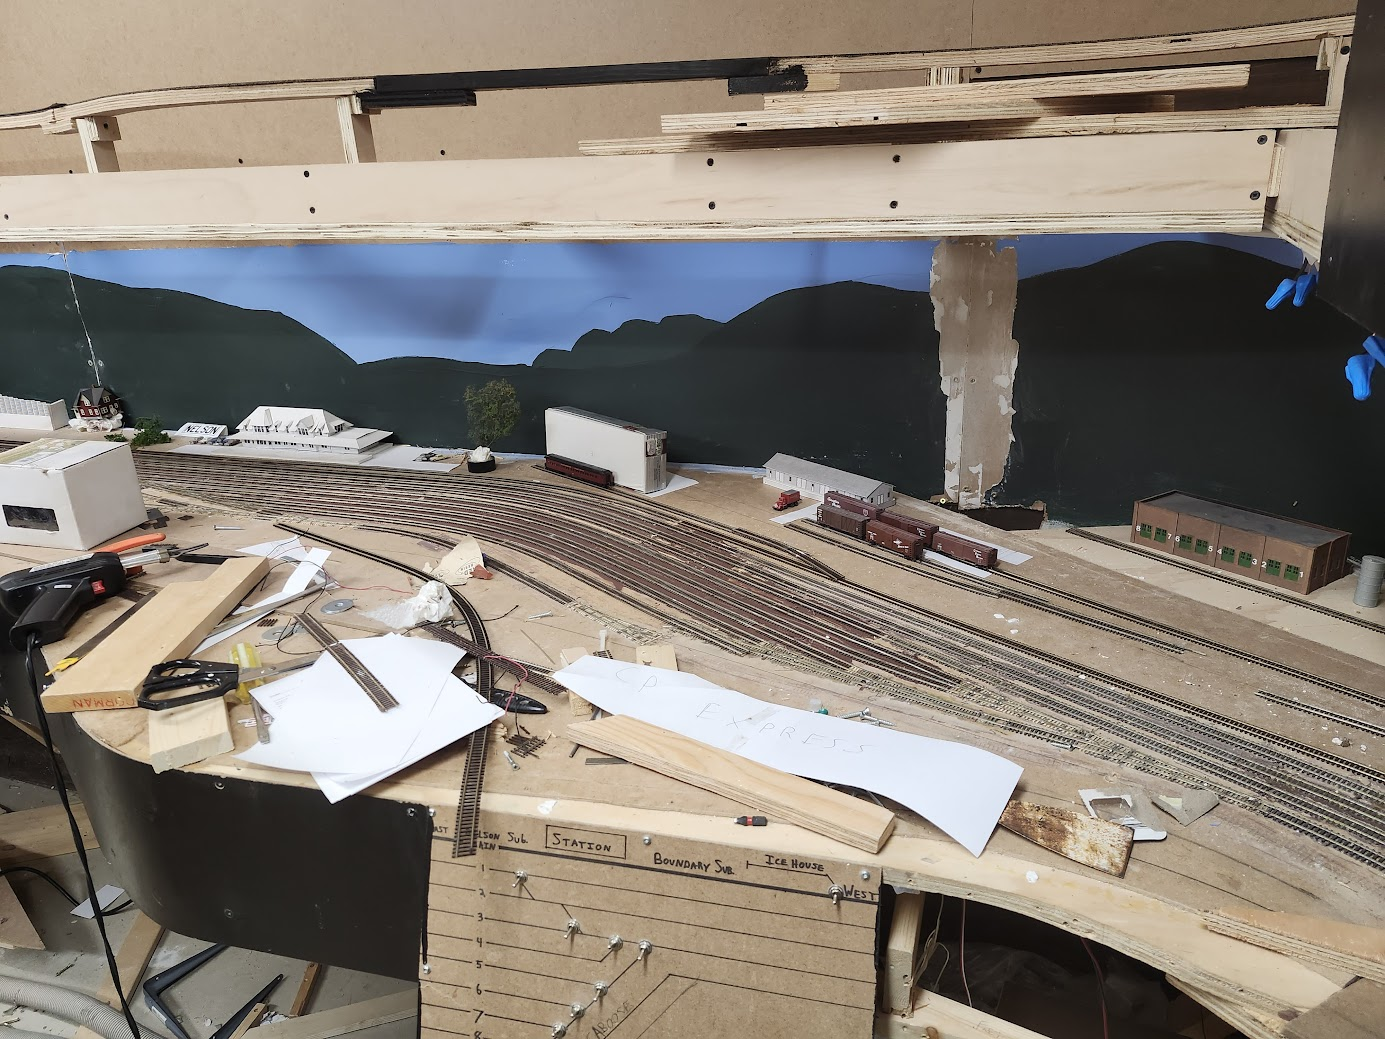
These don’t line up perfectly because of the slight rotation I had to do to match the very strange wall in the new room, but you can tell how I preserved the west class yard ladder and added more bulk toward the west switch. I had one extra switch I didn’t know what to do with in the class yard at this point and toyed with the idea of adding a scale track, but it just all seemed too tight to manage. Maybe I’ll change my mind before I finish, though.
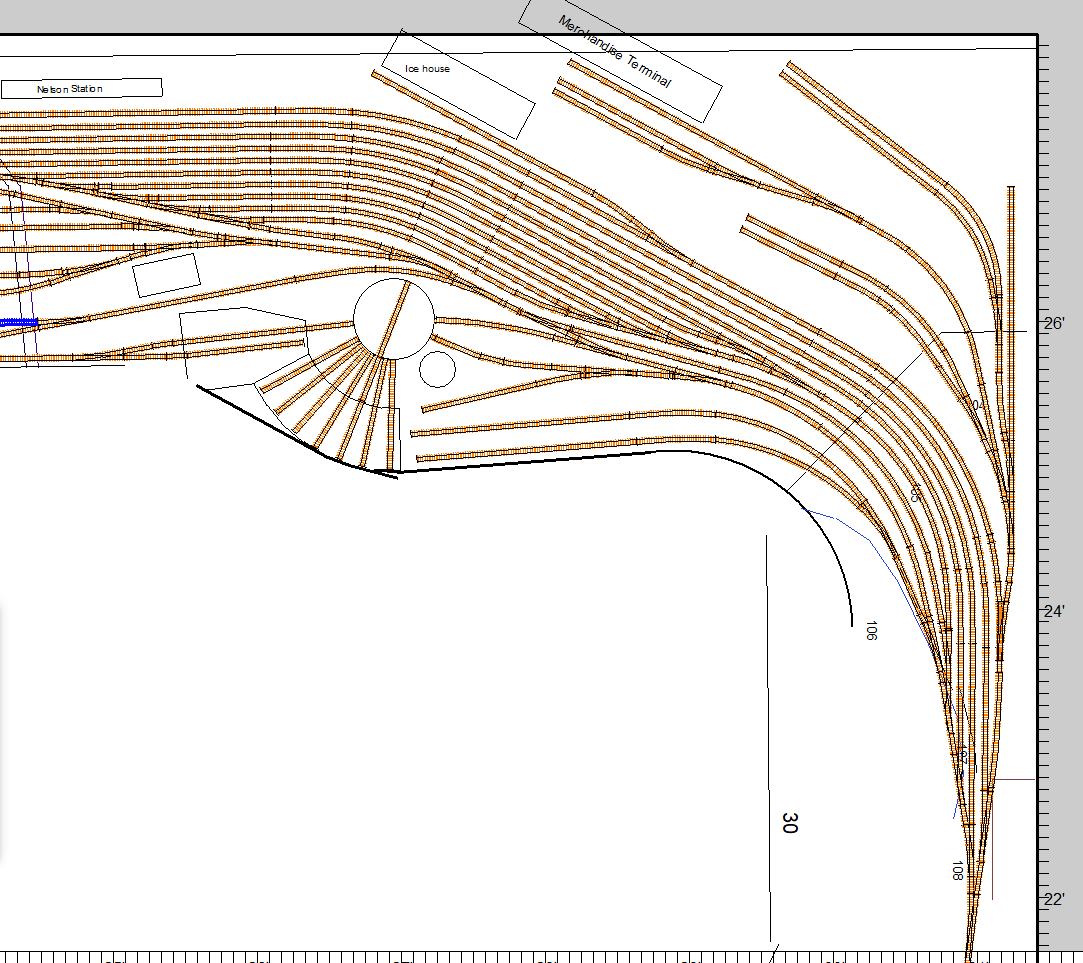
Next up, you’re probably thinking “What are all those tracks that appeared??”
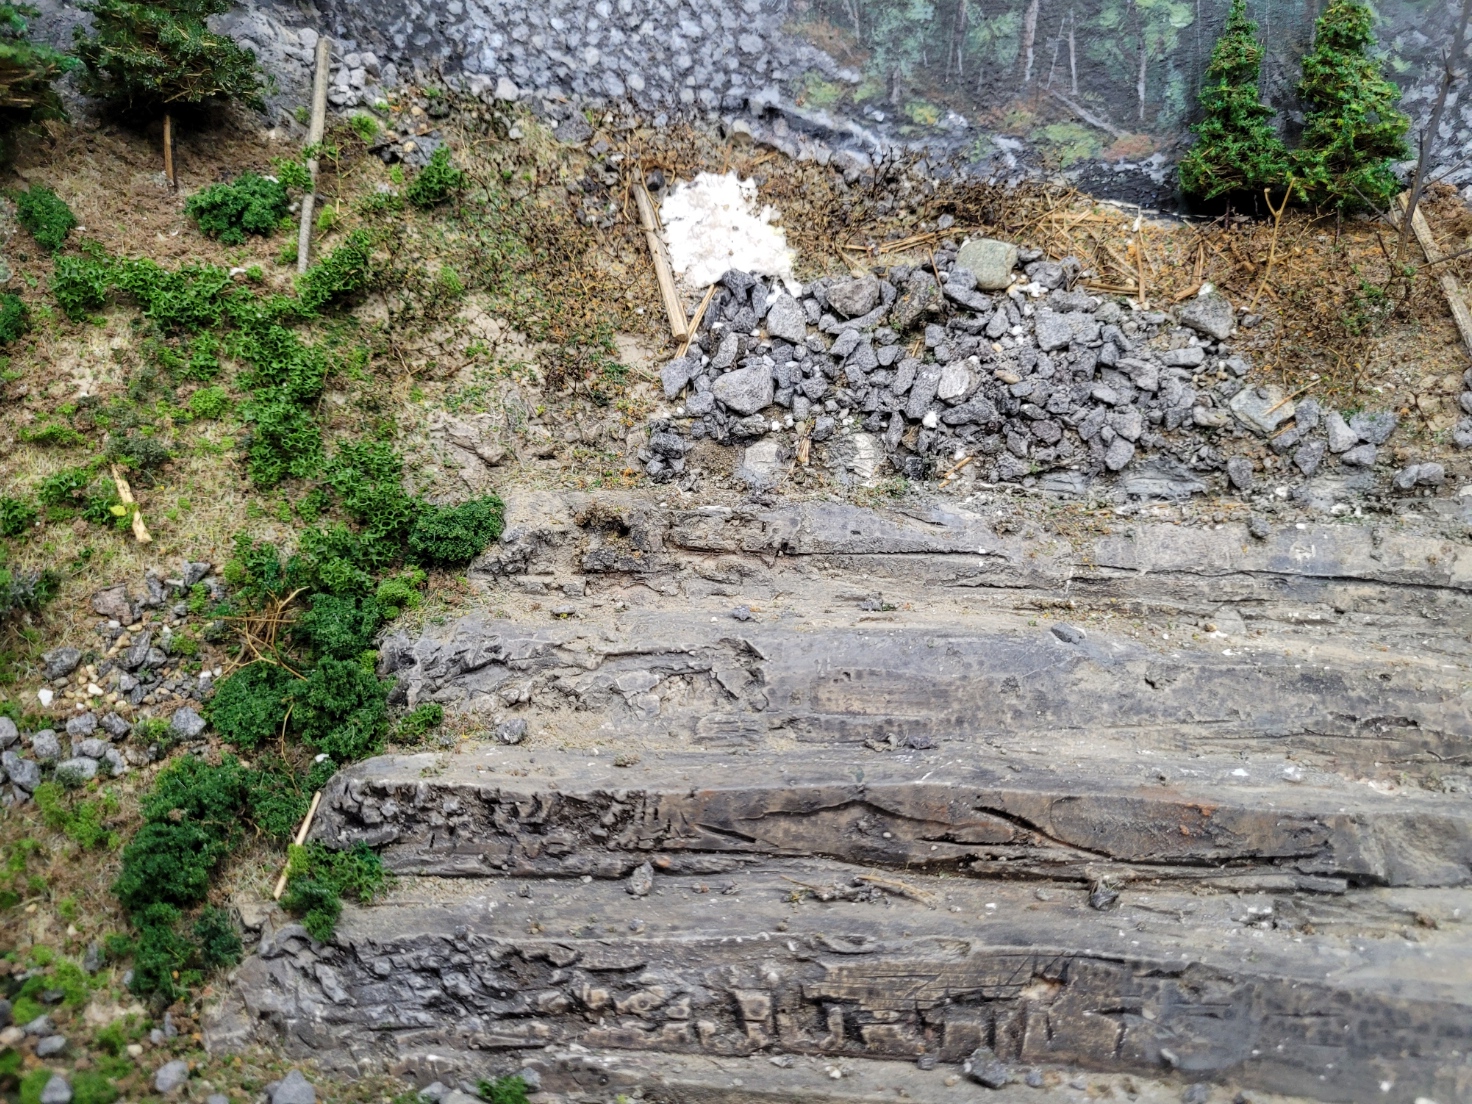
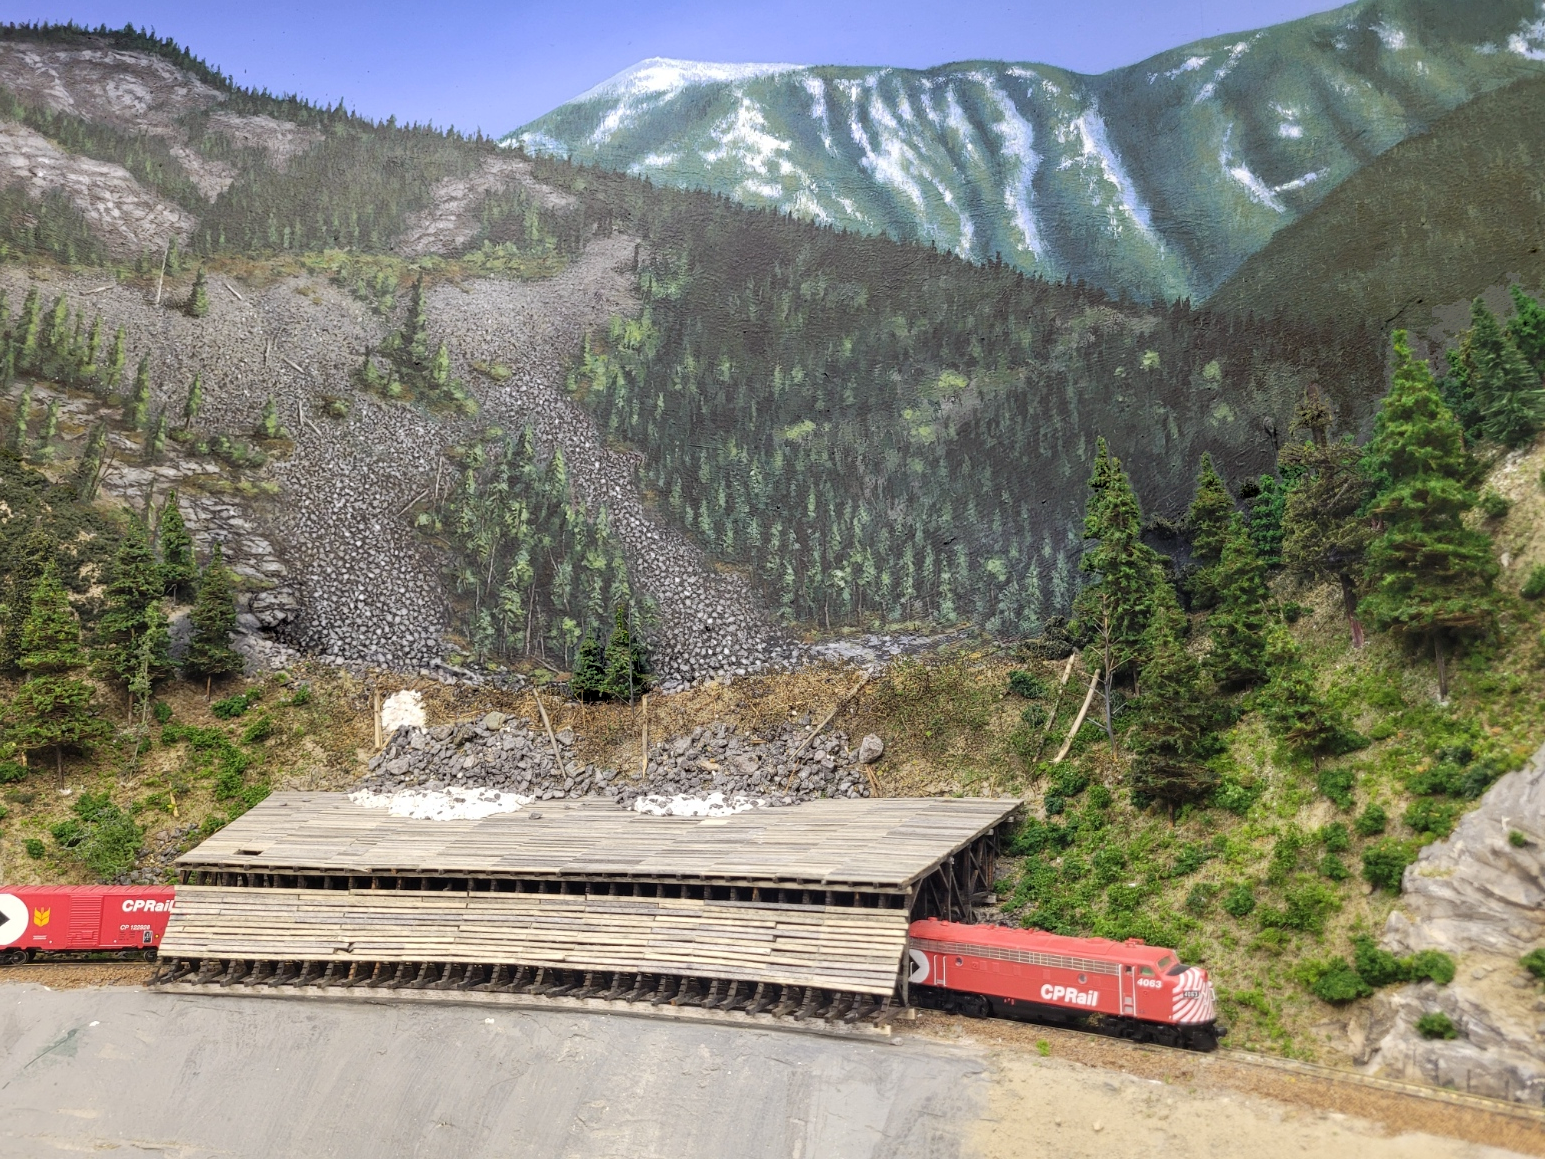
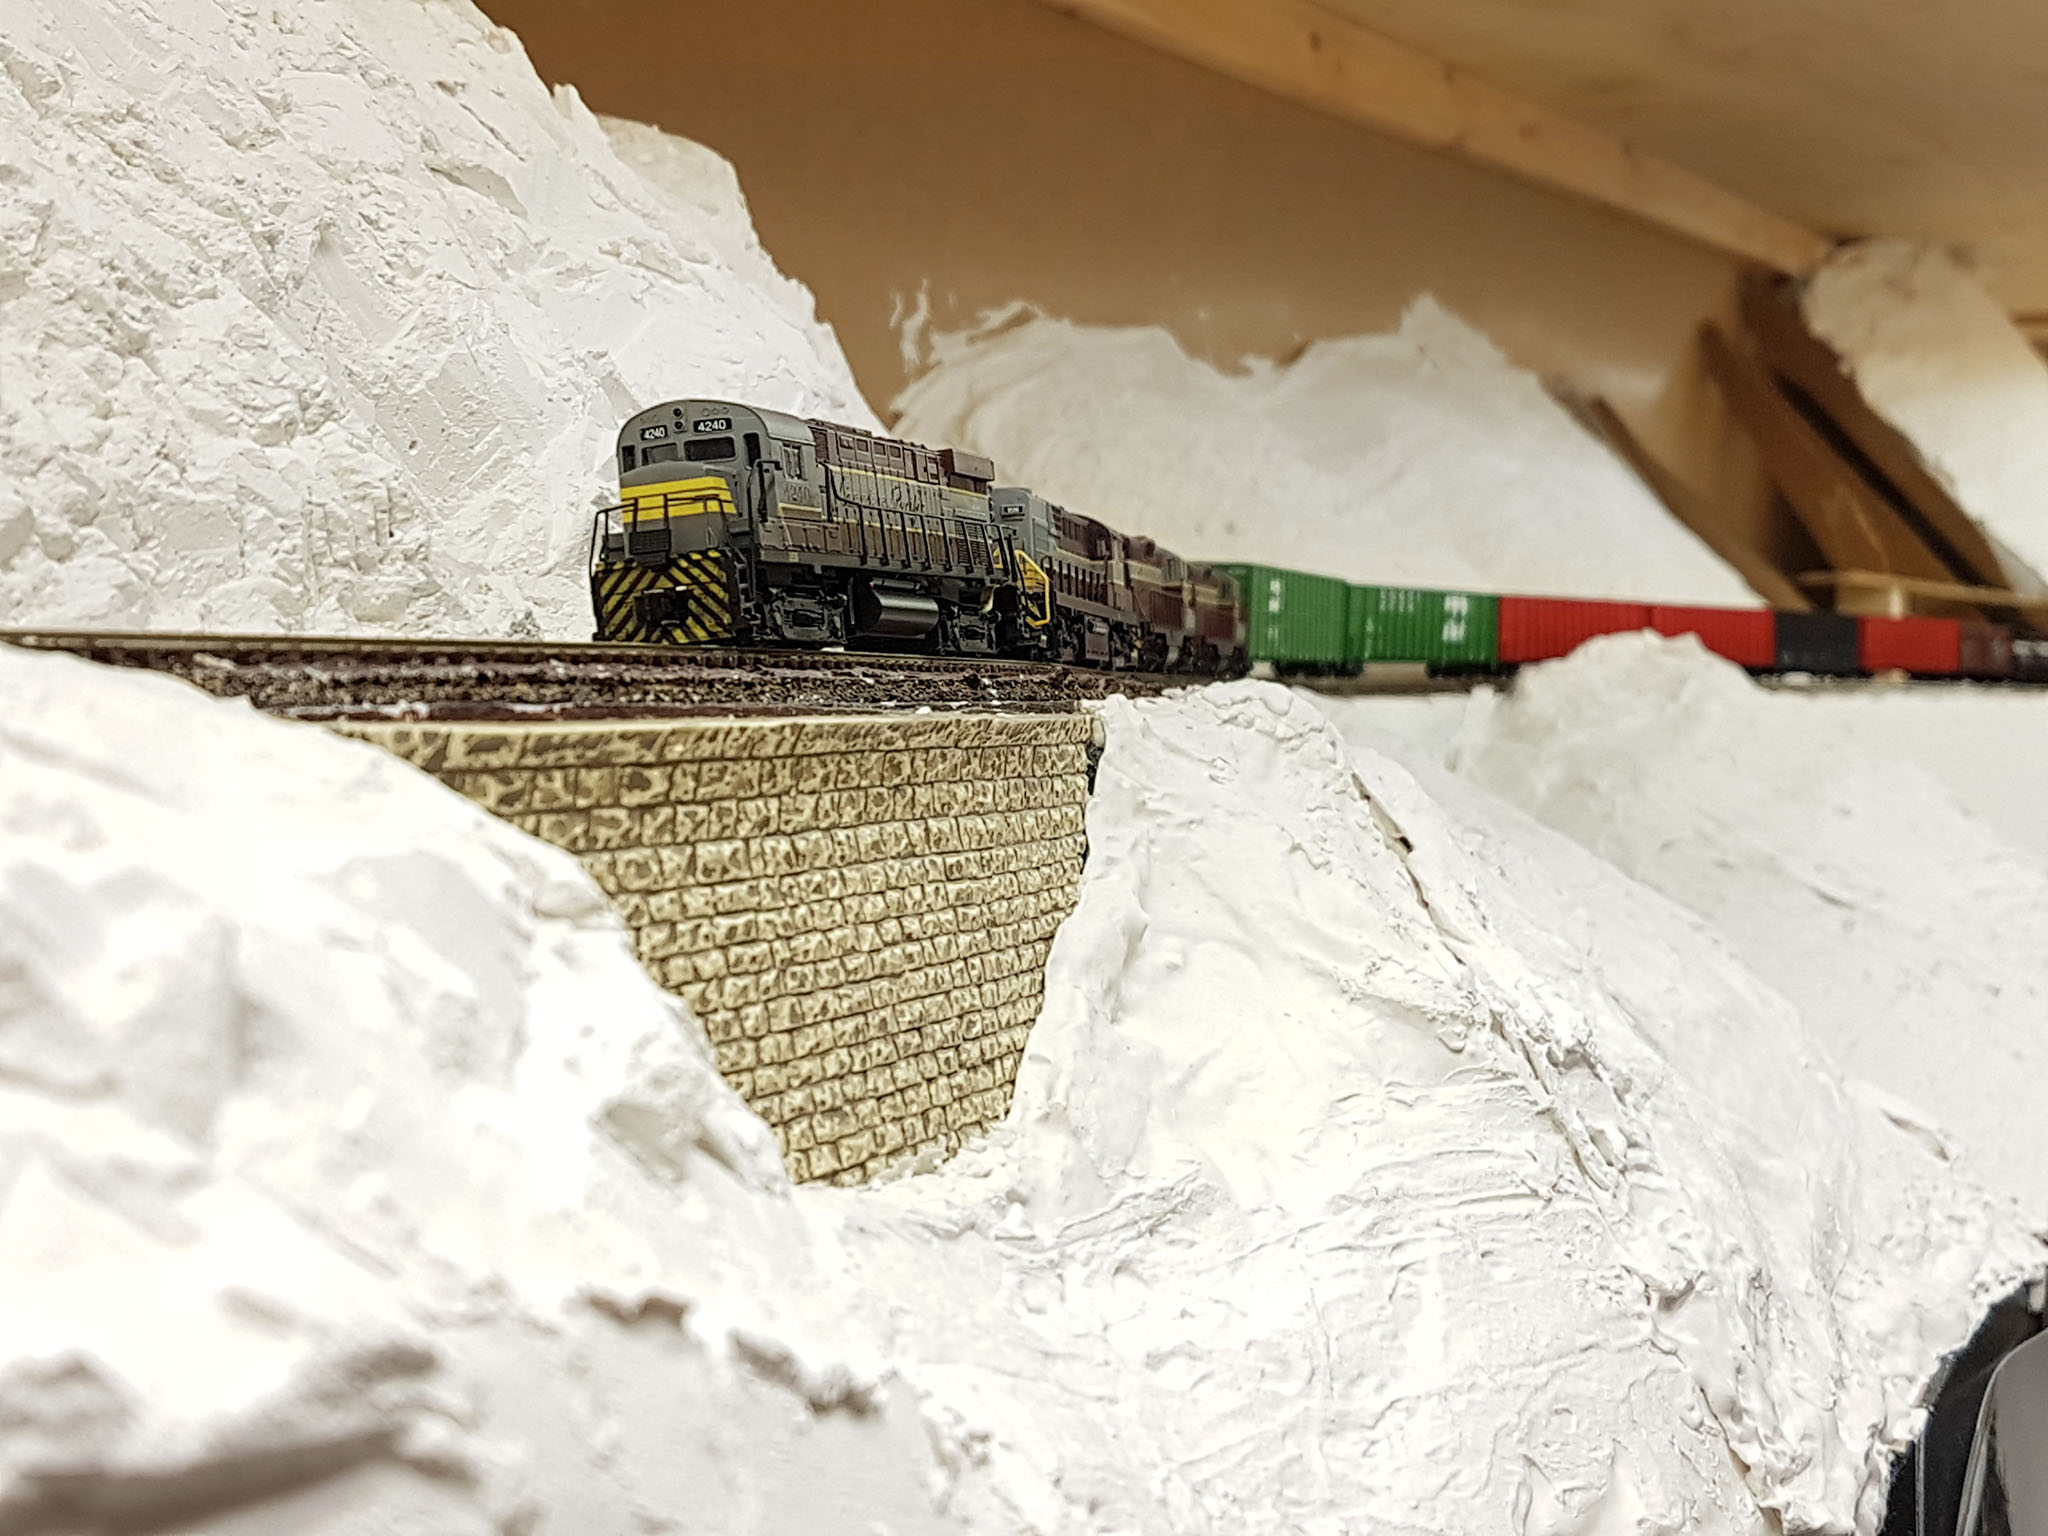
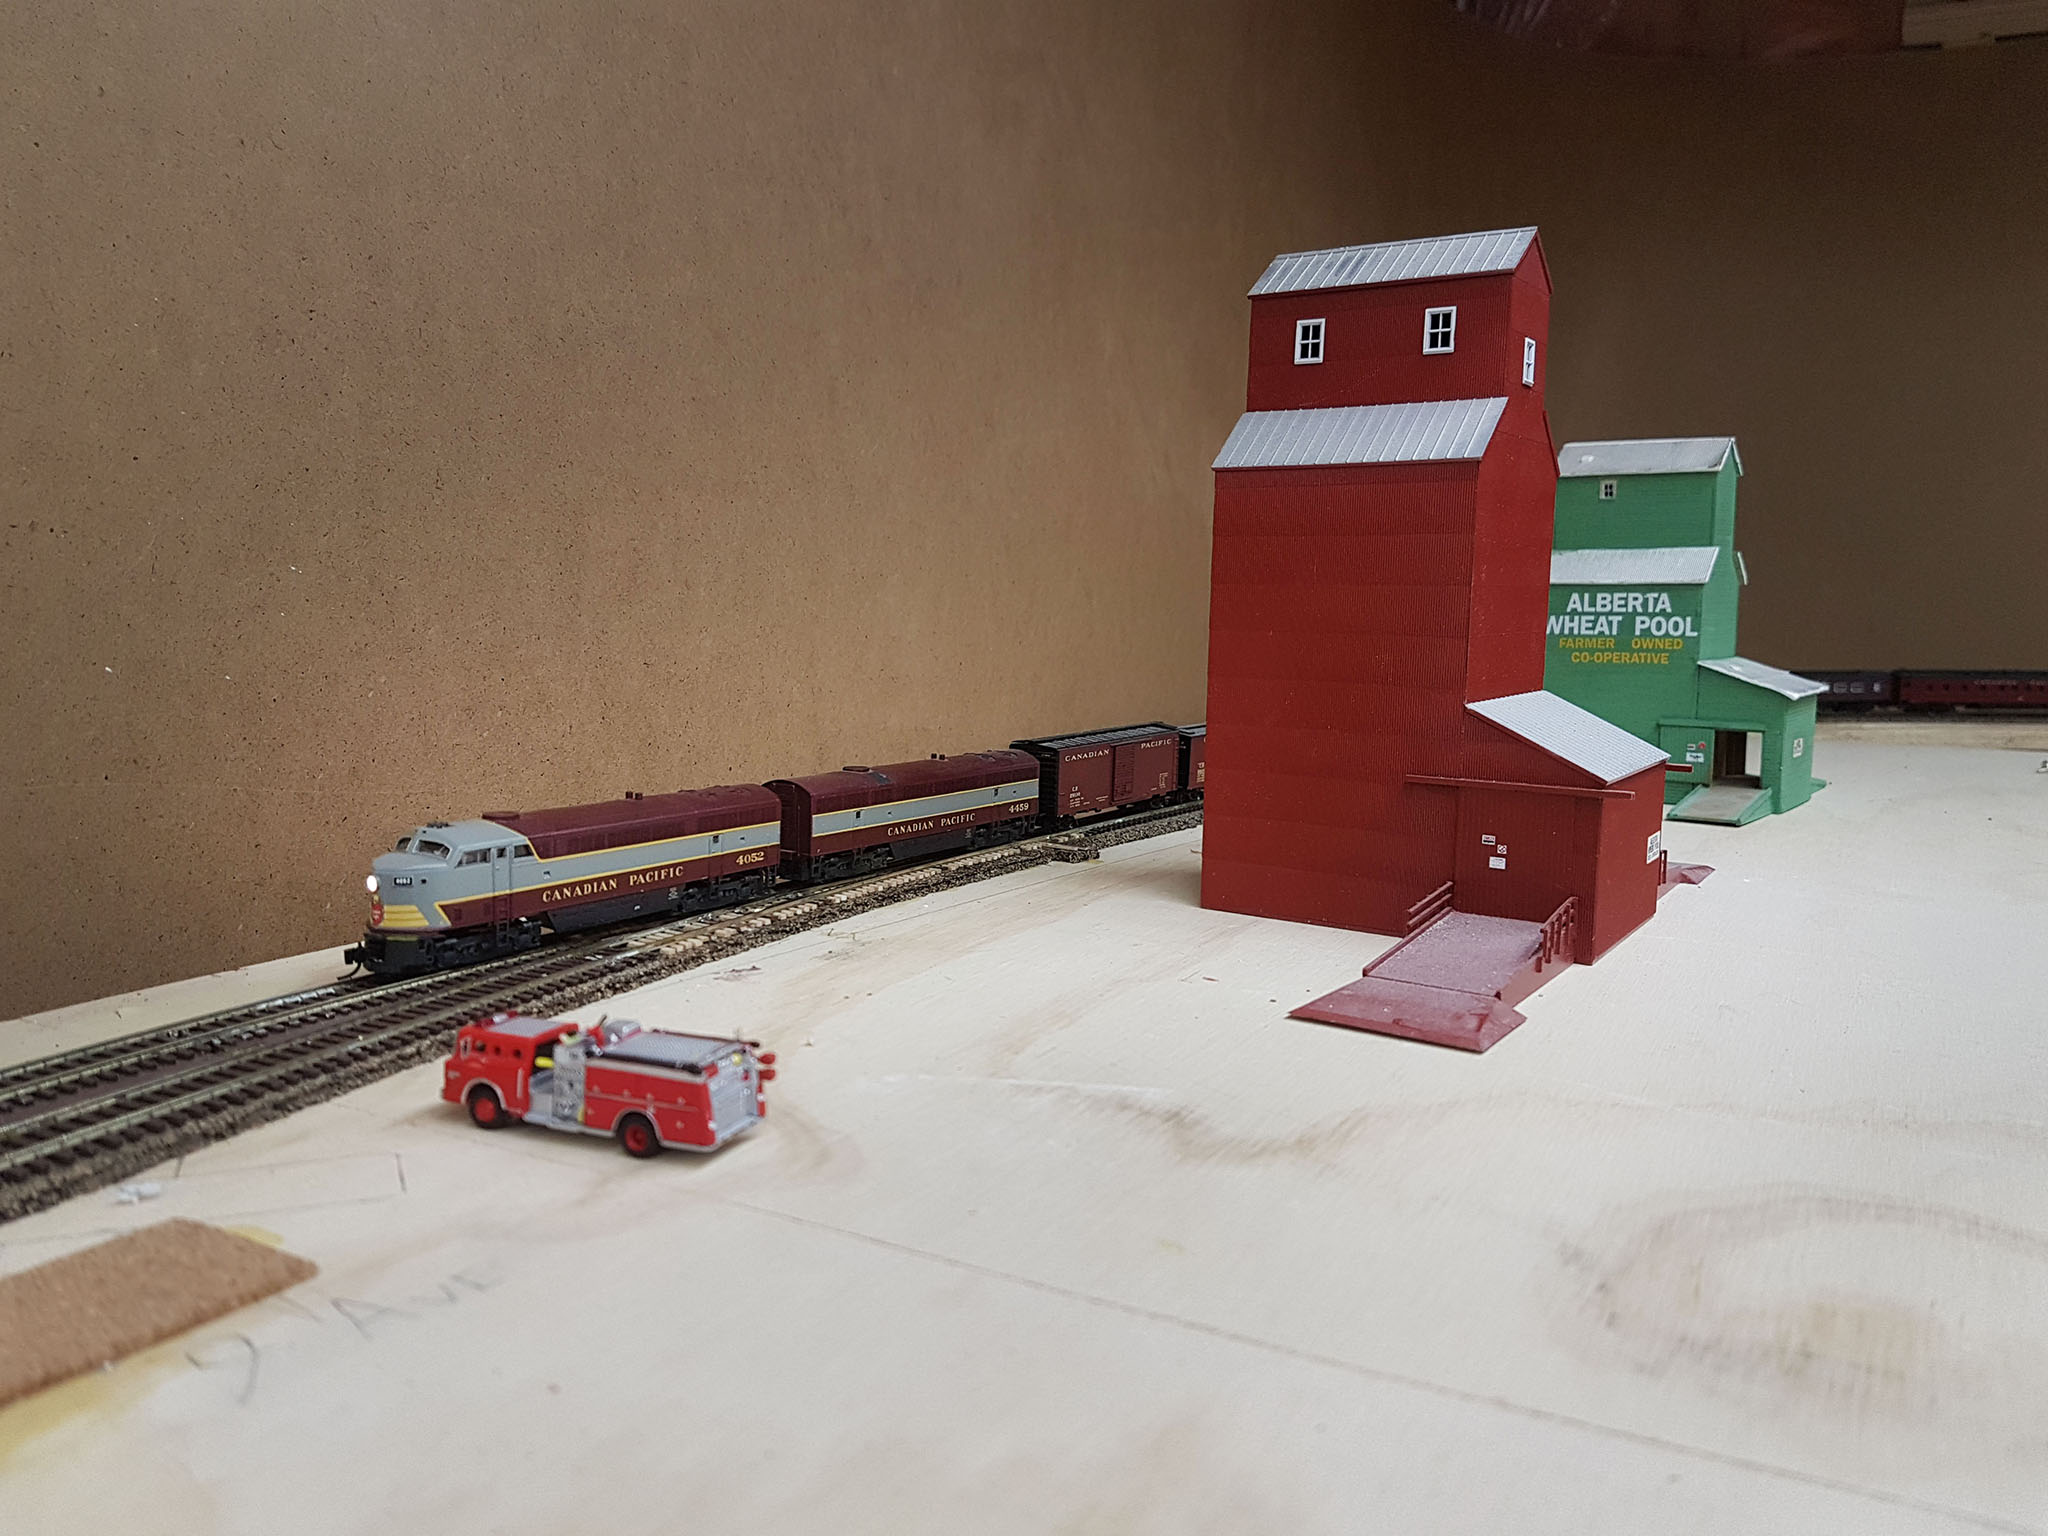
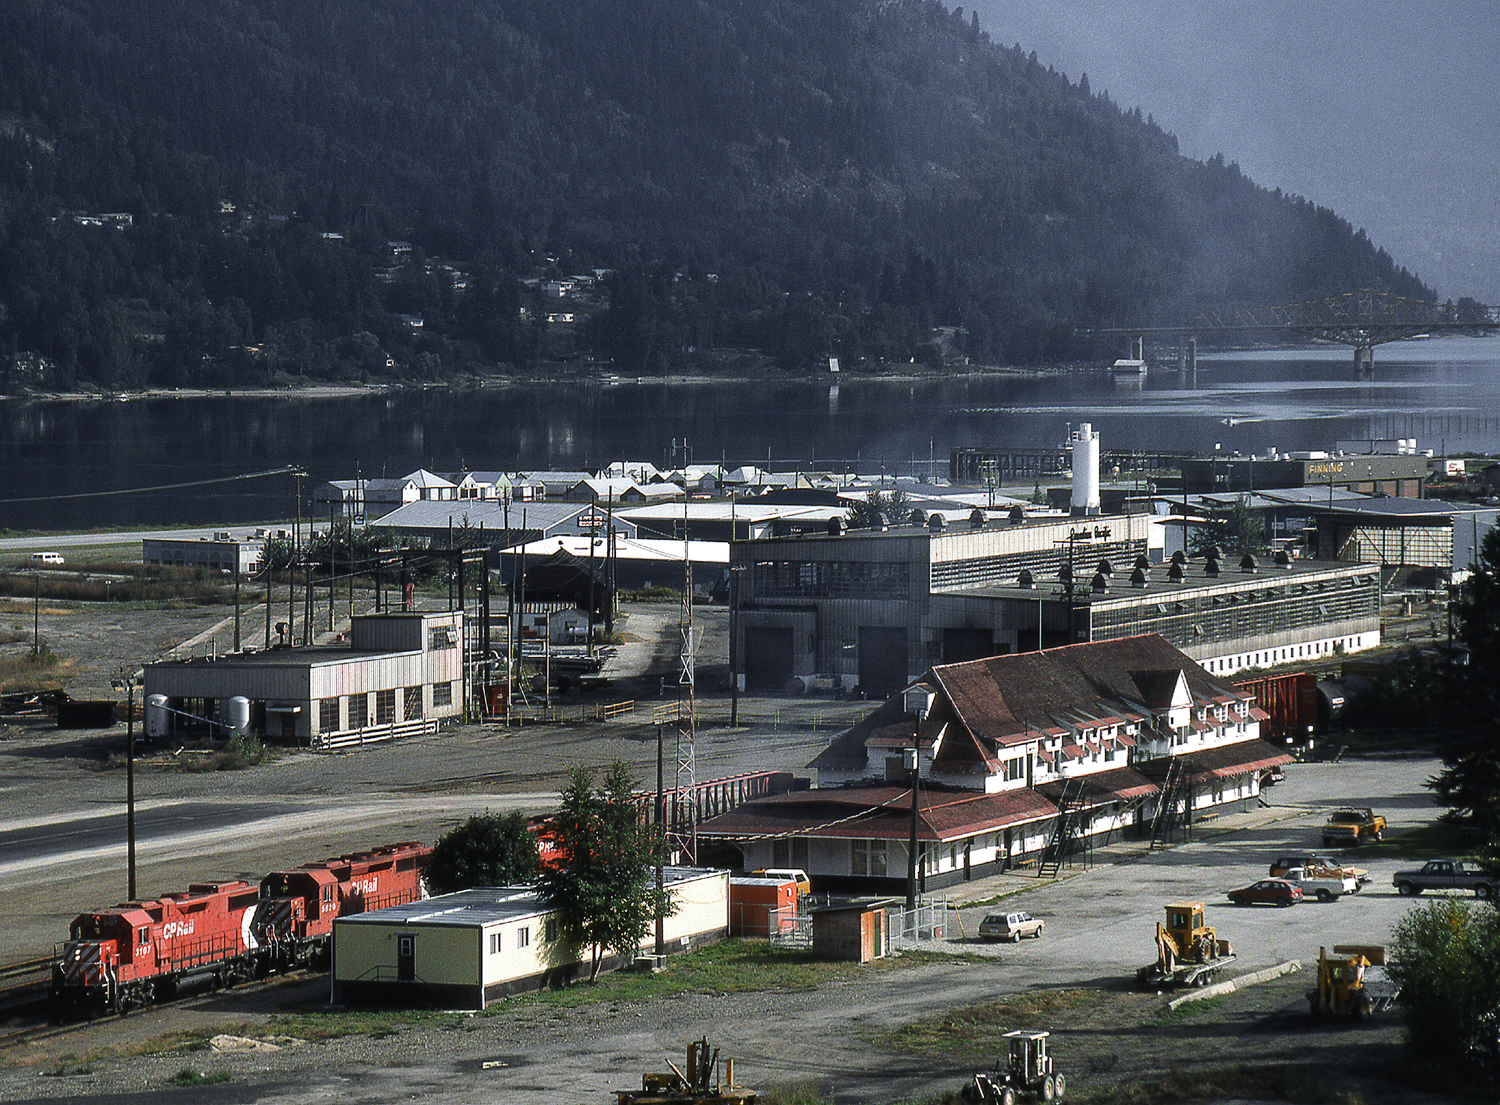
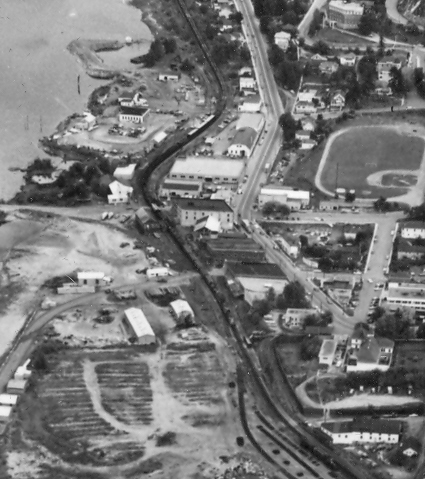
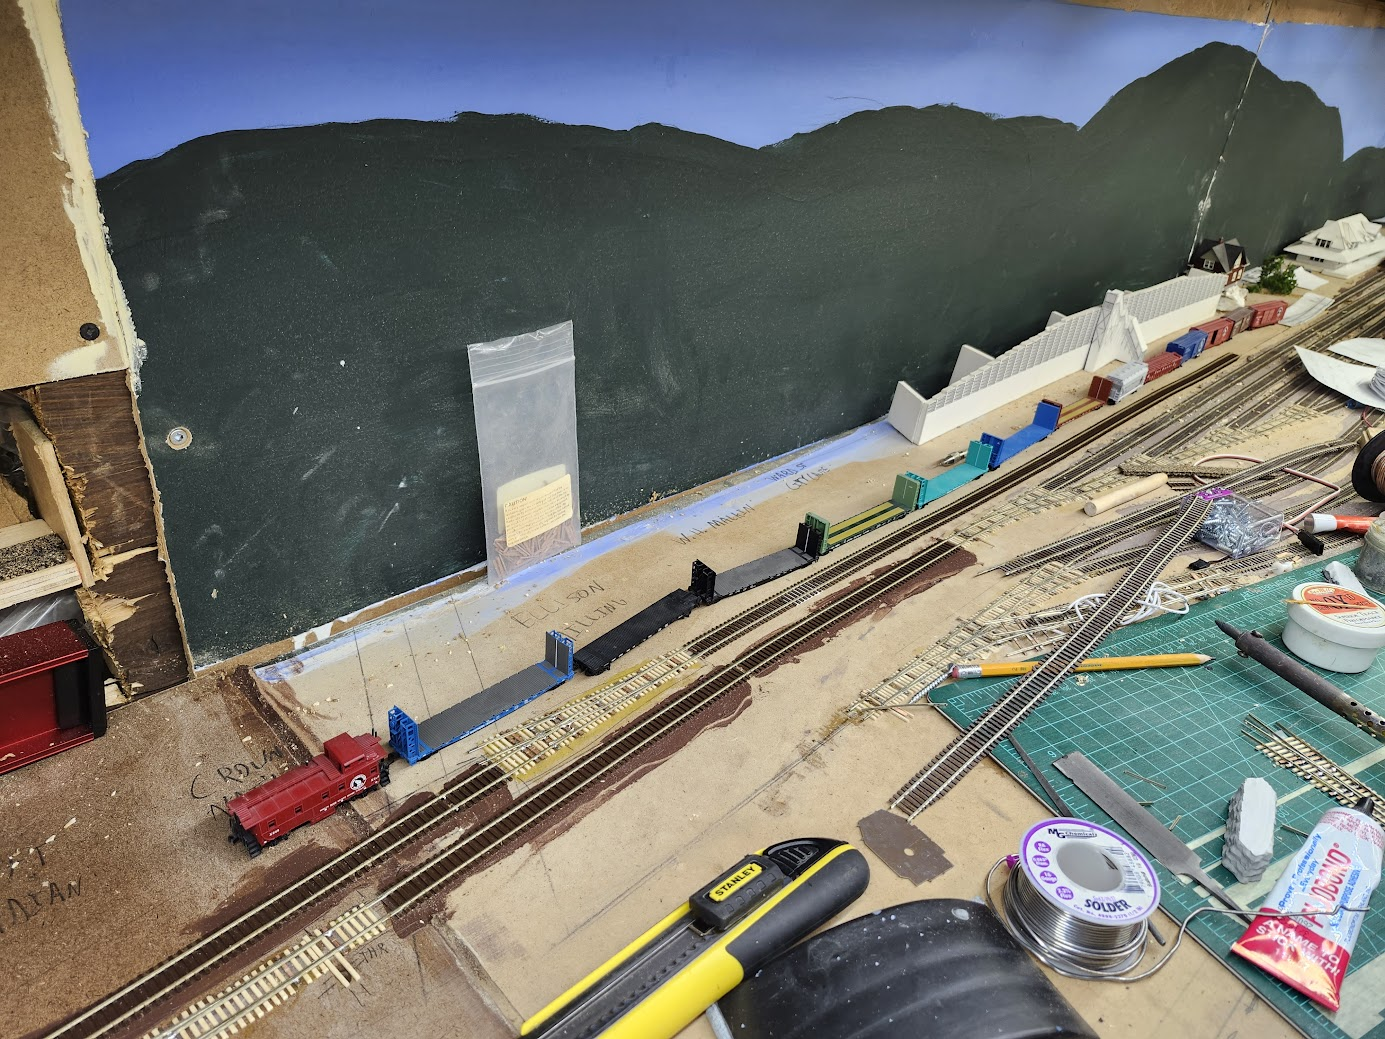
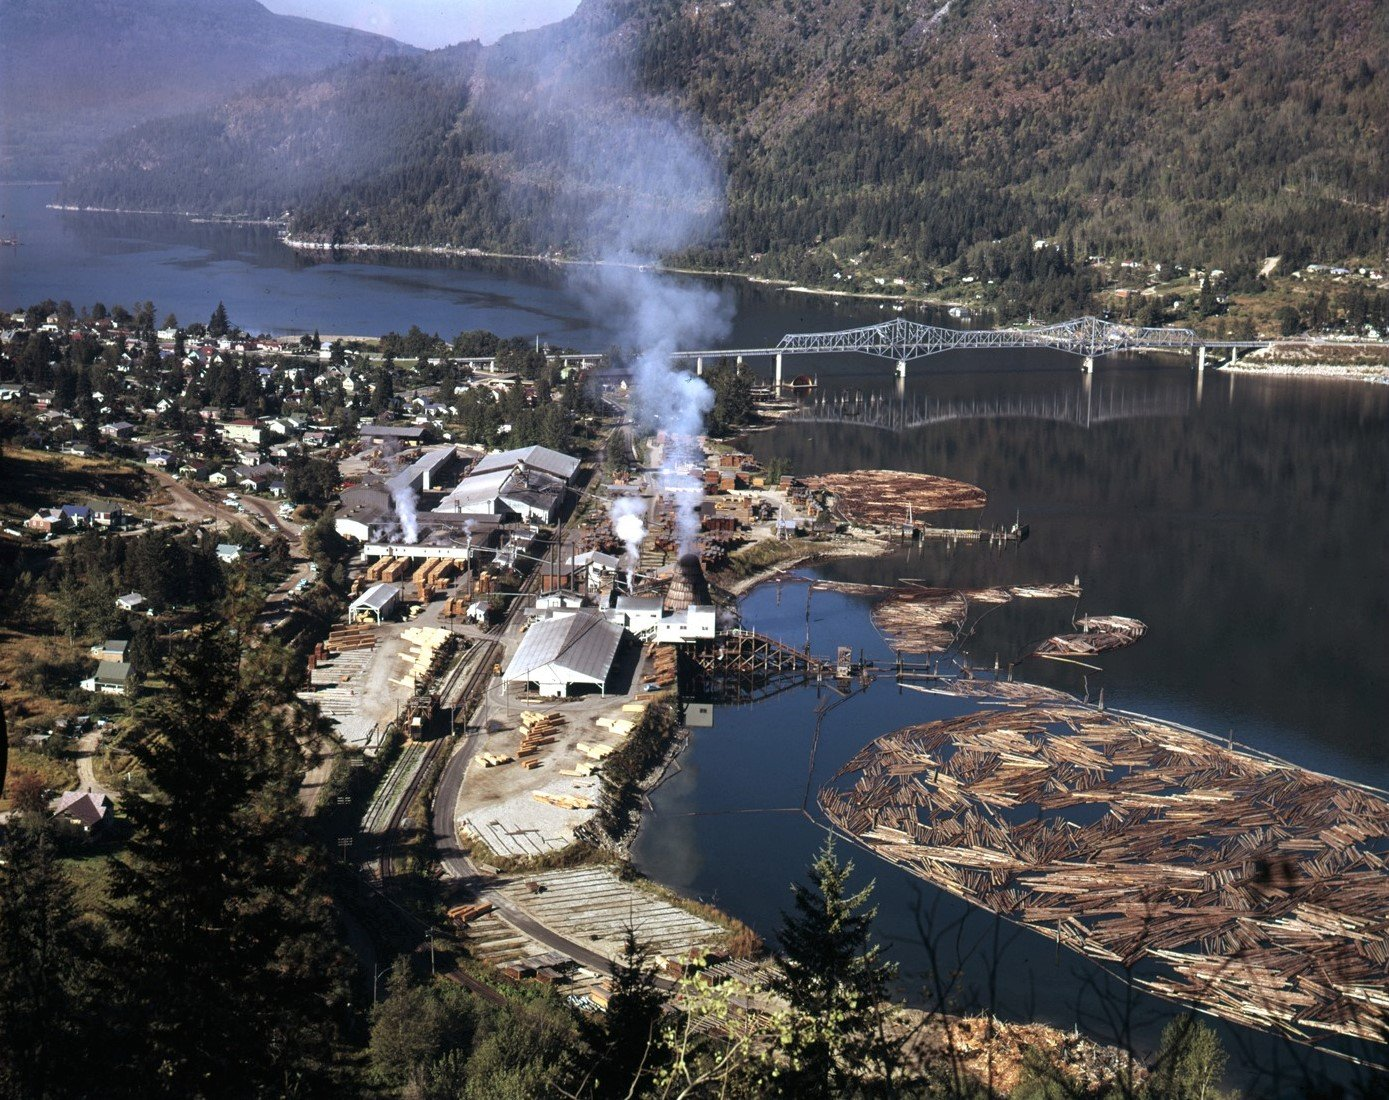
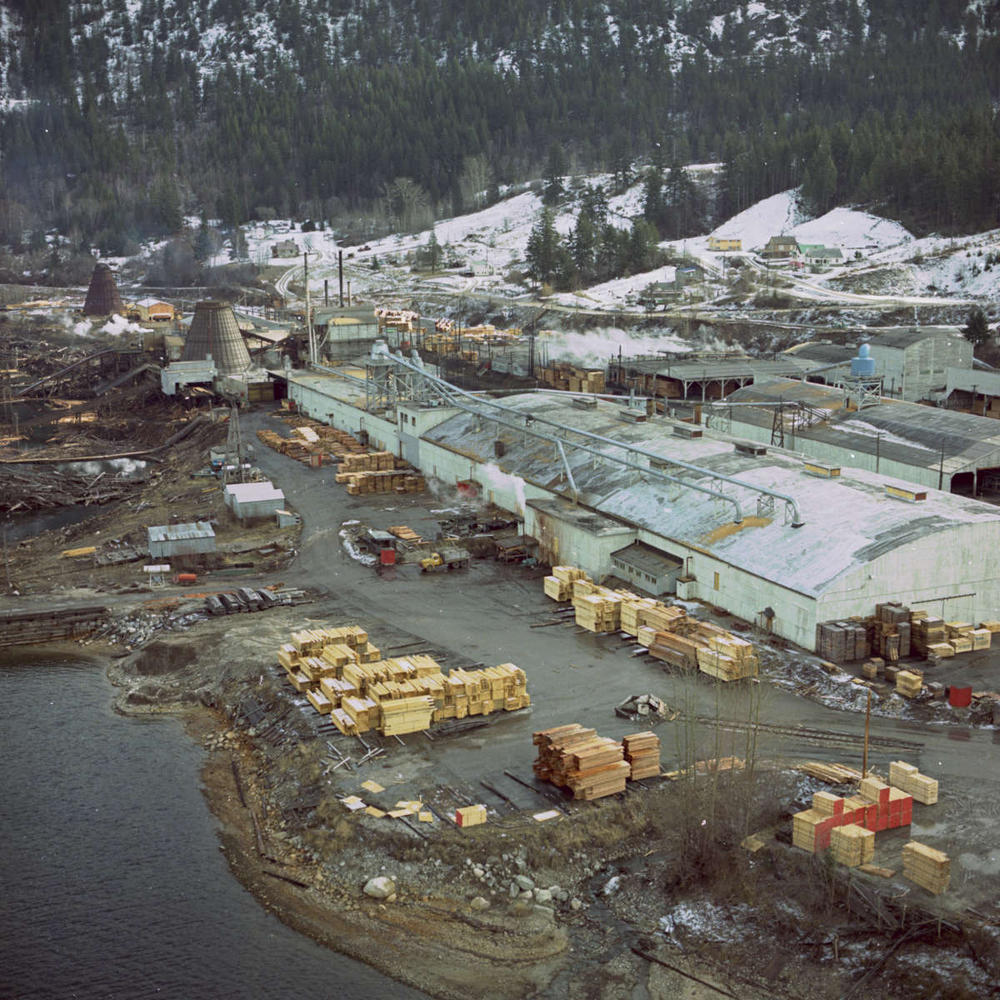
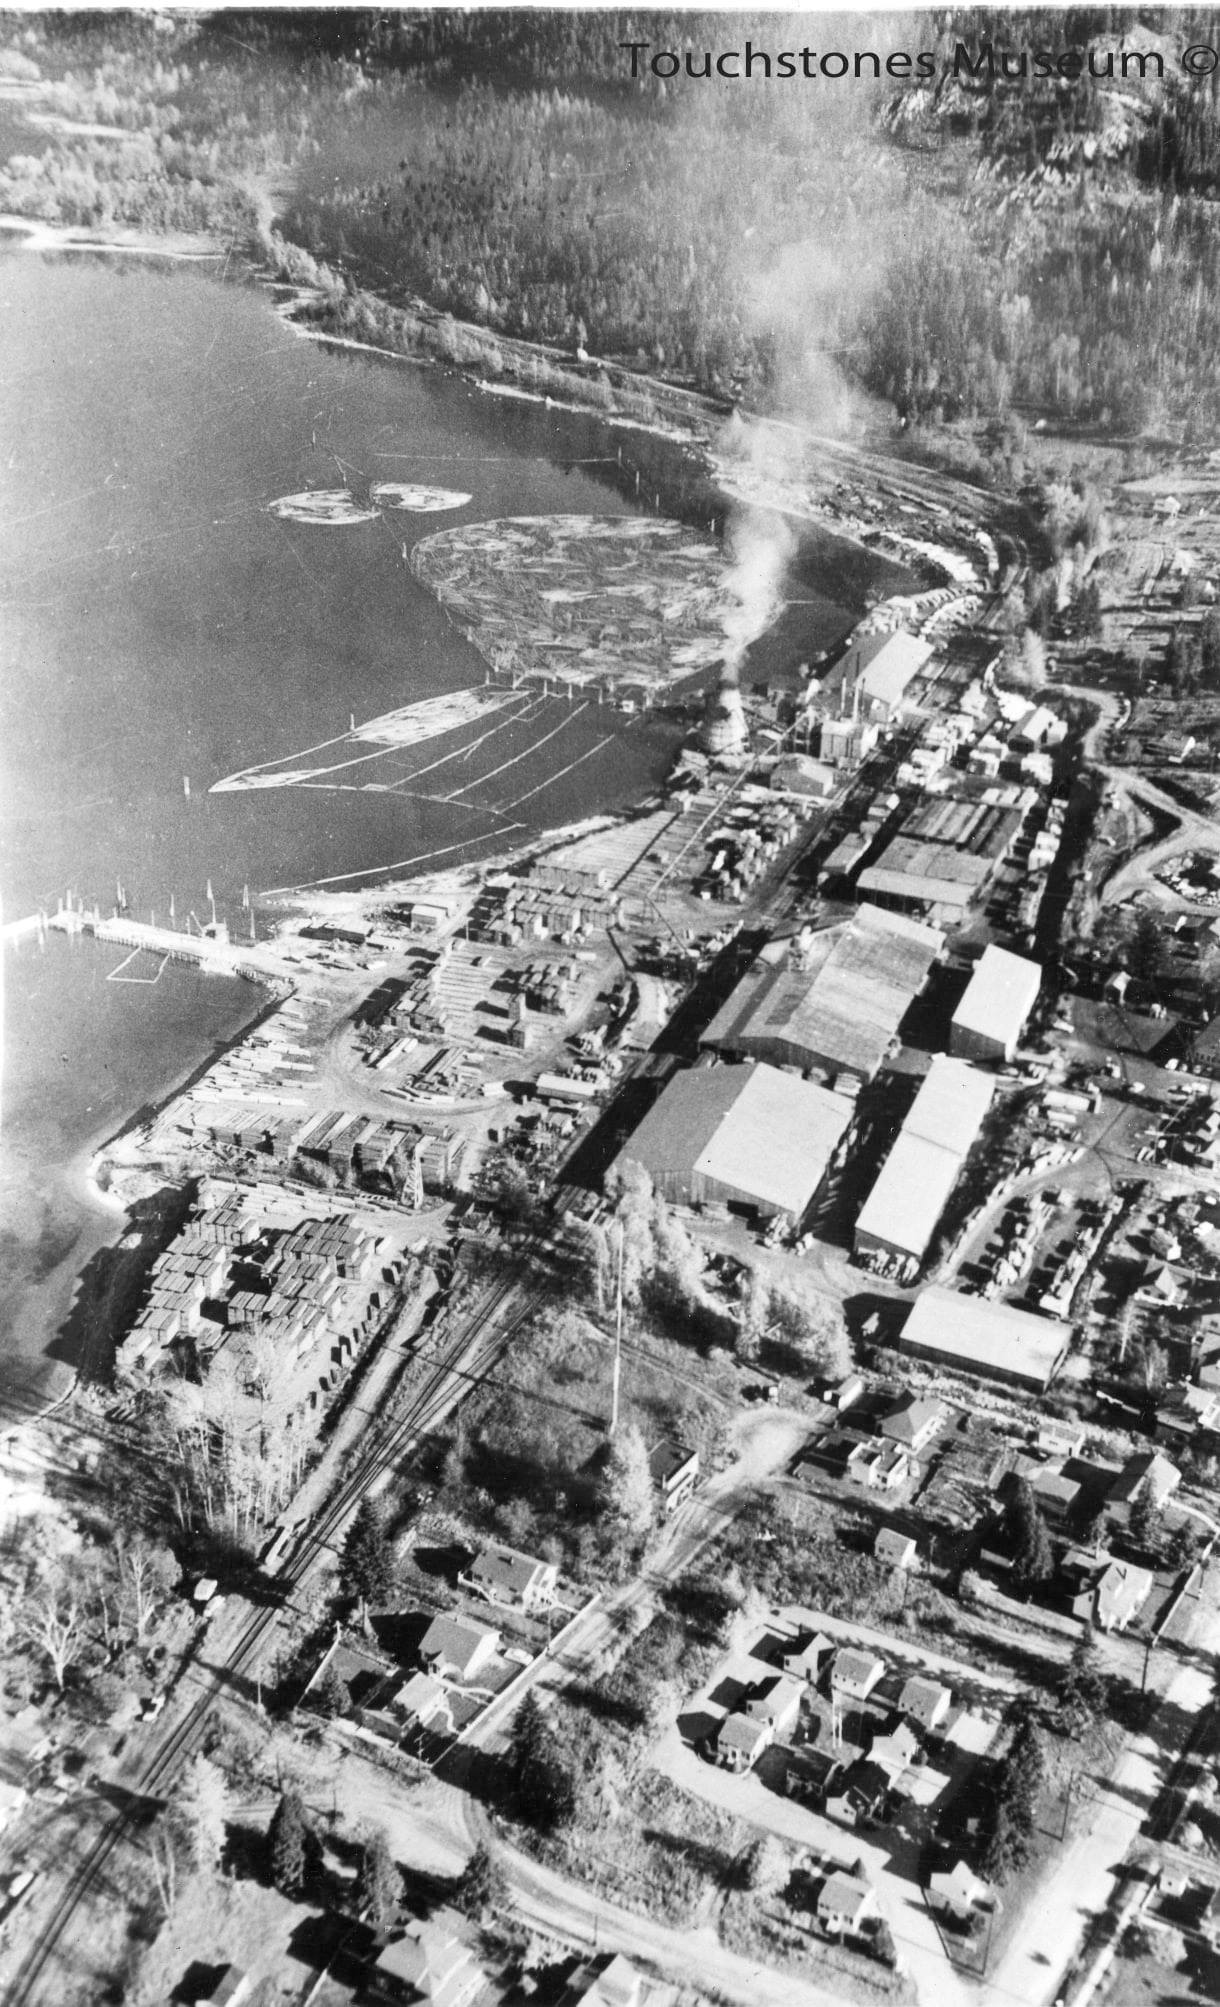
Well, that’s the South Yard. One of 2 main industrial areas in Nelson. There’s a ton of reference photos thanks to the highway being built above it in the 60s.


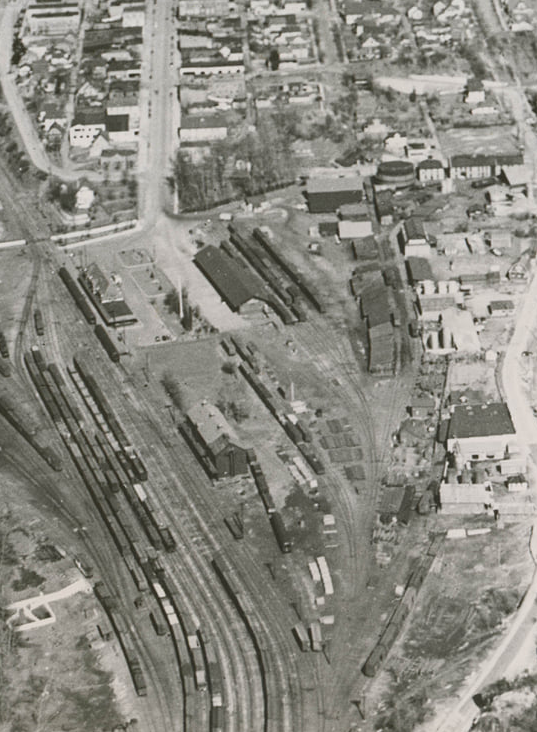
Main objectives for this area are primarily visual, with operations second. Landmarks are the station, merchandise terminal, and ice house, plus the whole industrial mishmash behind. The operational objective is to create a small job (30ish real minutes) to kill some time if the yard operator isn’t busy.
From the sounds of it, the fuel dealers were the main customer by the 1970s. Sometime in the 50s the merchandise terminal tracks were shortened to accommodate more truck bays. It seems like a lot of the tracks were just used as storage for extra cars or OCS. However, I have the space, why not make use of it? After checking what reaching over was like with the new positioning of the upper deck, I decided to jam in as many tracks as possible, even using a 12″ radius on some. Tight! We’ll see what I end up actually putting in the back. Those tracks probably won’t be worked very often, being a nearly 3′ reach at hip level.
I’ve moved the tracks at the merch terminal to the north (aisle) side for easy switching access. One consideration was leaving enough space at the east end of the building so that it would visually make sense that trucks could depart from there – lots of layouts don’t leave enough room for their turning radius!
The ice house hadn’t been used for years, but the superintendent’s car (No. 19) was often stored there. I decided to move it around the corner and rotate it after some very scientific experiments. Mark Dance gave me some of his mockups after he built the structures, and they’re doing a very good job setting the scene. Neither his merch terminal not station are to scale, but I intend mine to be.
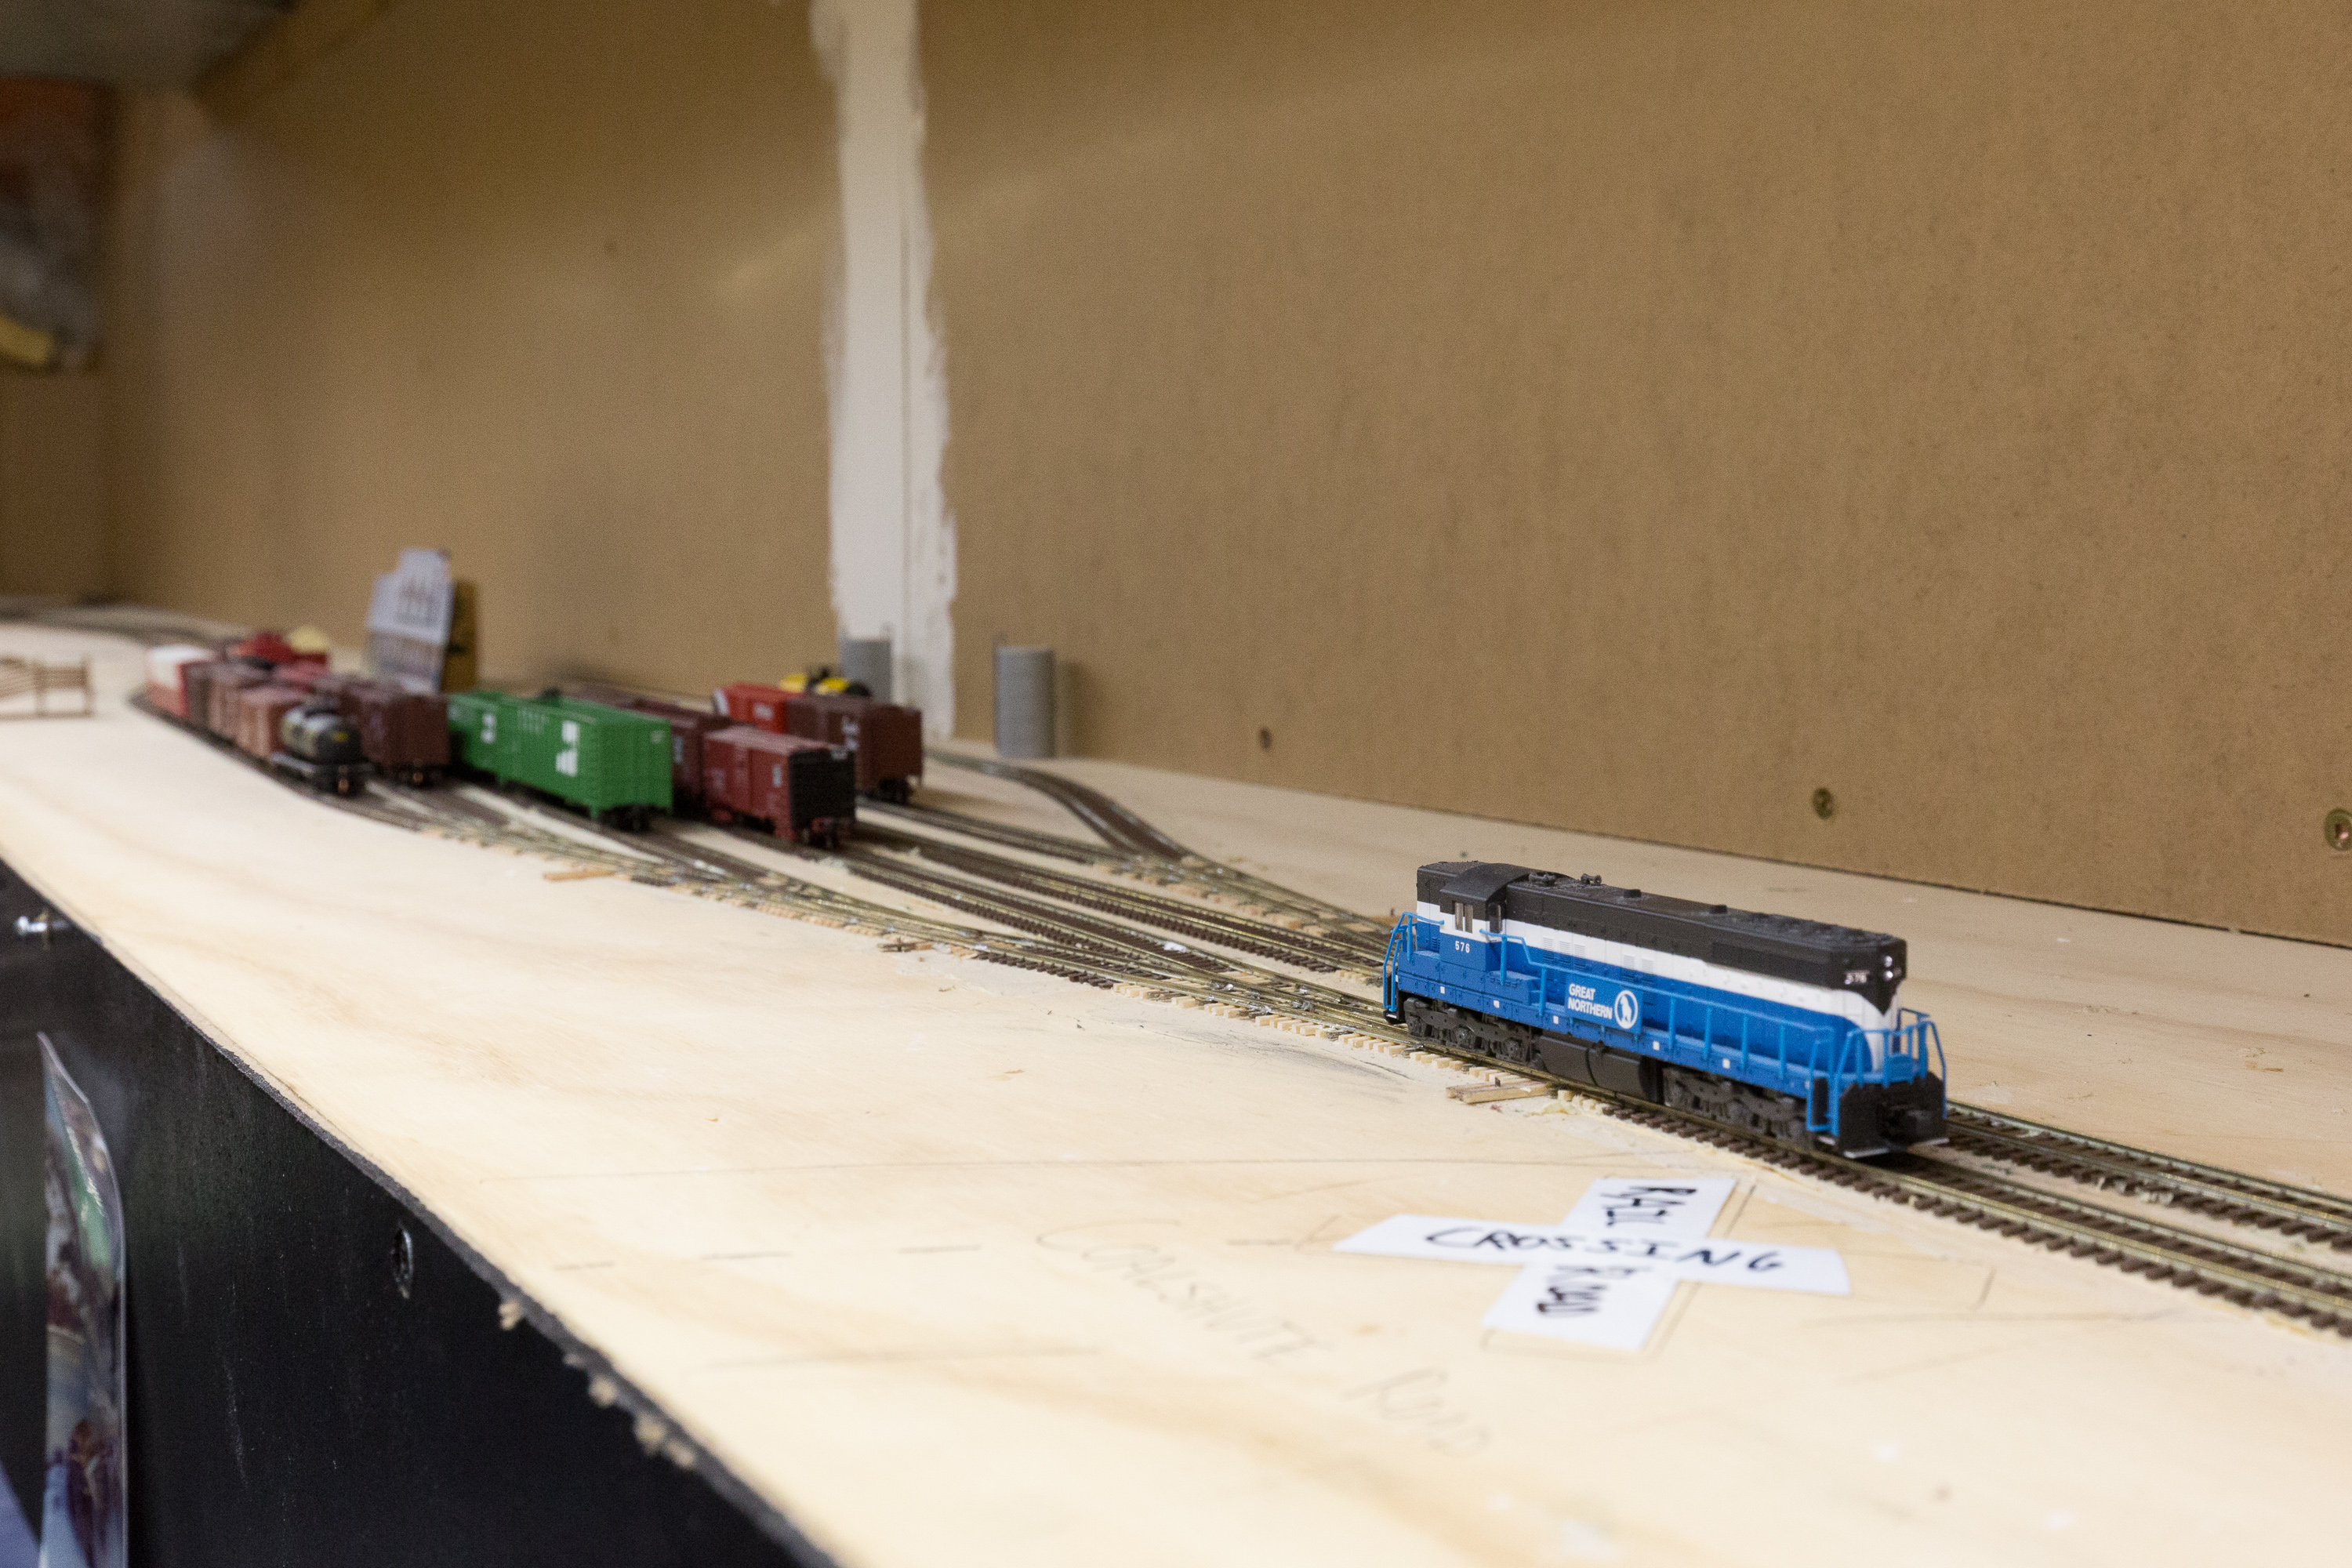
A quick word about switching. I don’t know where to fit this in this post, but it’s important to note – almost every industry and spur in Nelson was facing point when switched from the west. The whole yard usually was, partly because there was nothing to the west besides trees and water, but to the east there were public grade crossings that you’d continually be blocking.
Next up, while trying to fit a scale track, I started thinking about the shops and whether I wanted to change anything.

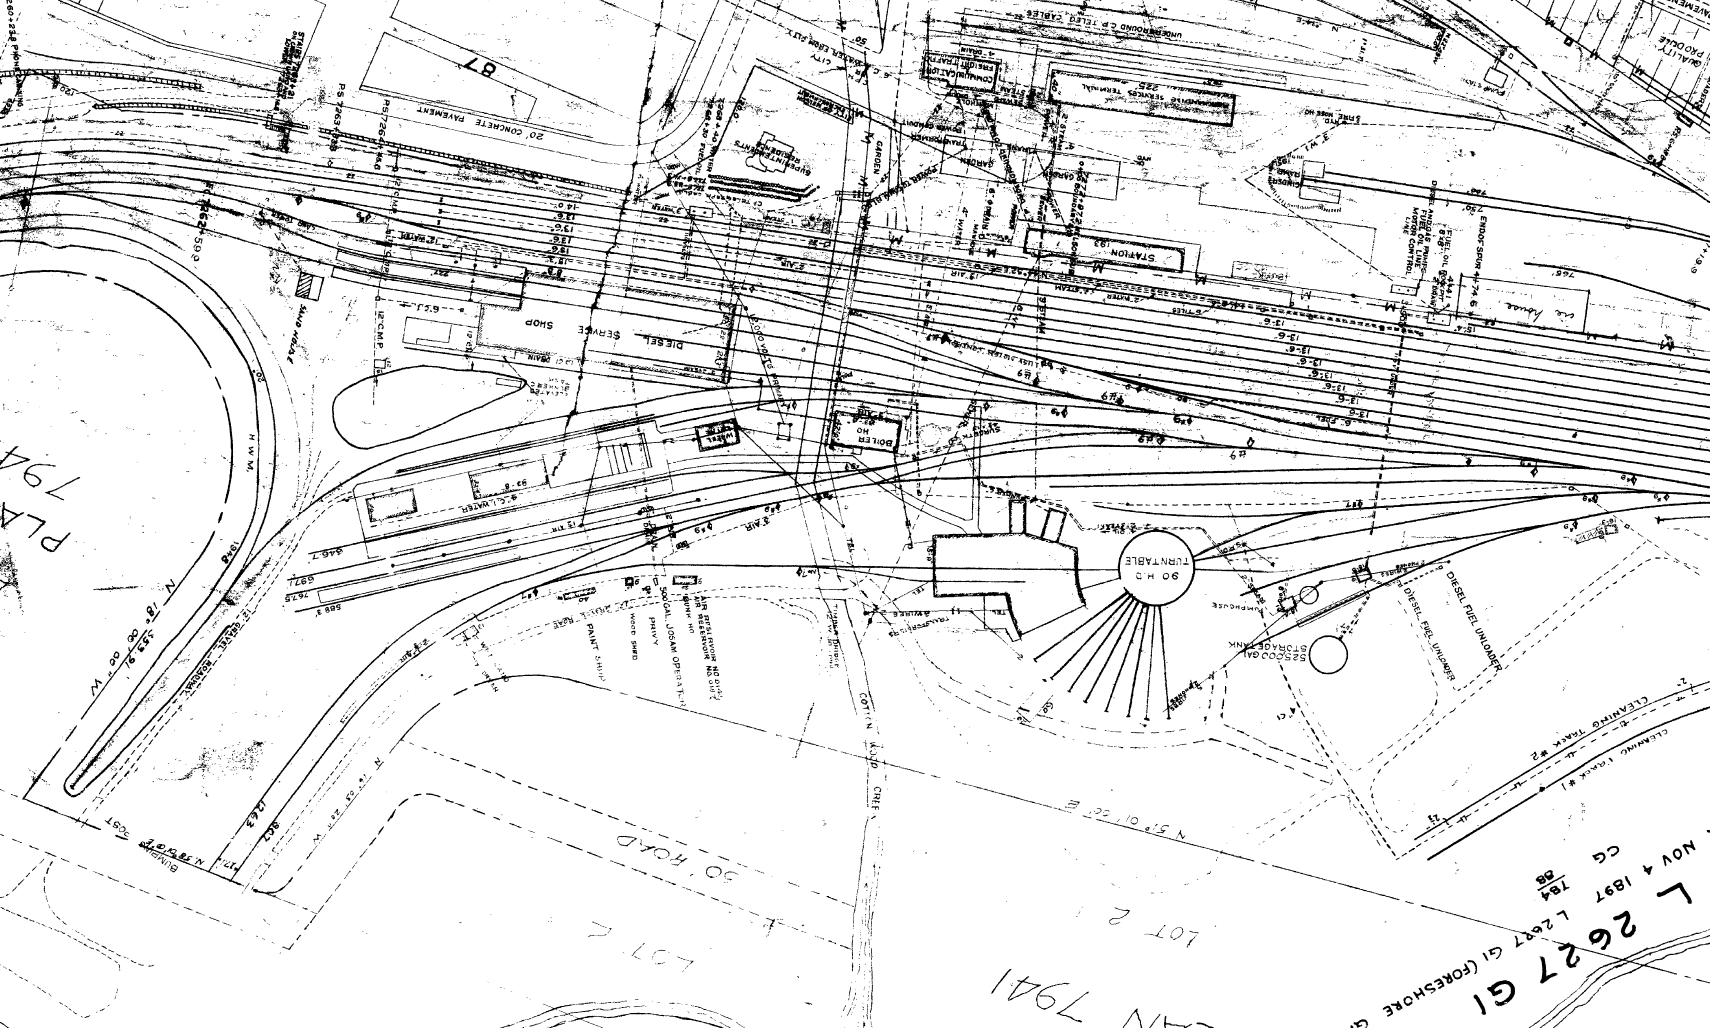
Nelson yard plan from CPHA document library, rotated to match layout viewing angle

Firstly I was annoyed by the shop lead configuration. At this time I had yet to decide whether I wanted a full 4 stall shop with no compression, or a 3 stall one, as Mark Dance did, so I only laid the 3 tracks. I later decided to go full size, but wanted to keep all the shop tracks on the same lead. This means I do have to pull out 2 more existing turnouts (which may damage them and mean I need to cut new ties) but all the shop tracks will end up being in a sensible configuration, plus the stores track on the north side of the shop will be there too.
In the old plan, I had made the RIP yard dense (13′ centres) to be used as overflow from the main yard, but I’ve decided against this because I probably don’t need it. I’ve decided to reduce it to 2 tracks on 18′ centres (should be approx what the prototype was) to have room for the concrete platforms in between. I’ve yet to decide whether this will be something used in ops or somewhere I put equipment that actually needs to be fixed.
I’ve also made sure there’s enough room for the boiler house on the west side of Cottonwood Creek, which supplied steam to the shops.
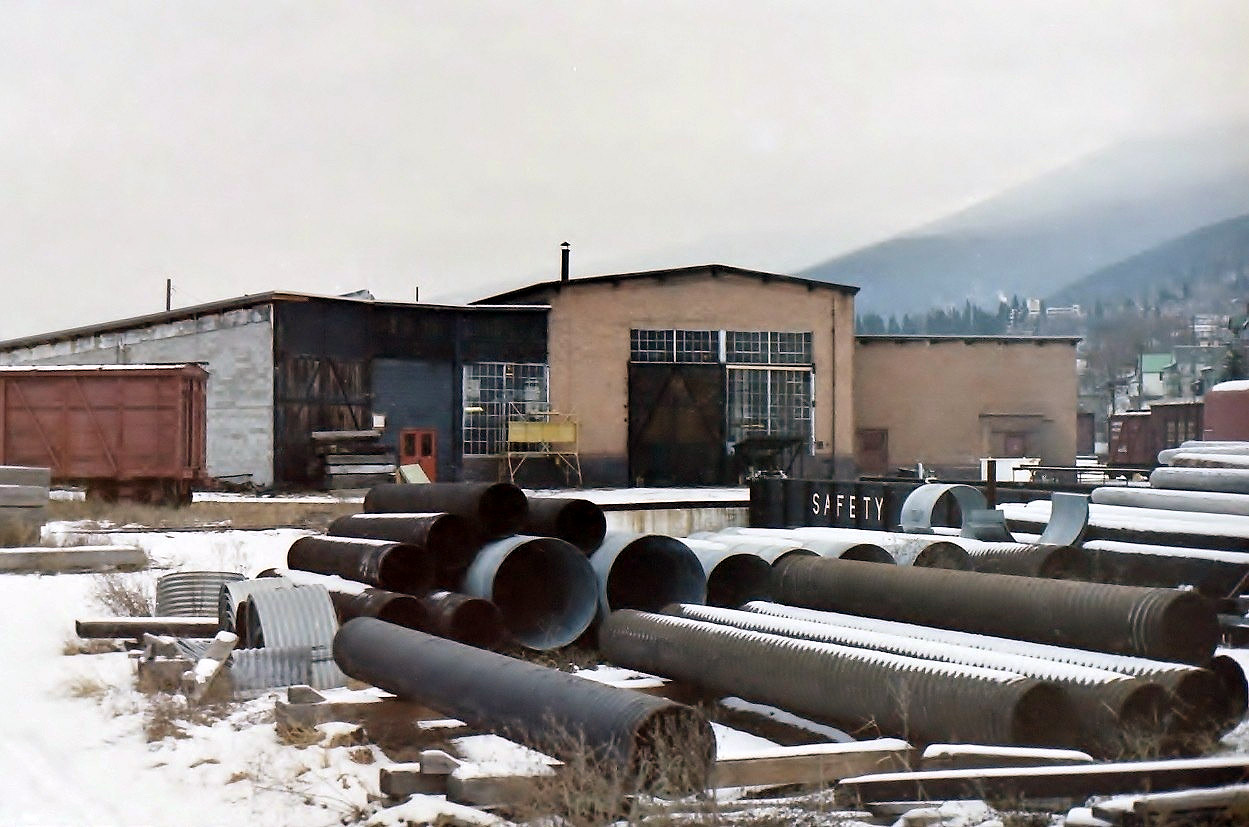
The roundhouse will be used to house my steam locomotives, anachronism be damned. It appears to have been built with 7 stalls originally and then expanded to 10 or 11, with the expansion torn down in the late 60s and 7 stalls remaining in the 70s, one of them having the track removed for a total of 6 tracks. That’s how it will be modeled, though I will likely ignore the 3 former roundhouse tracks that seem to have been left. The taller, wider part on the east side was the car shop, and this may come into play for ops.
Mark put a lot of thought into how his shops/hostler position would work, and that’s going to be helpful to me as well!
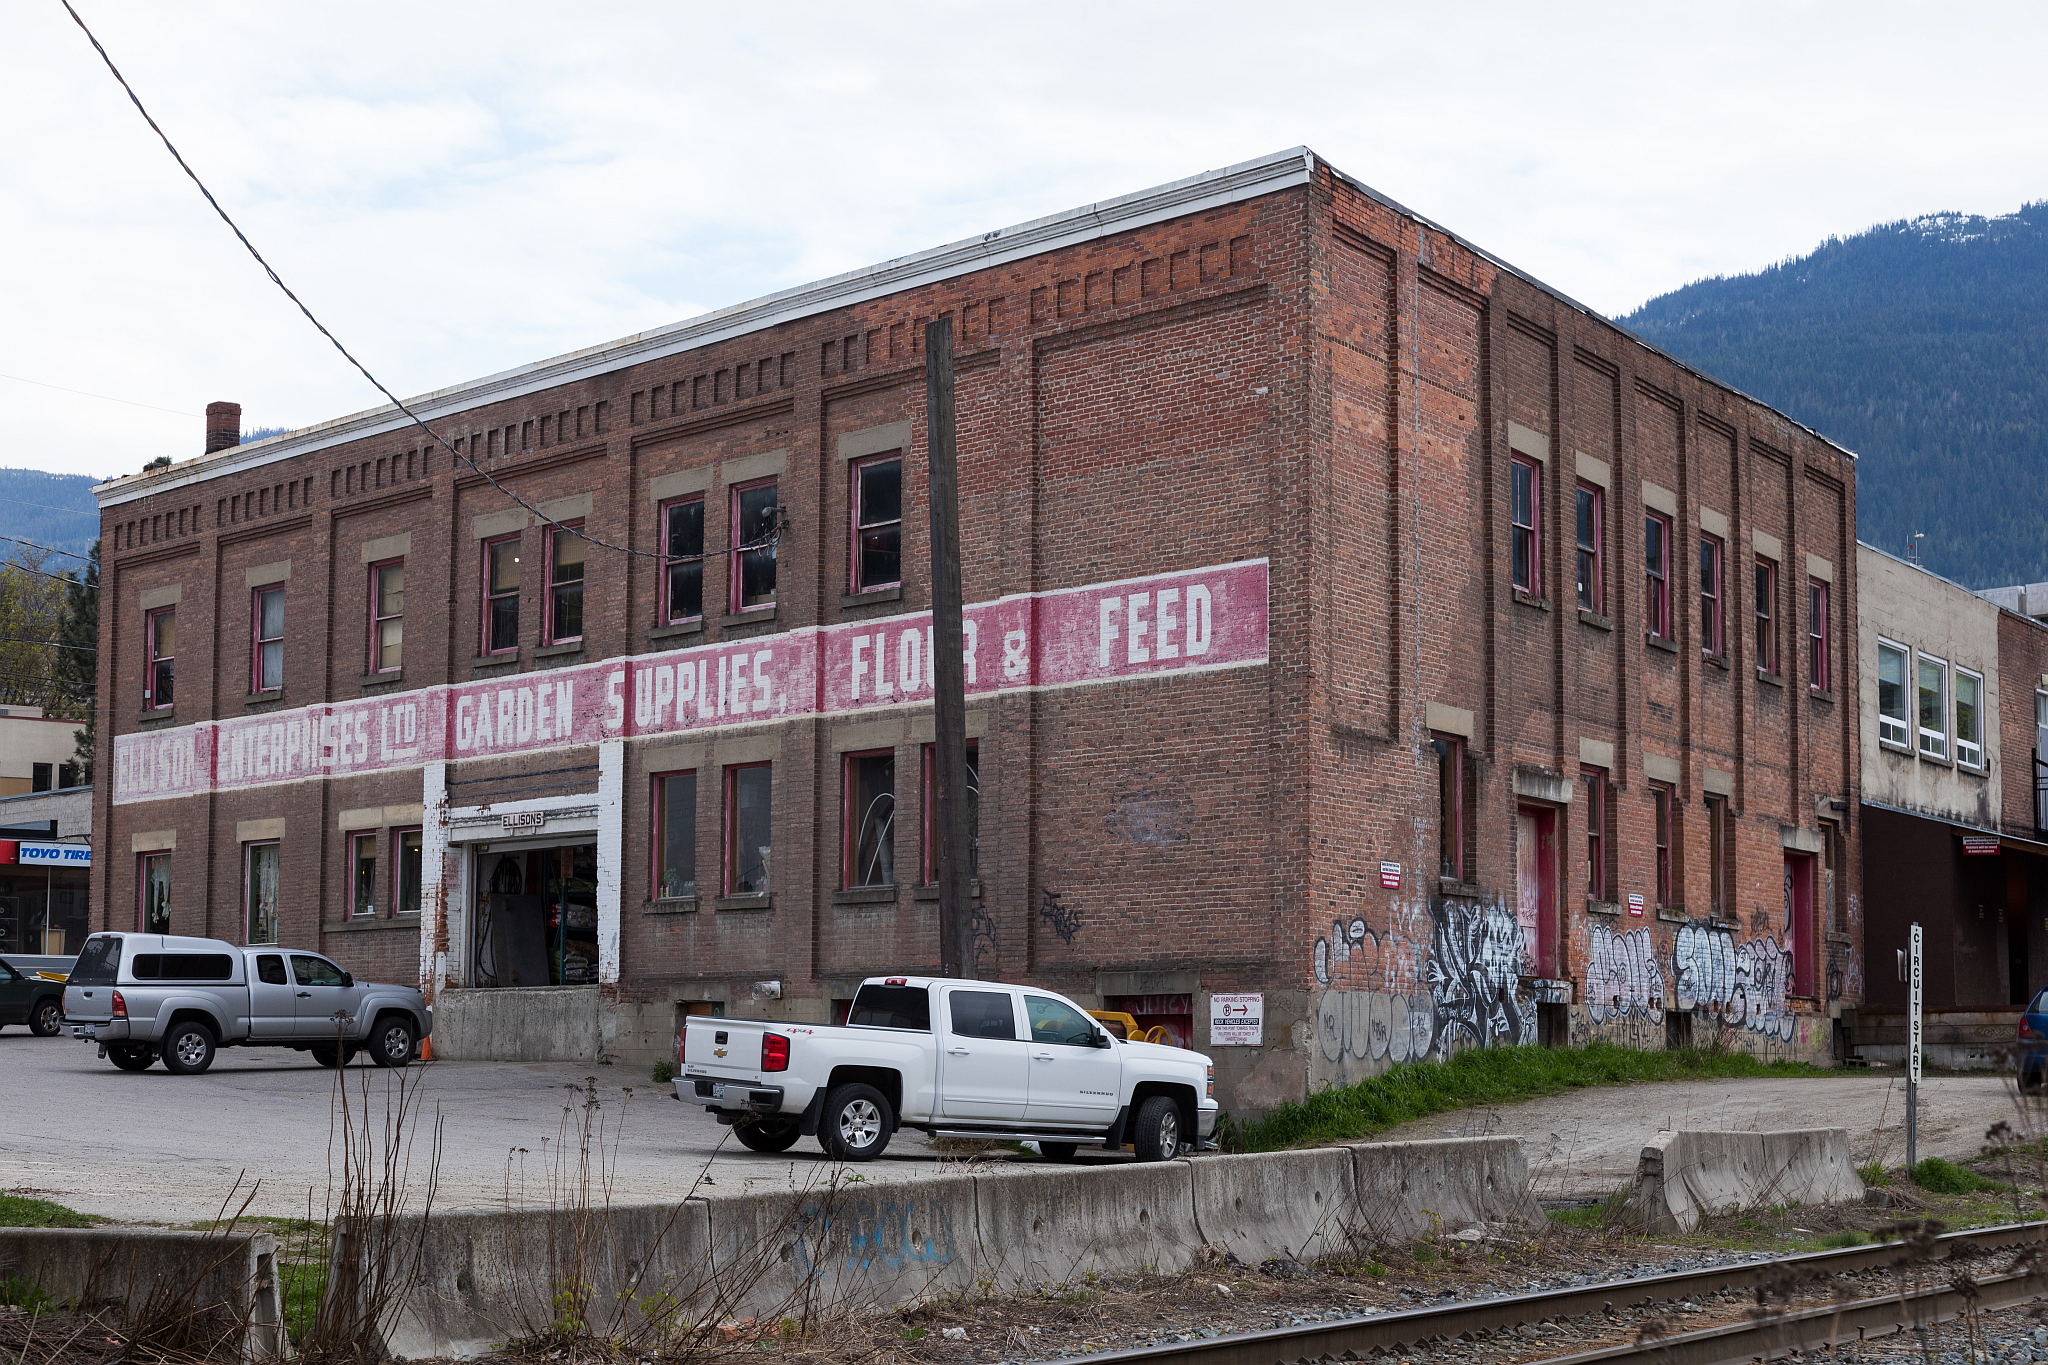
Moving a little bit east, there are a few tracks that come off east of the station. This was an area that always caught my eye but I didn’t have space to model as I wished. Stretching the layout between Nelson and Procter gave me ample choice of what I wanted to fill the space with, and I was excited to give the east end of town due coverage. Between Ward Street and Cedar Street, there are 4 blocks of buildings that were served by 2 spurs, as well as multiple grade crossings.
On the large map, these industries are shown as, from west to east:
W.H. Malkin Co [grocer]
Ellison Milling Co
[Josephine Street] [[Crossing closed]]
Crown National(?)
Swift Canadian [meat wholesaler]
T.S Shorthouse
Wood Vallance
Kelly Douglas [grocer]
[Hall Street]
Wood Vallance Warehouse + Truck terminal
Hendrx Street [no crossing]Provincial Department of Public Works

There are a couple more industries on the north side as well, but I didn’t have room to put in another trailing point spur and didn’t want to add a facing point one. There is room on the Nelson shops lead to add it as a trailing point, or beyond Hall street as a facing point if I wish to later.

I’ve decided to compress them roughly 25-30% but have most of the major ones. An addition not shown on the yard is the chute, where slag from the Silver King and other local mines was loaded into side dump cars to be taken to the Trail smelter. Another closed loop! Delicious.
Here’s why this area is so important to me. Historic brick buildings!


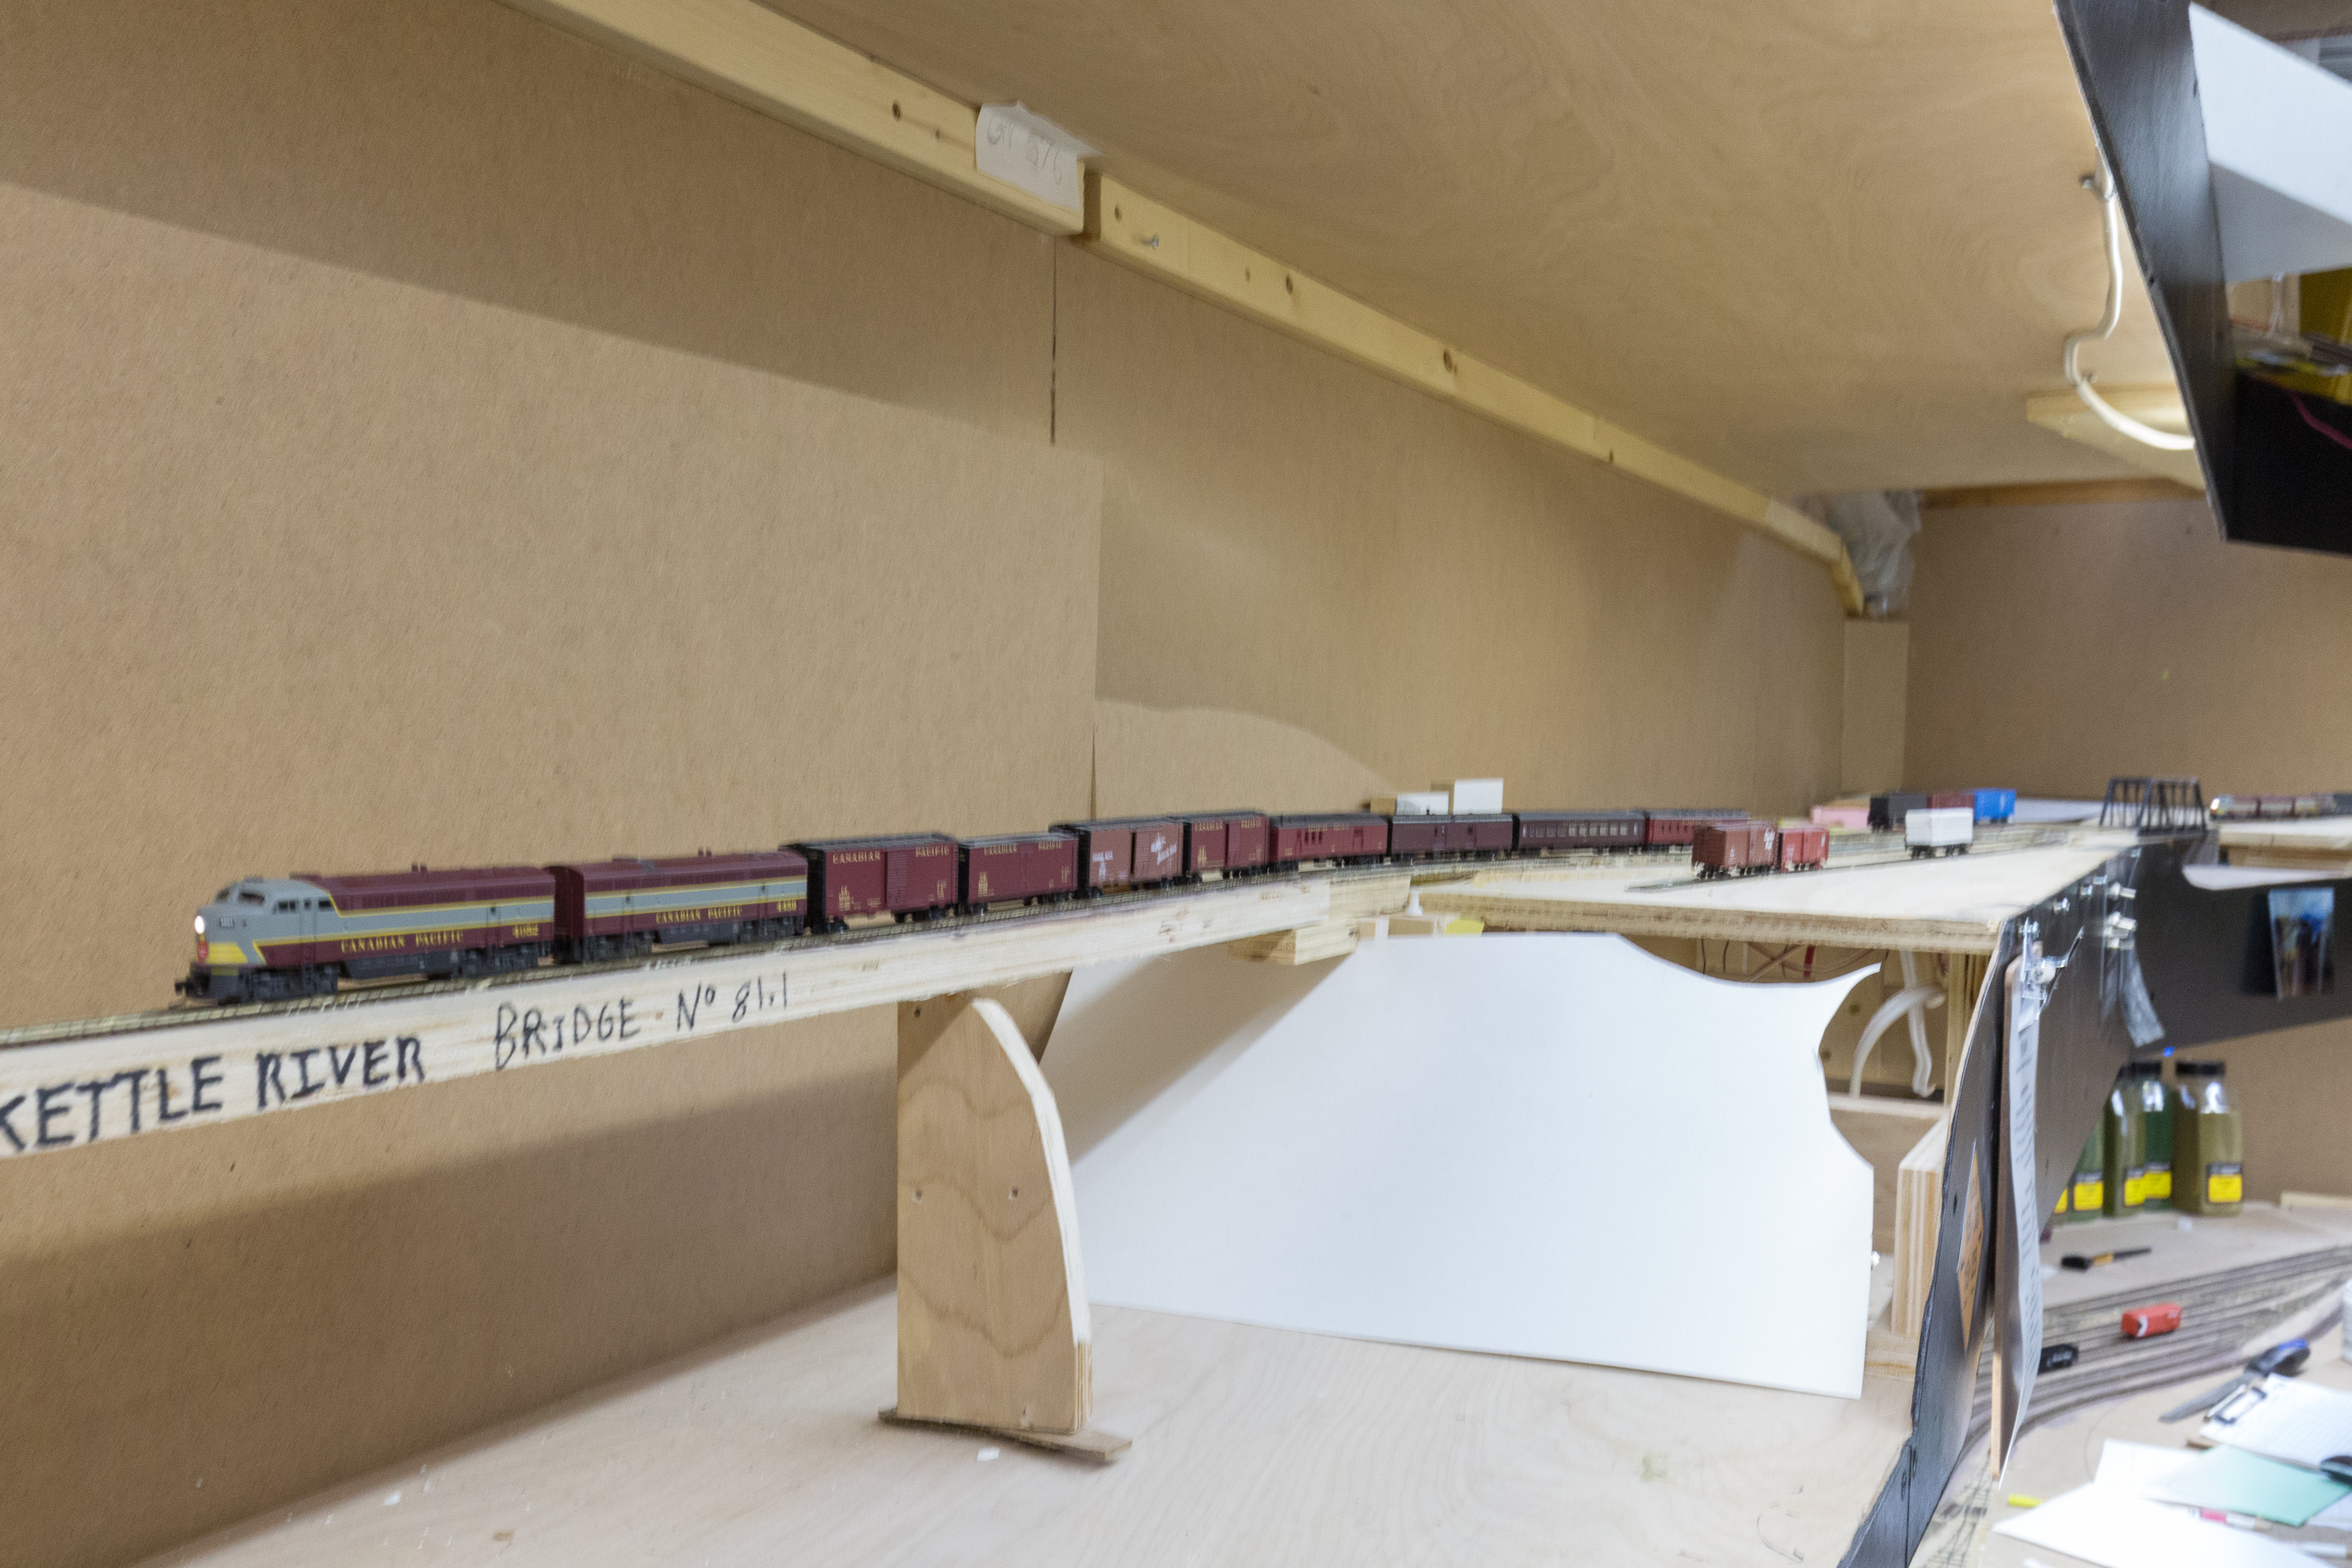
One quirk is that, at times, the BN train would put its train away into the spur ending at Ellison. More often they’d dump it on the main yard ladder and let the yard crew do their thing, but I felt adding this extra track would be worthwhile in case that’s how I ended up doing it. I did some mockups and felt that having it come off on the east side of Cottonwood Creek would give enough length and not put it too far off where it was in real life – though it was 1000′ long or so! Mine will be 600-700, though if something’s spotted at the end that effectively reduces it.
The BN power will always go to the shops. A quirk of pre-NAFTA trade agreements stipulated that BN had to buy the equivalent amount of fuel that they’d use in Canada, so they had that service done at the CP shop.

600′ excluding locomotives looks like a good length, no?
BN? Yeah, I’ll get to that in another post covering Troup and Procter!
At the very east end of Nelson is the Kootenay Forest Products mill. This was only active into 1982, but had a plywood mill added in 1966. Most photos don’t show it! It’s the one with the curved roof. It’s pretty self explanatory – a single track goes through 2 lumber loading sheds, another goes through the plywood mill, flatcars were loaded outside of the mill, and a chip track was at the far end. I’ve got genuinely tons of space here so I’m going to be modeling all of it in a faithful form, though not to scale – the real complex was around 2300′, which would be 14′ in N!
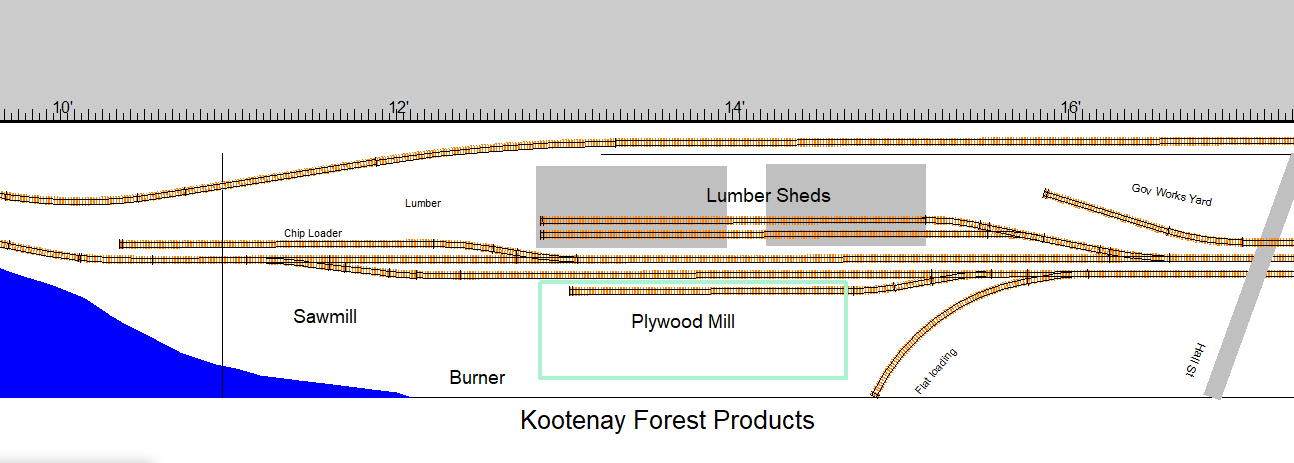
The only weird thing about this plan is that instead of just having the main going through the plant, the switch lead from the yard will be there also. I definitely prefer that to having Procter be the switch lead, as ended up being the solution last time. KFP will also be switched by Nelson switcher power, either a set of 2 or, more realistically, a single S4 (7110 or 7116)
Okay, now to build some switches and finish laying all of this!