Project for the last two weekends: Upgrade the 120V systems in the room. If you look back to this post from January, you can see the last lighting upgrade I did – This was at a time when a full time job was uncertain and the idea of actually adding hundreds of dollars of electrical installations to the room was even more so. Still, things change…
I started by adding plugs. Plenty of plugs.
This is how I got power in previously:
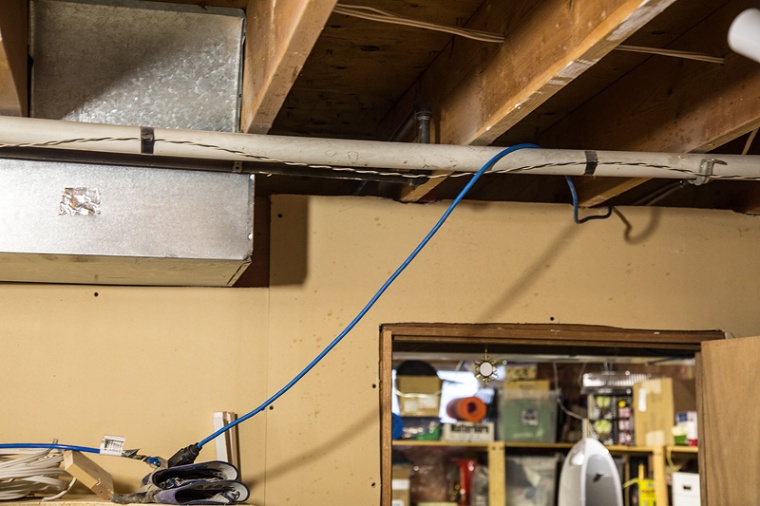

Preeeeetty sure stapled extension cords aren’t up to code.
Well, whatever keeps them from falling on my face.
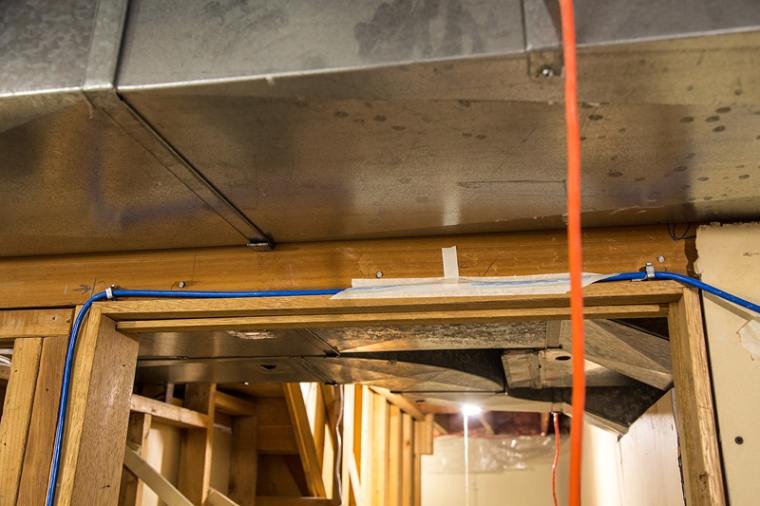
Now, understand that I only had space in the panel for a single 2 pull breaker, so I was limited in my options. One 15A circuit for power, one for lighting. Instead of hogging all the receptacles, I decided to add one in the hallway and one in the next room for the deep freeze and other things to plug into. In the railway room, they were installed approximately 12 feet apart as per the Canadian Electrical Code. The main deviation from normal CEC practice was the double switched plug under Castlegar – that’s my nerve centre!

The bottom left plug, which has the power bar plugged into it, is switched by a switch next to the light switch at the swi- er, door. The blue extension cord goes through the benchwork to be a central power drop under Celgar. All DCC and layout electrical expansions will eventually plug into that power bar, which you can casually turn off as you leave. Awesome!
By the way, don’t pick on me for that being unlevel. The guys who did the electrical when the house was built (may they ever be spit on by Alpacas, Emus, and other long necked creatures) ran that orange power circuit precisely where the device boxes needed to go, preventing them from being mounted properly. Smooth move, guys.
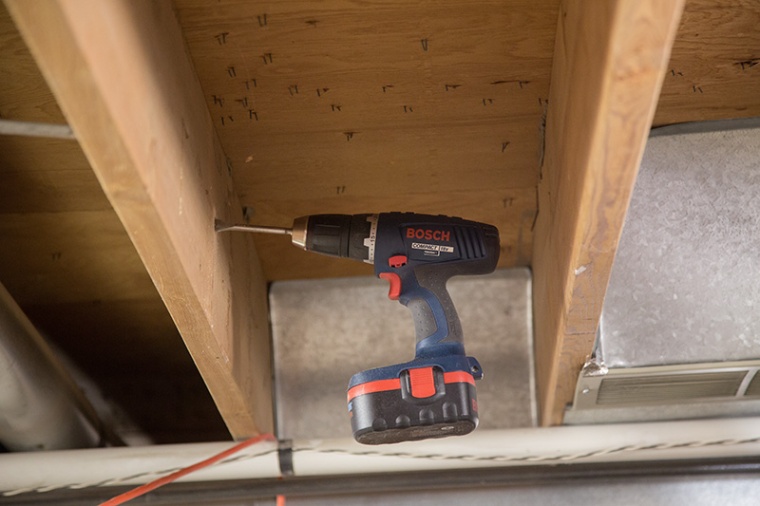
Actually installing the power circuit in 3 of the 5 walls was crappy, removing the vapour barrier and insulation made for some nice irritation on the skin and a cough the first day when I neglected a dust mask. Here it is going in behind Nelson:
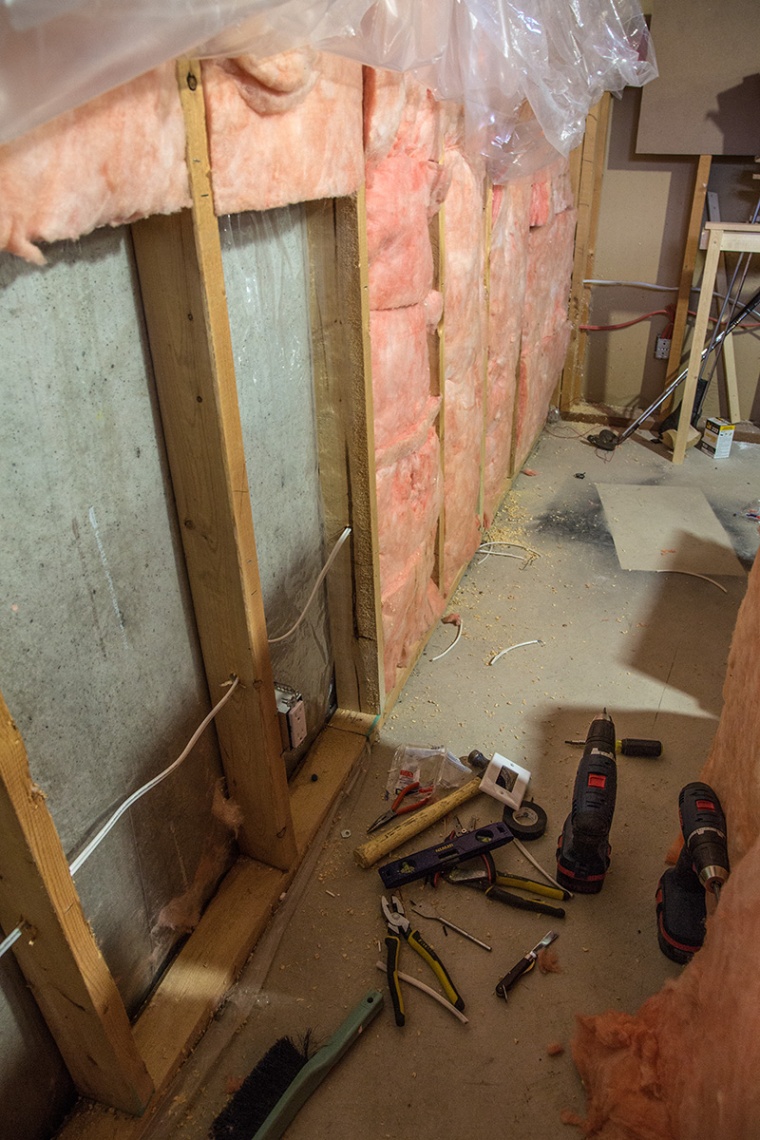
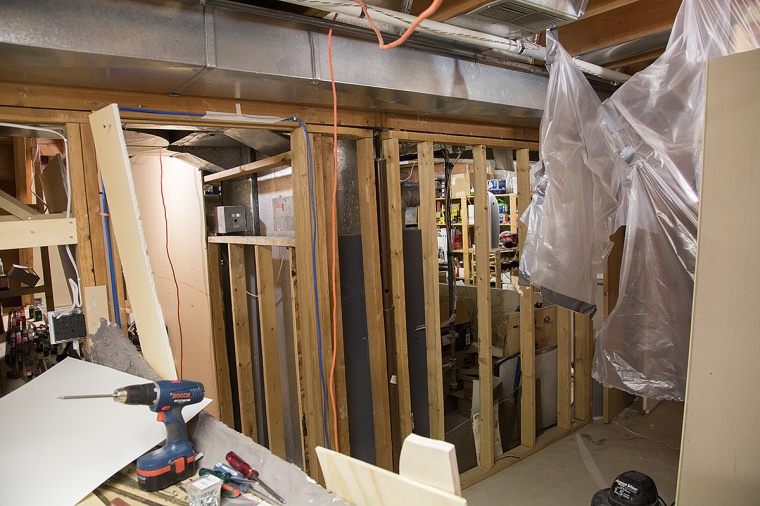
Having to move everything away from the walls and taking drywall off a couple made for everything getting very, very messy extremely quickly.
Hee hee hee.
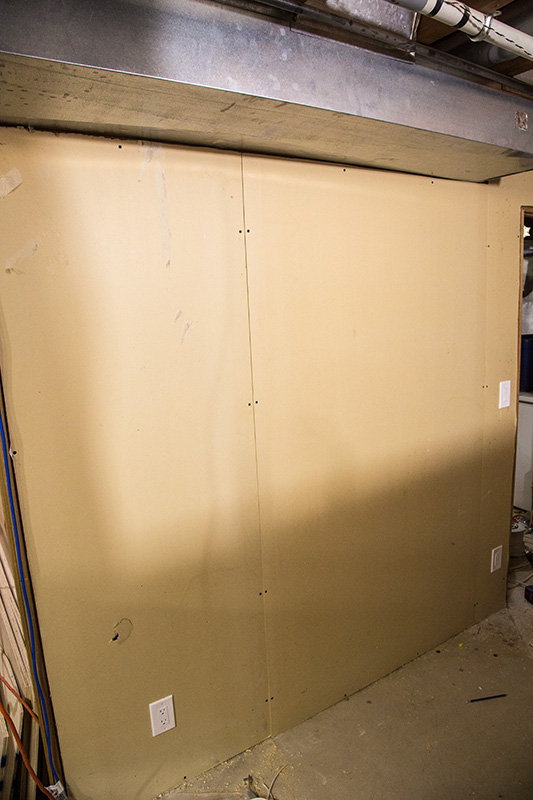
But hey, at least they look good on the drywall!
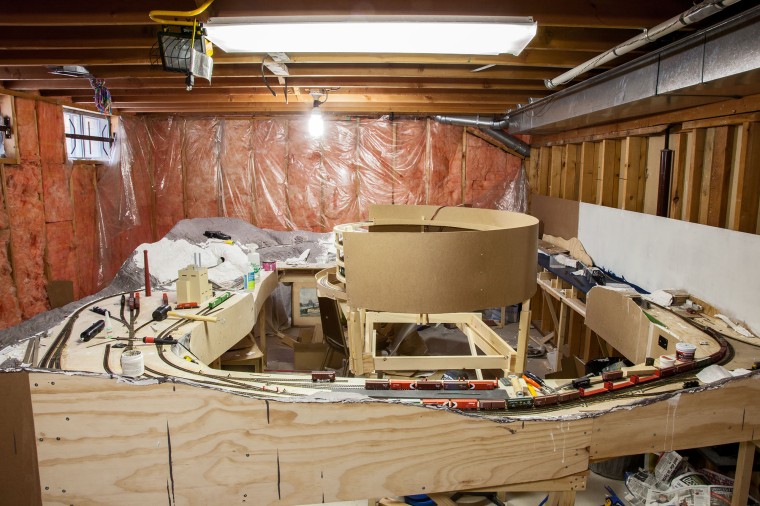
With the room powered up after 2 days of itchy insulation work, I had a lot of momentum. I got 6 light fixtures and 5000k “Natural” T8 lamps and placed them over the aisles. These are meant as work lights, and while they do a good job of lighting the layout now, once the upper deck is in place things will get a bit darker. I tried to line things up the best I could while still having adequate lighting, and it could have gone worse. At least this meant I had to drill less holes into the ceiling joists! See, this is what my layout looked like after that…
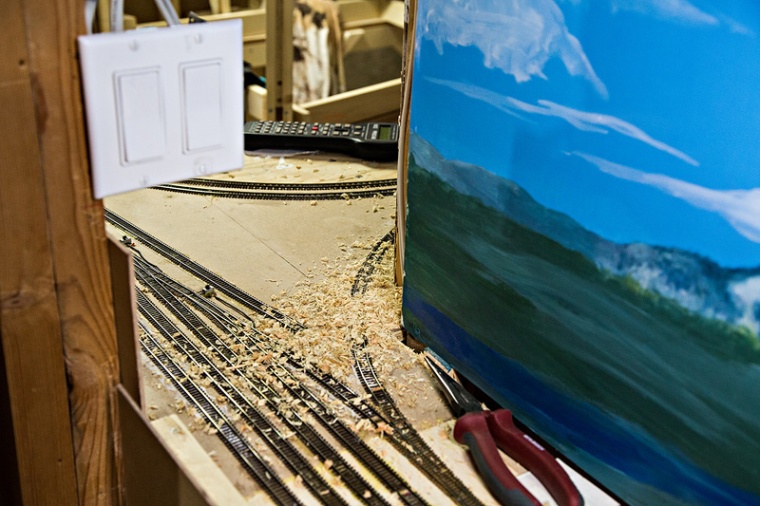
And of course the irony of wood chips being all over the chip mill…
But after a good day’s work, the lighting was done. Without insulation to deal with, it was easy as eating a pie!
Well, let’s have a before and after.
Before, after installing the old-new lights in January:
And after, with permanent wiring:
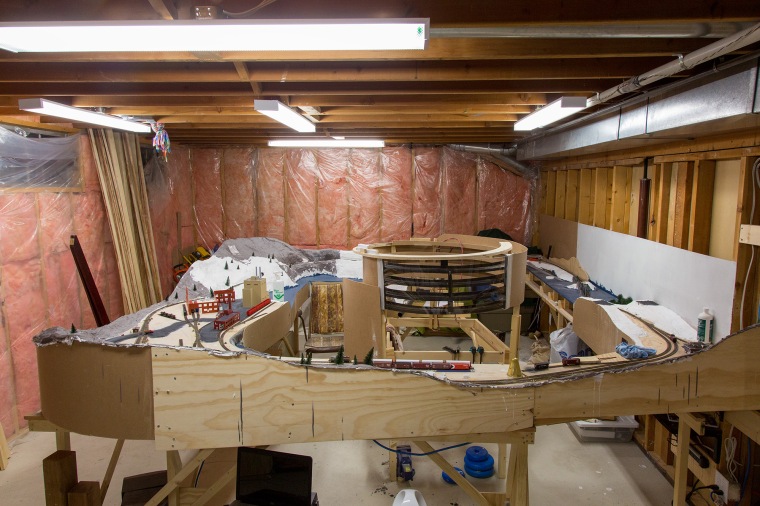
There’s a minor (900K) difference in colour, but the difference in brightness is kind of incredible. Especially going back to 2012 and prior, when lighting consisted of 2 13w CFLs at either end and a 500W work light for wherever I was at the time. Plus, no more stumbling around trying to find the pull chains!
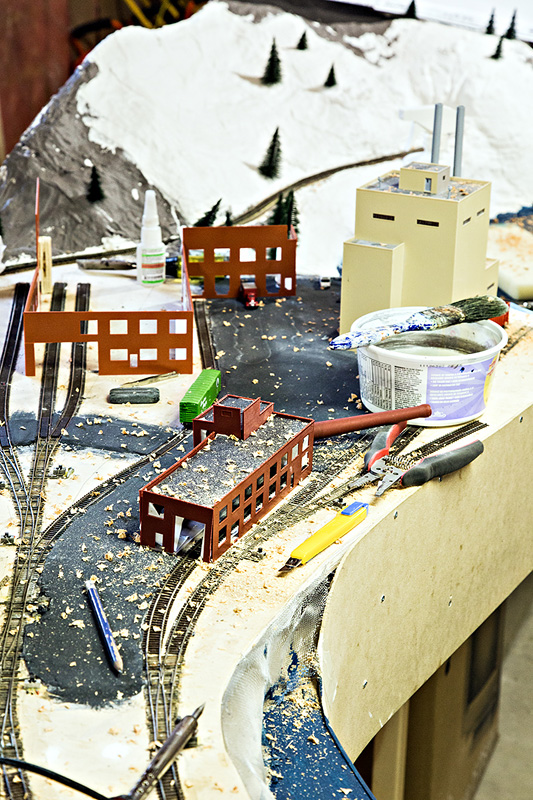
Oh yeah, you might have noticed something…since all paint has been discontinued and we haven’t had Polly Scale in Canadiana for years, I gave up on waiting for paint to get my structures done and put up the rest of the Celgar complex (sans tanks and stuff) using nothing but masking tape and a little bit of make-believe.
It’s terrible, it’s bad, it’s ridiculous, but you wouldn’t believe how much it adds.
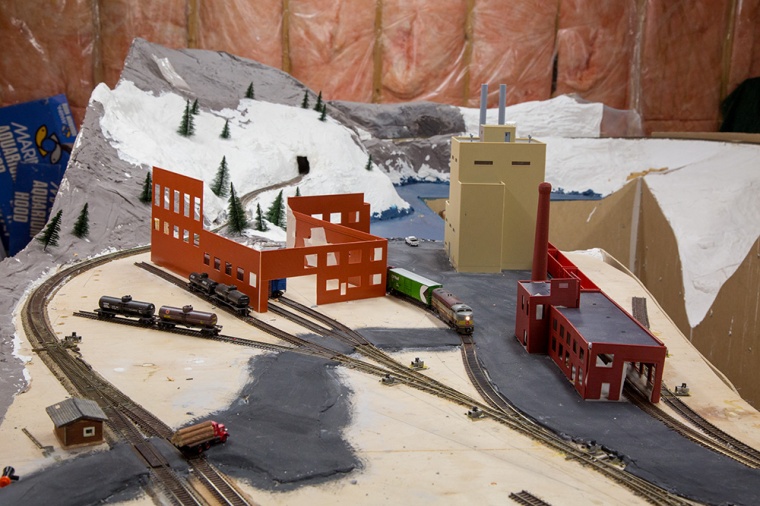
Man, the Kraft Switcher really lucked out today with a single C-liner…doesn’t get much worse than that!
One last item: Earlier this year, I installed plastic sheeting to separate the layout from the workbench. I had to take that down to install these lights…I was thinking of putting it up over the entire ceiling to prevent dust coming from above but decided against it after seeking advice on a few forums, mainly trains.com. The reason for this is that there are so many other dust sources in an unfinished basement that a drop in the bucket isn’t work the effort. I also decided not to put the old sheeting back up because the upper deck will be going in so soon, adding tremendous amounts of sawdust and requiring me to redo it anyway. So, this is the last time the layout will be clean for a while!
With that, I’m off to bed. I’m getting at least a 5 day weekend due to flooding evacuations, so we’ll see how much I can get done!


